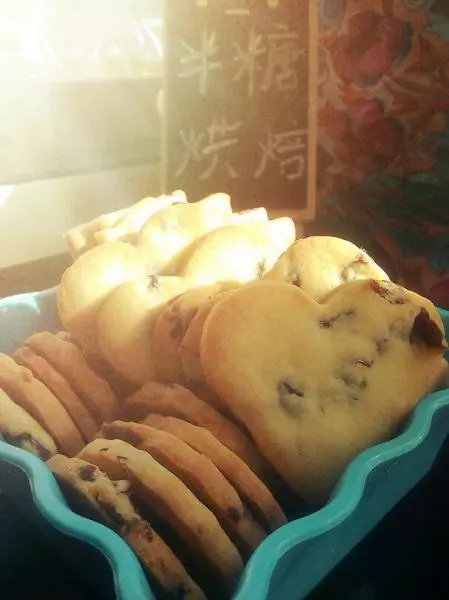
原料
动物黄油: 90克, 糖粉: 50克, 甜奶粉: 30克, 盐: 2克, 蛋黄: 2个, 低筋面粉: 150克, 芝麻: 适量, 蔓越莓: 适量
步骤
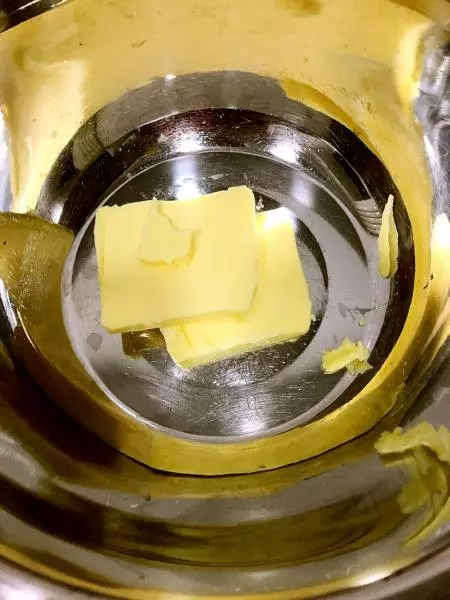
1将黄油隔热水软化
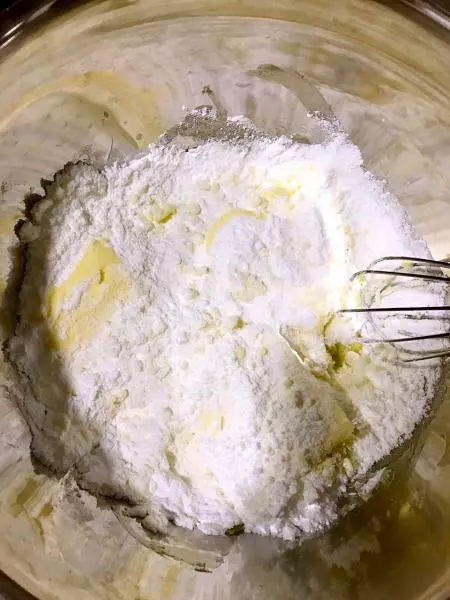
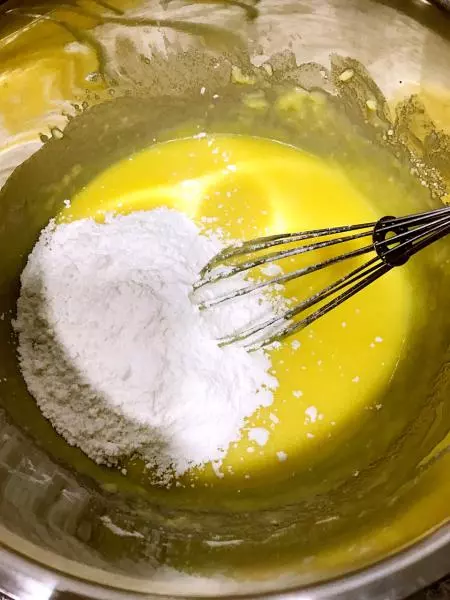
2软化的黄油加入糖粉、奶粉、盐打发
3蛋黄分次少量加入打发好的黄油中,继续打发。此步骤要注意不要将蛋黄液都加进去,要留一点点,最后用于涂抹表面。

4继续往黄油中筛入低筋面粉,切拌均匀至无干粉。此步骤要注意,不可用画圈的方式搅拌,以免面粉起筋,影响口感。
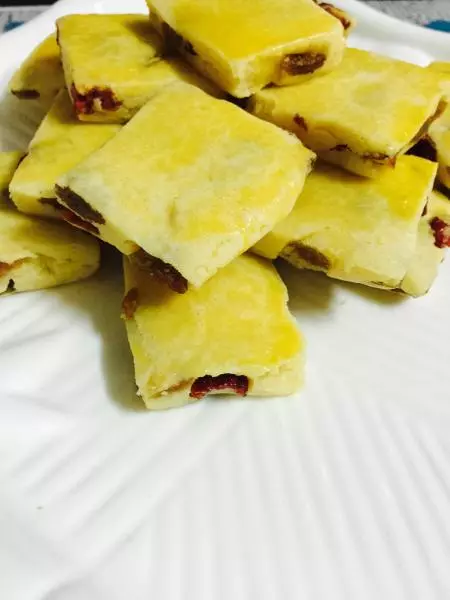
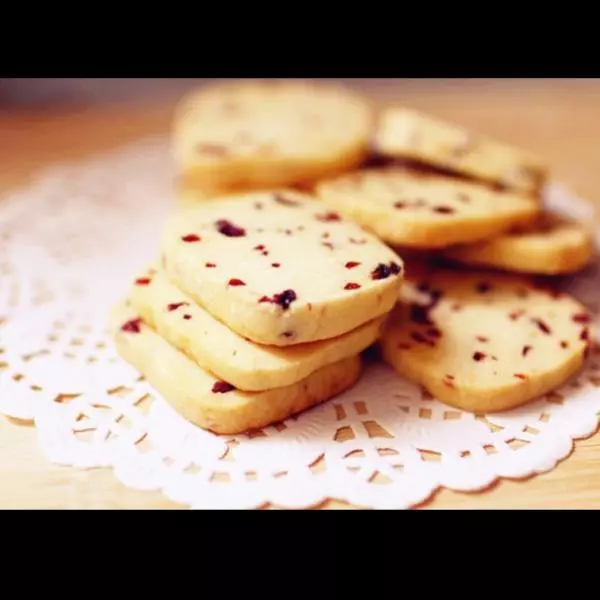
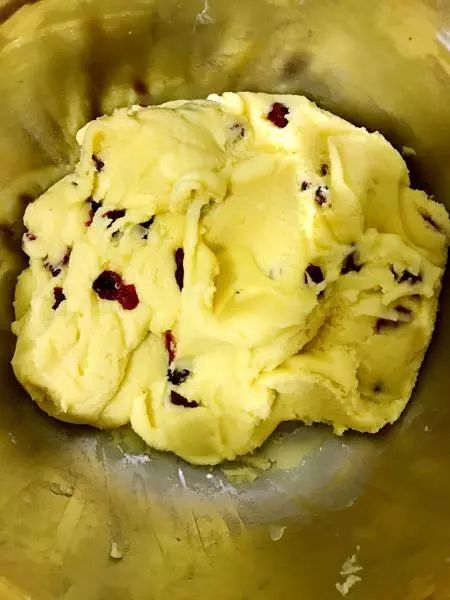
5加入蔓越莓干,切拌均匀,并用刮刀将面糊团成一个面团
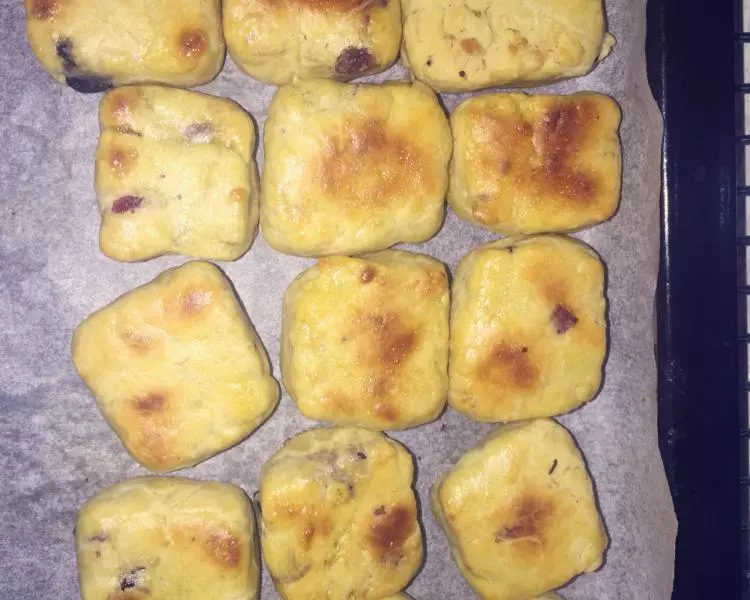
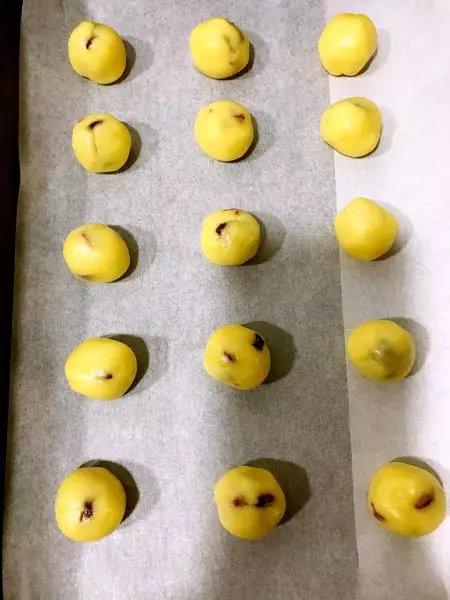
6将烤盘上铺上油纸,将弄好的面团搓成相等大小的小面团(大约小汤圆大小就可以了),摆放时注意面团间要留有空隙,在烘烤的过程中,面团会略微变大。
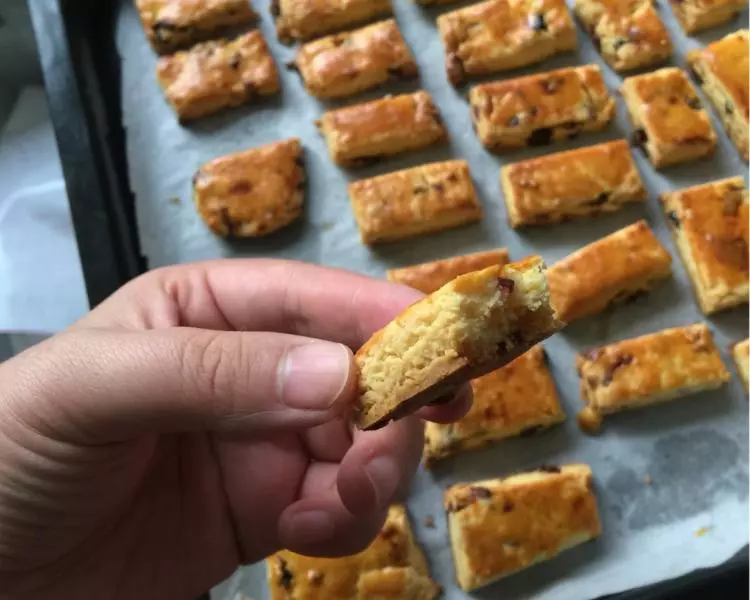
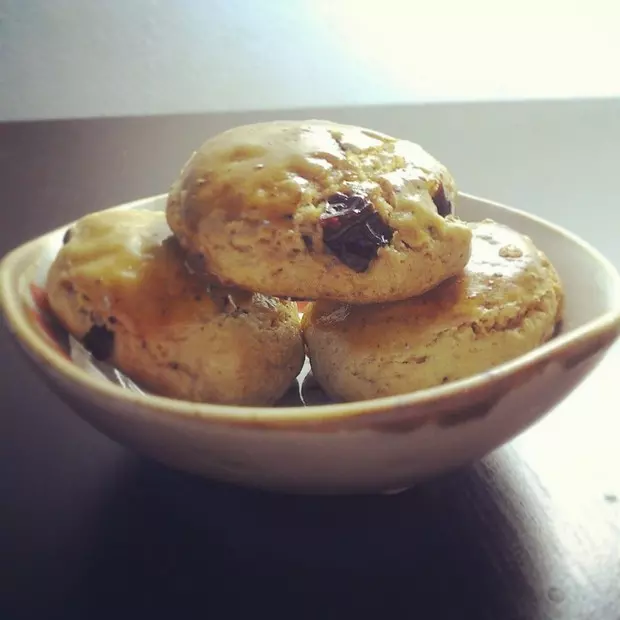
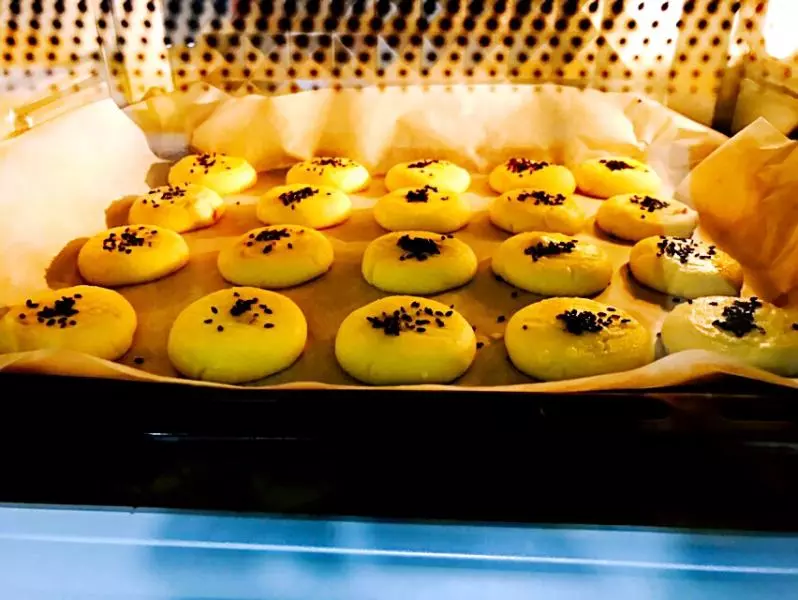
7将小面团压成扁圆形,刷上之前留下的蛋黄液,并撒上芝麻。
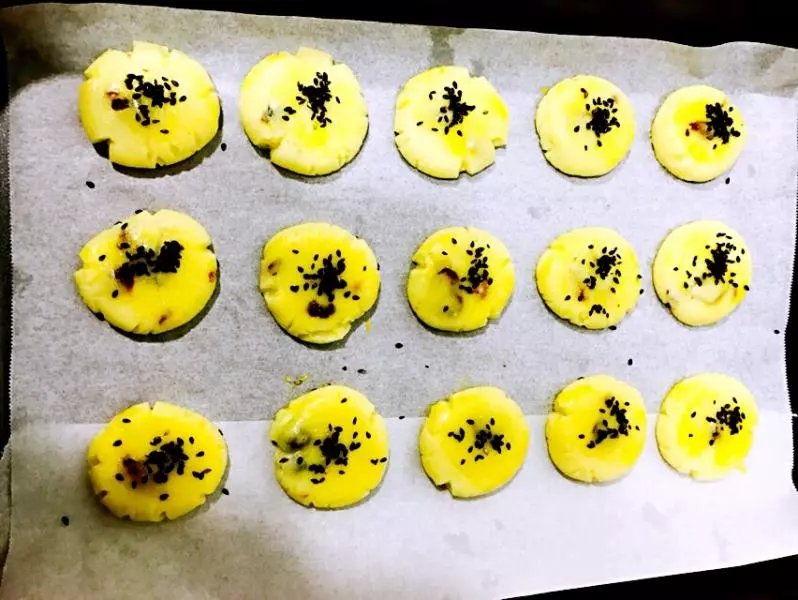
8将烤盘放入烤箱,180度中下火,15—20分钟,待表面微微上色即可
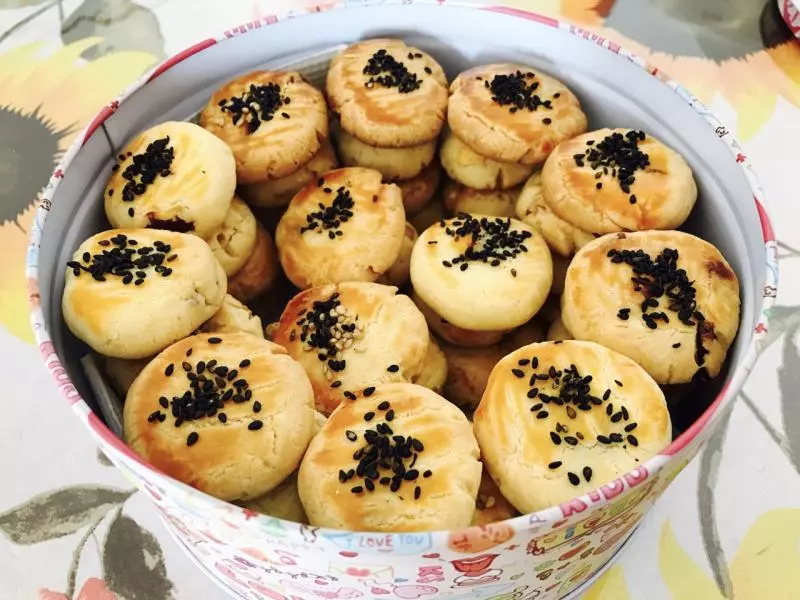
9刚烤完的蔓越莓酥较软,放凉后会变的香酥可口。
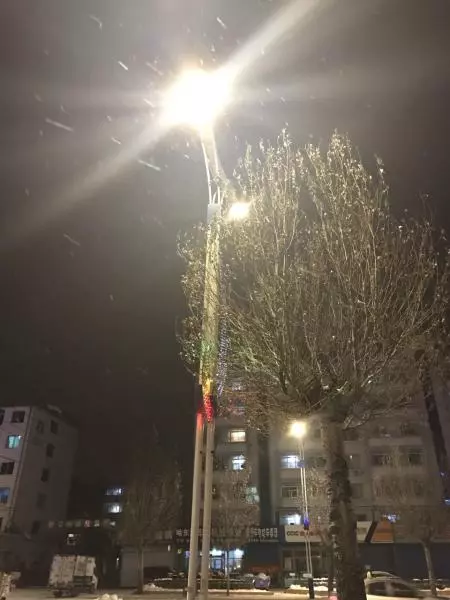
10最后附上一张我们单位楼下路灯映衬着飘飘洒洒的雪花的照片,希望这个小甜点能温暖正在为生活奔波的你我他!
小技巧
烤的时间要根据每个烤箱的“脾气”而定,但一般都要在15分钟以上