原料
水油皮: , 中筋面粉: 180克, 猪油: 64克(不需融化), 白砂糖: 25克, 水: 70克, 油酥: , 低筋粉: 120克, 猪油: 60克(不需融化), 馅料: , 低筋面粉: 110克(炒熟备用), 猪油: 80克(不需融化), 糖粉: 60克, 椒盐: 4克, 核桃仁: 30克-40克(擀碎), 黑芝麻: 80克(炒熟打粉备用), 盐: 1克(可加可不加), 果脯: 40克(我用的葡萄干,根据自己喜好,可加可不加)
步骤
1水油皮料

2放在一起(除水)

3慢慢往里兑水

4手工揉油皮(像洗衣服一样搓)

520分钟后出手膜(没出膜是手法不对),把面团揉光滑盖住保鲜膜醒30分钟

6油酥料放入容器

7揉成面团,盖住保鲜膜备用

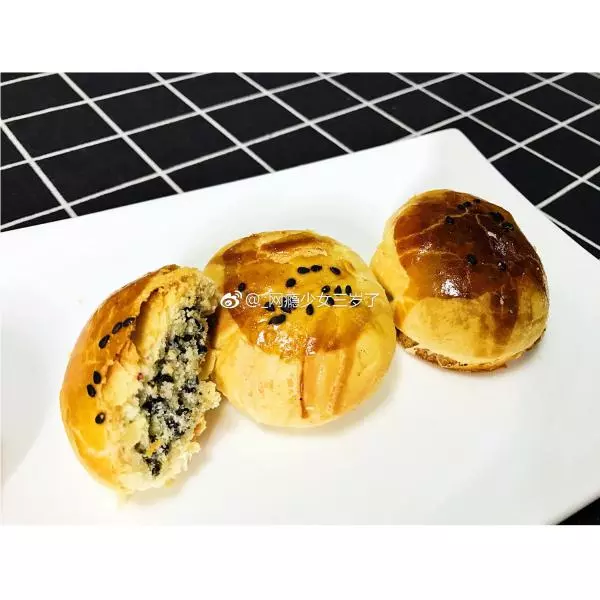
8馅料混合

9搅拌均匀(椒盐必须搅拌均匀)

10分成16份(夏天热最好放入冰箱冷藏备用)

11把水油皮和油酥各自分成16份

12水油皮包住油酥

13擀成长条形状

14剂口在里,由下向上卷起,盖住保鲜膜松弛15分钟

15醒好后二次擀皮

16由下往上卷起,保鲜膜盖住松弛15分钟

17对折,按成圆剂子

18擀皮包馅喽!

19妈妈给包滴,棒棒滴

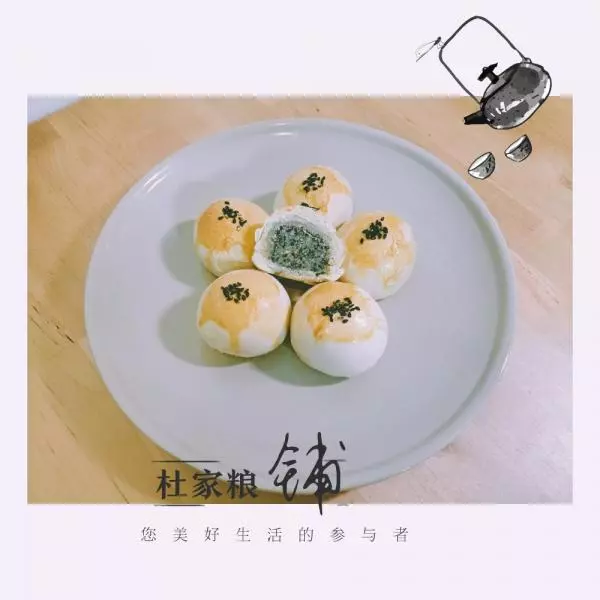
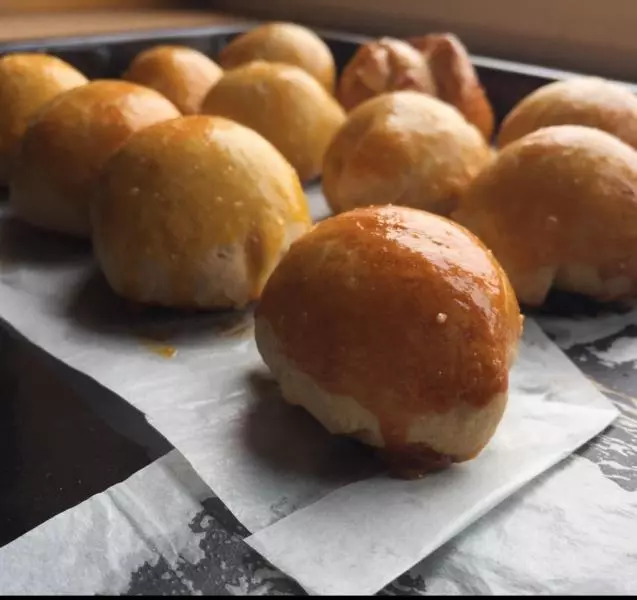
20包好了(烤箱190度预热)

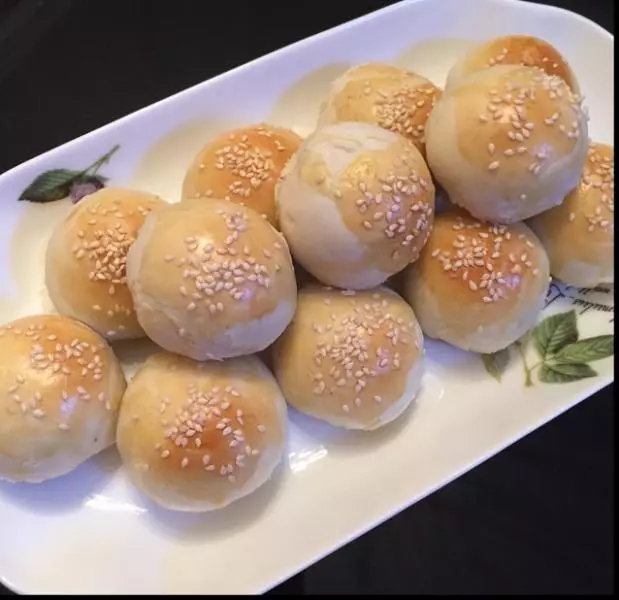
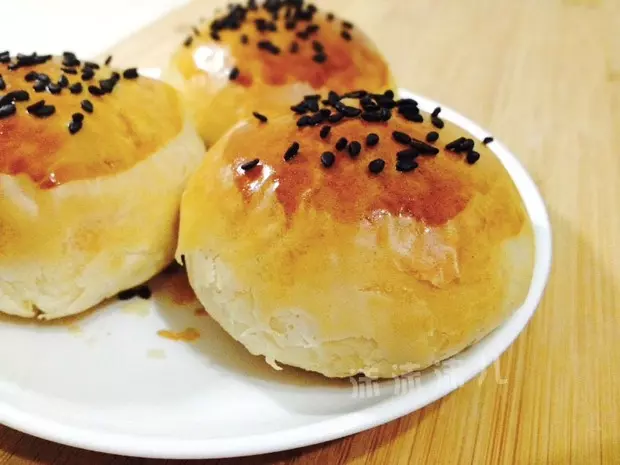
21刷上蛋黄液入烤盘

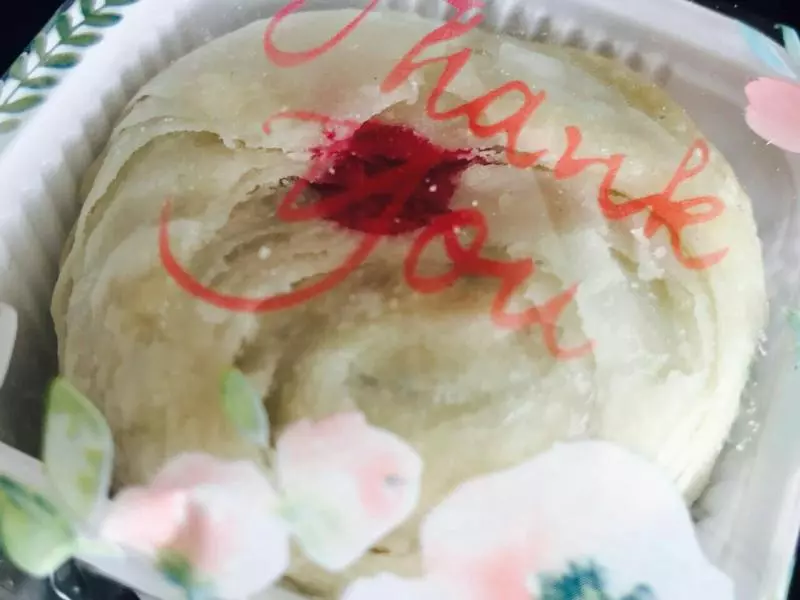
22上下190度,烤35就出炉了(根据自己烤箱脾气,只做参考)

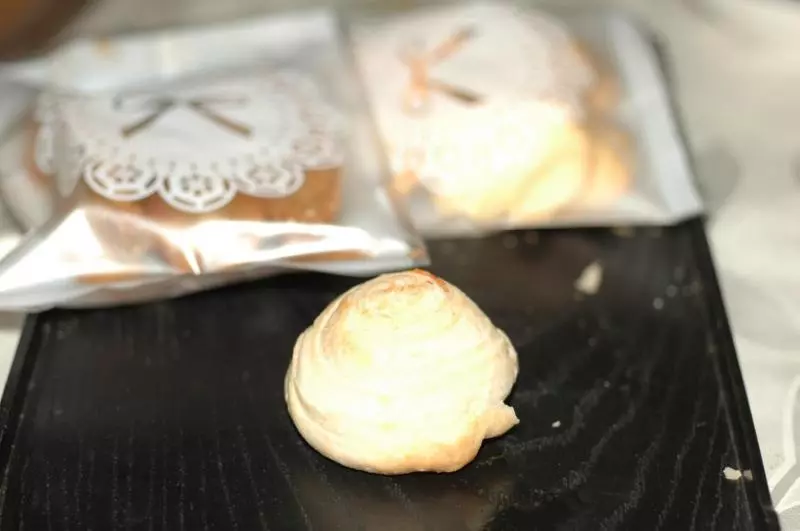
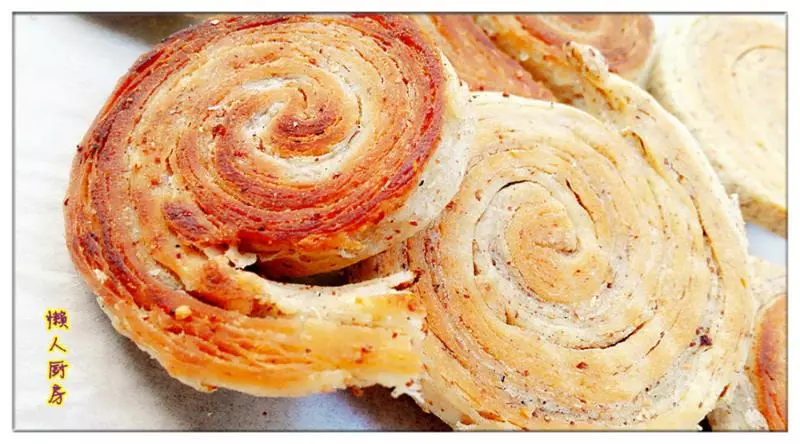
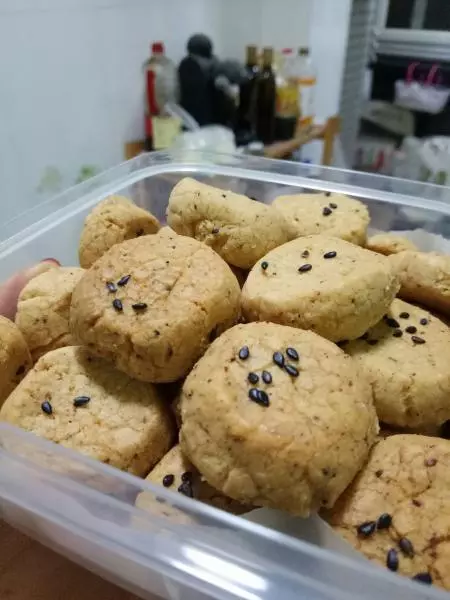
23是不是很不错!酥酥的皮香香的馅!