原料
低粉: 100克, 长方可可蛋糕体: 两个, 鸡蛋: 五个(中等大小), 可可粉: 2大匙, 白糖: 90克(蛋白70克,蛋黄20克), 牛奶: 60ML, 油: 60ML, 柠檬汁: N滴, 植脂鲜奶油: 2/5盒
步骤
1两个蛋糕体, 用锯齿刀裁掉四边成长方形(功夫不扎实的如我这般的,最好用尺子比着), 扫去表面蛋糕渣,备用

2提前12小时将鲜奶油从冰箱冷冻室取出, 放在不锈钢盛器内,置于冷藏室化冻 (这样盛器也被冰过,利于鲜奶油的打发),将鲜奶油打发至出现尖峰, 抹蛋糕表面不需要打的太硬

3将蛋糕盒底放在转台中间, 铺上锡纸, 将一片蛋糕体放在上面, 抹平鲜奶油(此时可以铺上一层水果, 我没铺)

4将另外一片蛋糕体对齐覆上

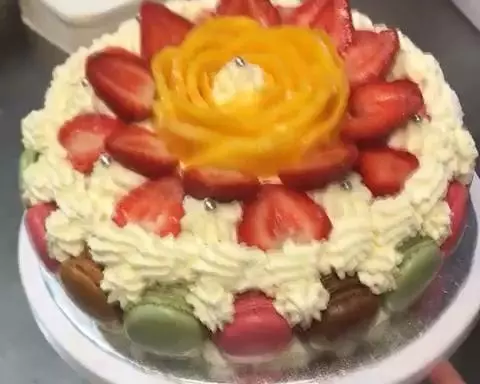
5表面和四周都涂上鲜奶油, 抹平

6将一部分鲜奶油装入裱花袋, 在袋口剪掉一个1毫米直径的小口, 将鲜奶油挤挂在蛋糕四周成瀑帘状

7剩下的奶油, 加入两大勺可可粉,继续搅打至硬, 装入套好曲奇花嘴的裱花袋, 在蛋糕表面四周挤上并排的花纹

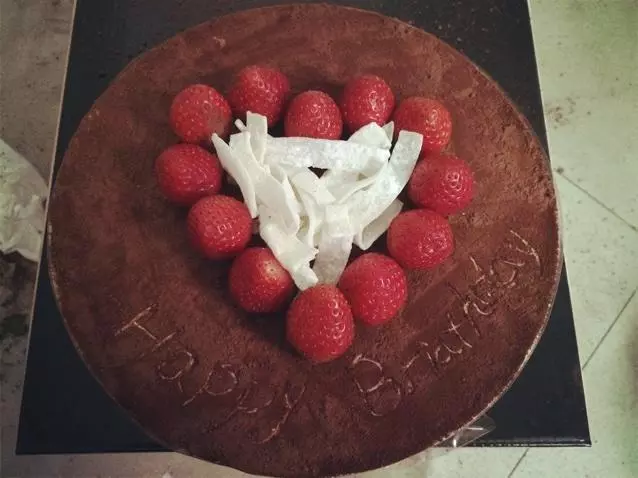
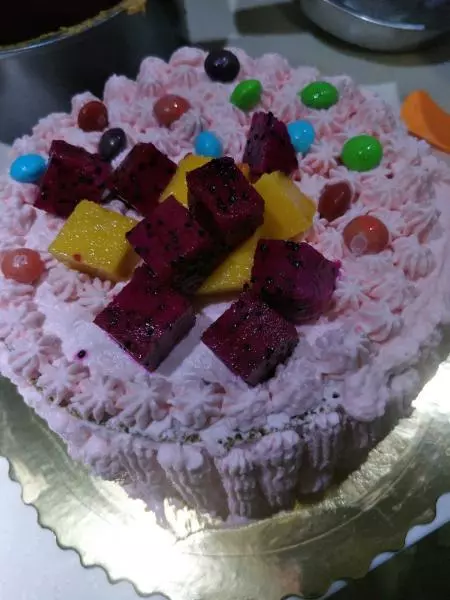
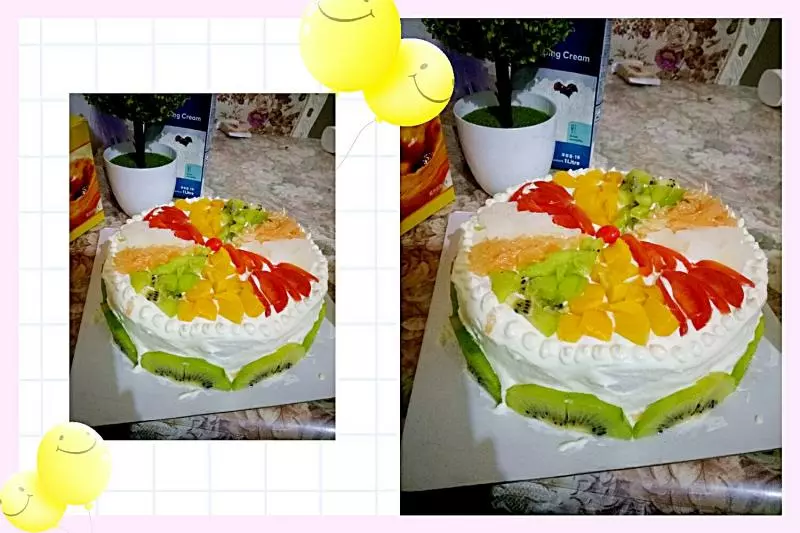
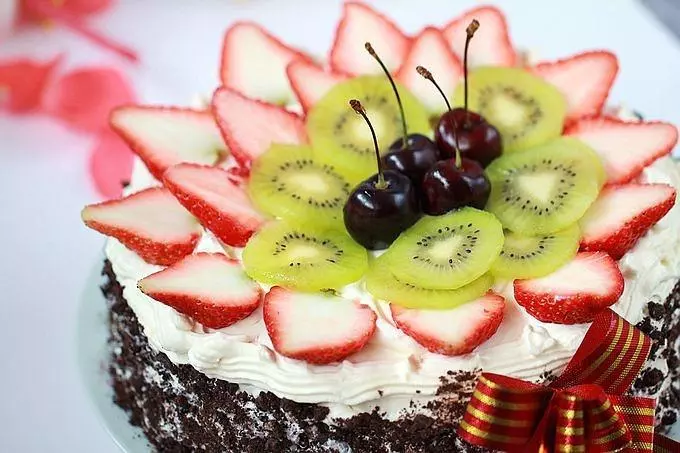
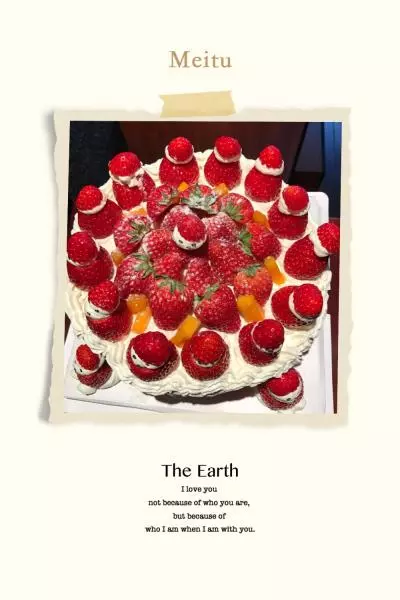
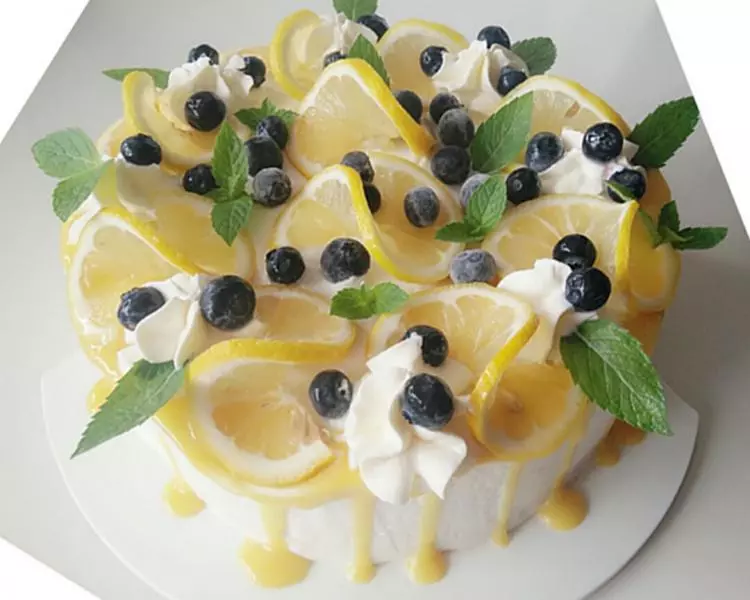
8表面随意用水果装饰,用巧克力液写上"生日快乐