原料
鸡蛋: 5个, 细砂糖: 60克(20克*3), 牛奶: 60克, 玉米油: 50克, 高筋面粉: 90克, 盐: 1克, 柠檬汁: 3滴
步骤
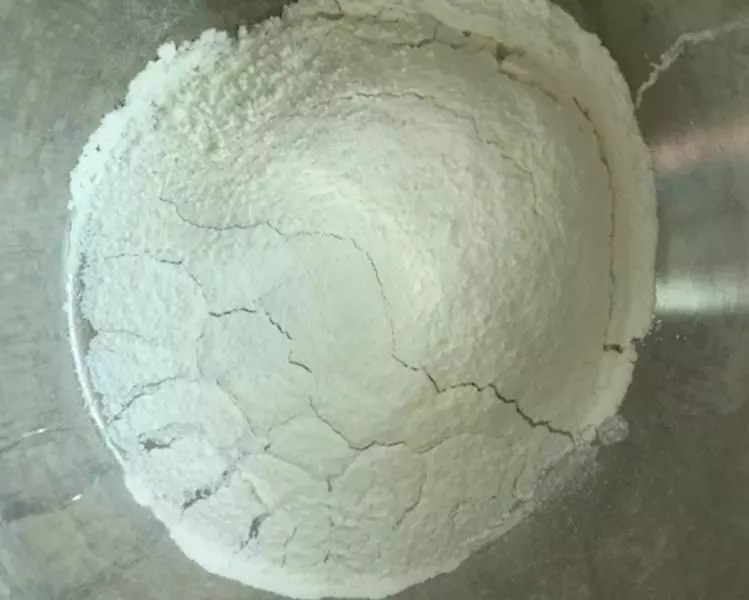
1面粉高于容器20厘米,过筛3次
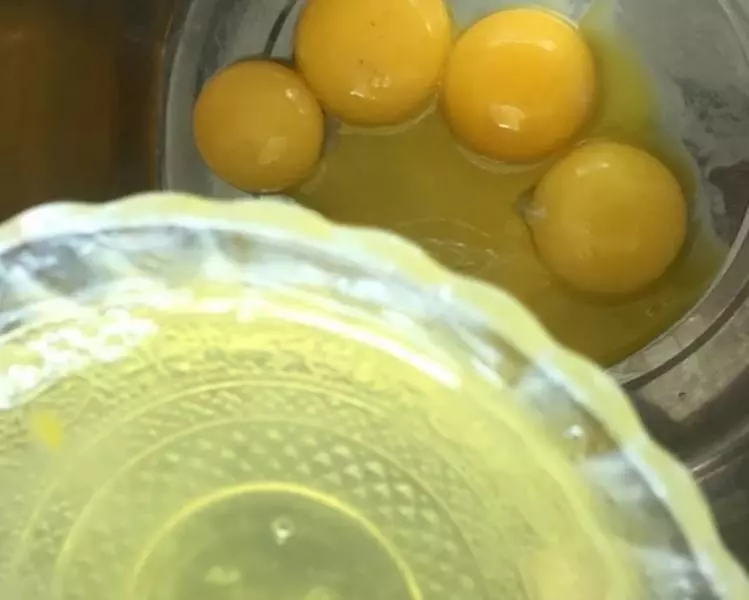
2将蛋清蛋黄分离到两个容器内
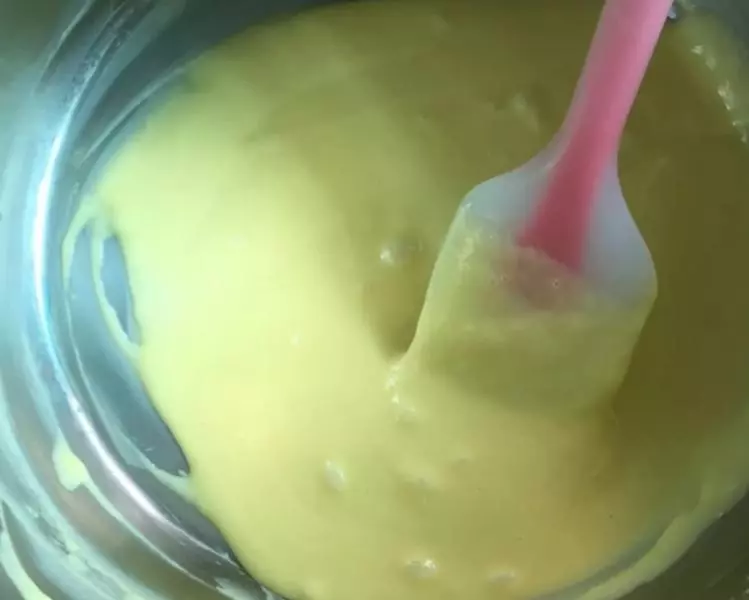
3蛋黄+油+牛奶搅拌乳化(大约5分钟)后再加入面粉搅拌细腻
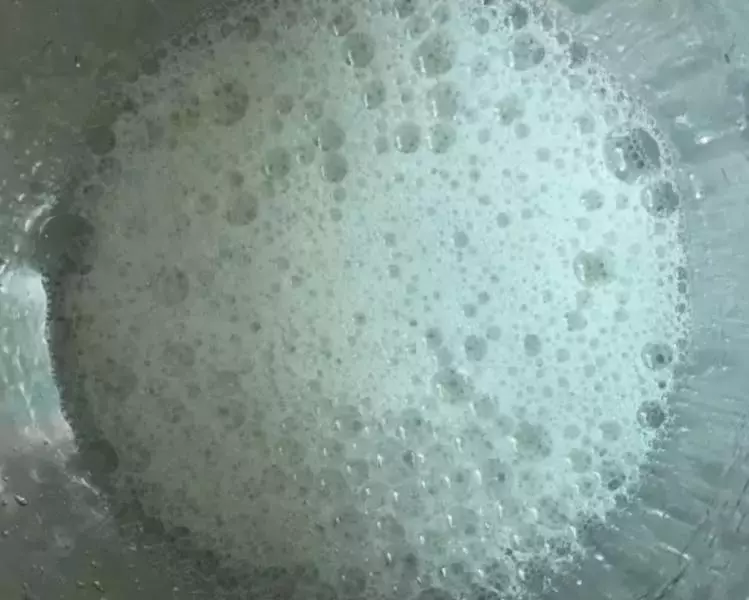
4烤箱预热110度,打发蛋清,糖分三次加入,低速打发有鱼眼泡泡的时候加入盐、柠檬汁继续打发,均匀后加入第1次20克的糖
5转高速打发,提起打蛋器有小尖勾的时候加入第2次20克的糖

6一分钟后加入最后1次20克的糖
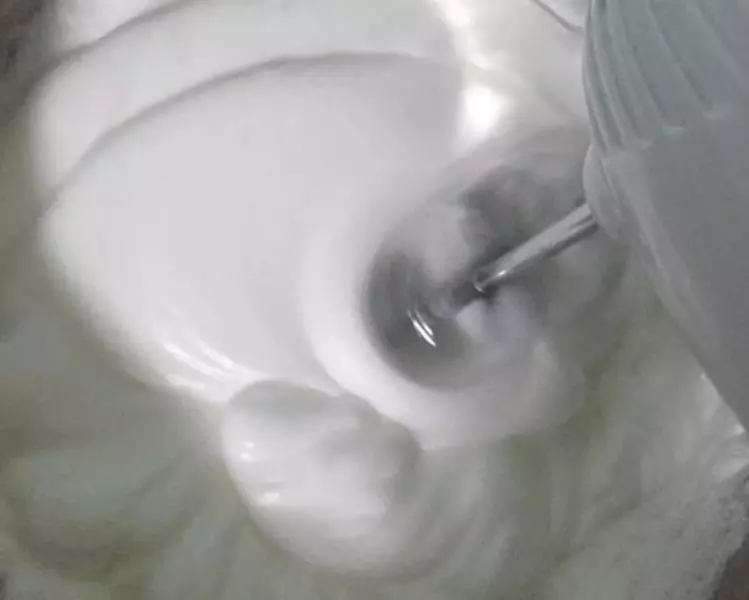
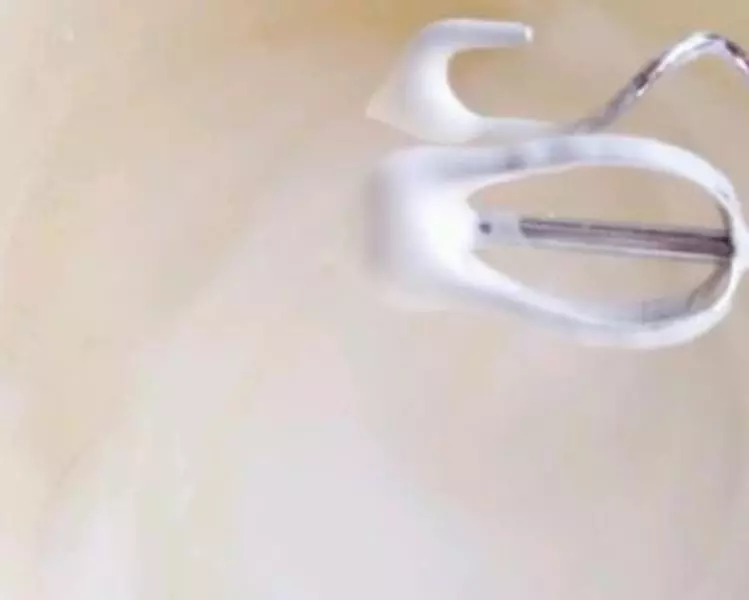
7打发到蛋白提起打蛋器有短小的尖尖角为止。
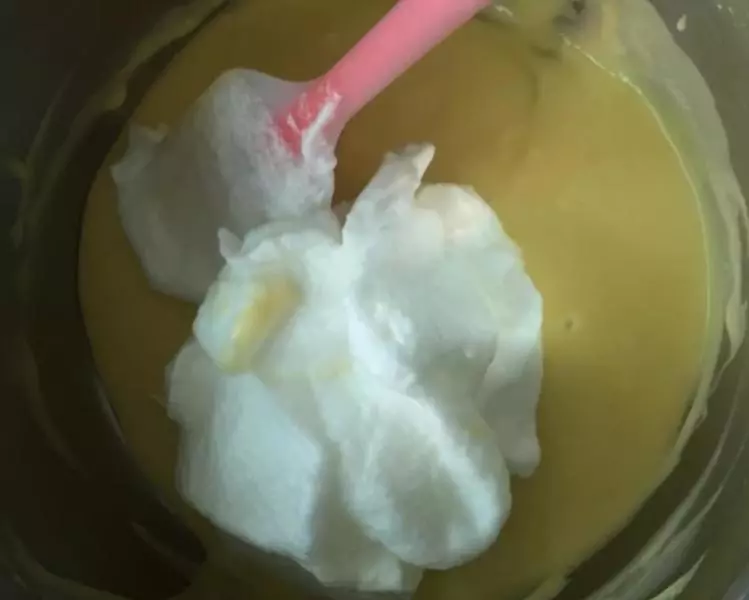
8将打发好的蛋白霜分3次加入搅拌好的蛋黄中,用翻拌的手法翻拌均匀
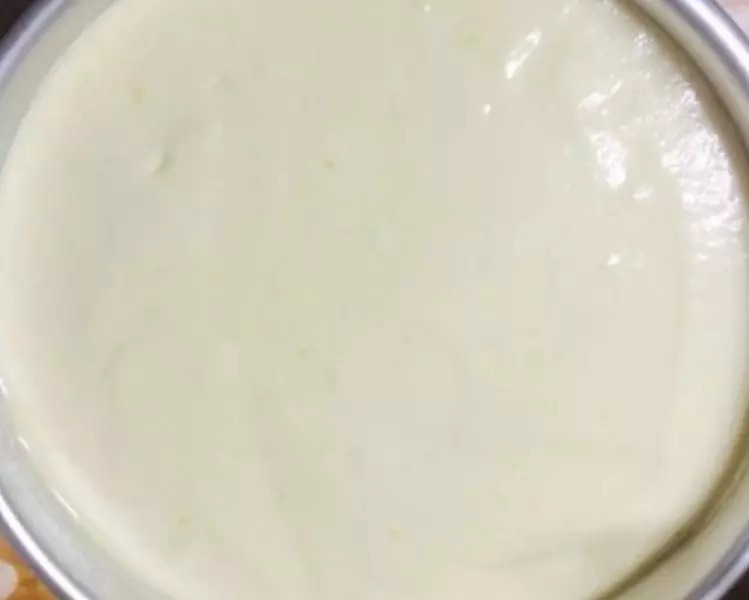
9蛋糕液高于容器30厘米,倒入模具内,用刮刀刮平后颠几下震出气泡。
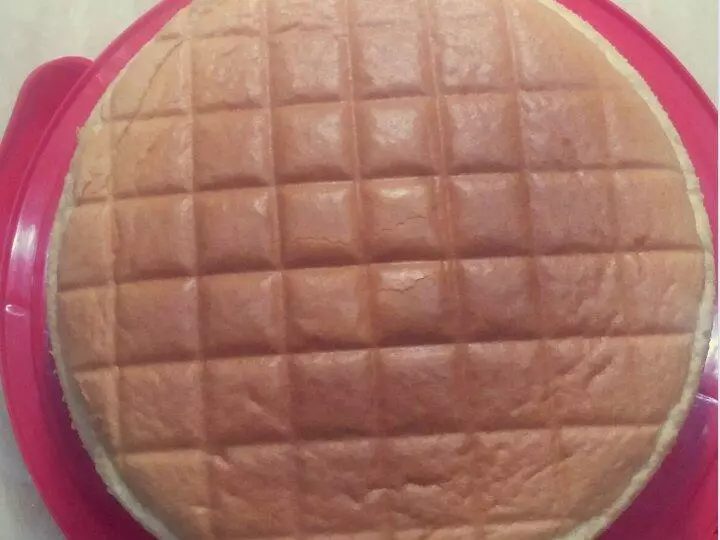
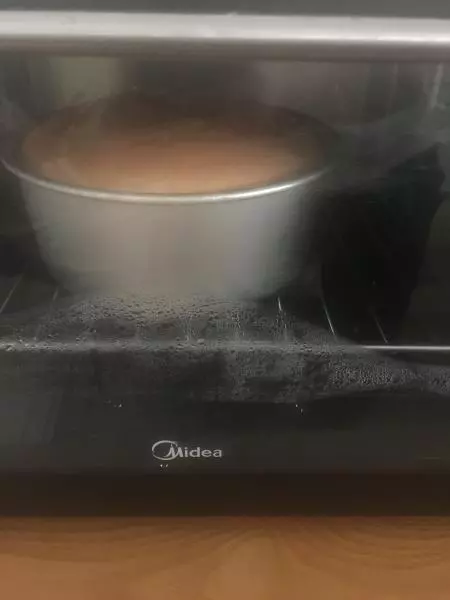
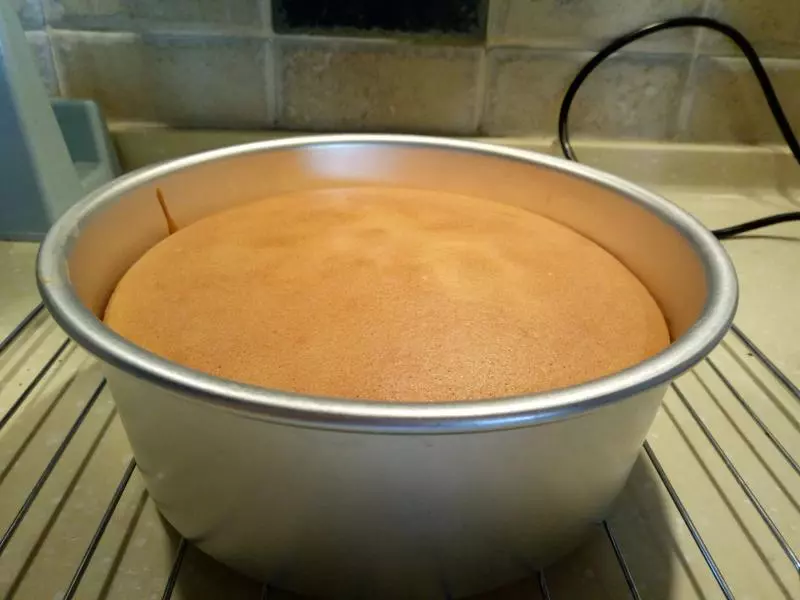
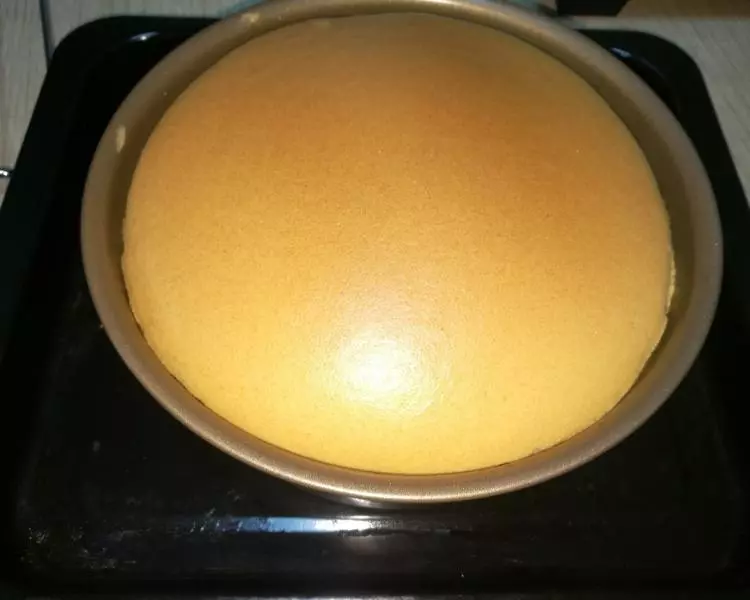
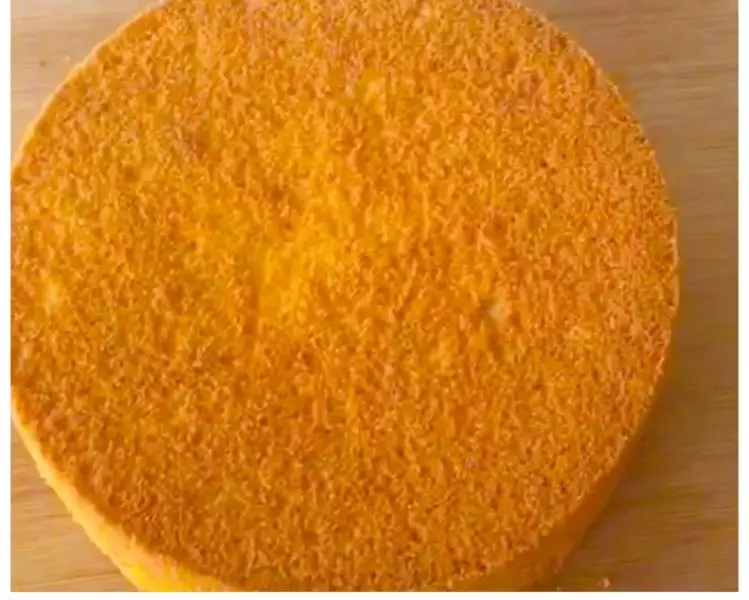
10放人烤箱下层,上下火110度烤30分钟 转 130度30分钟
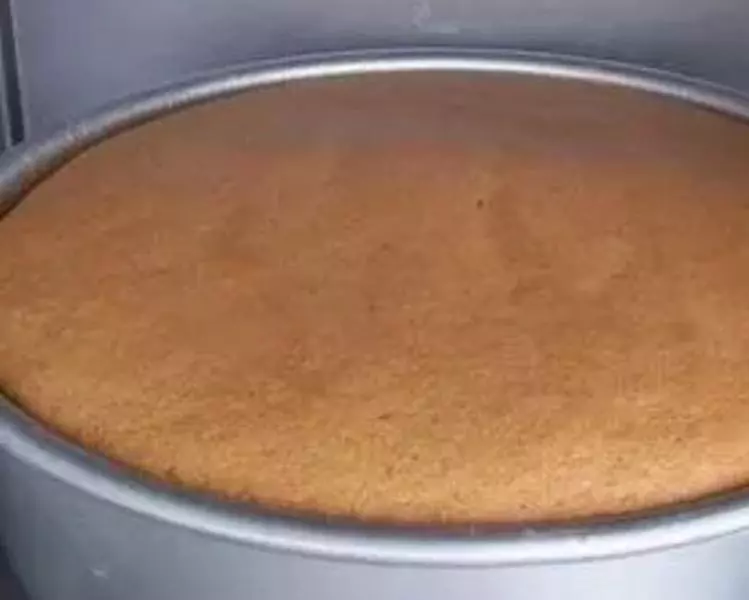
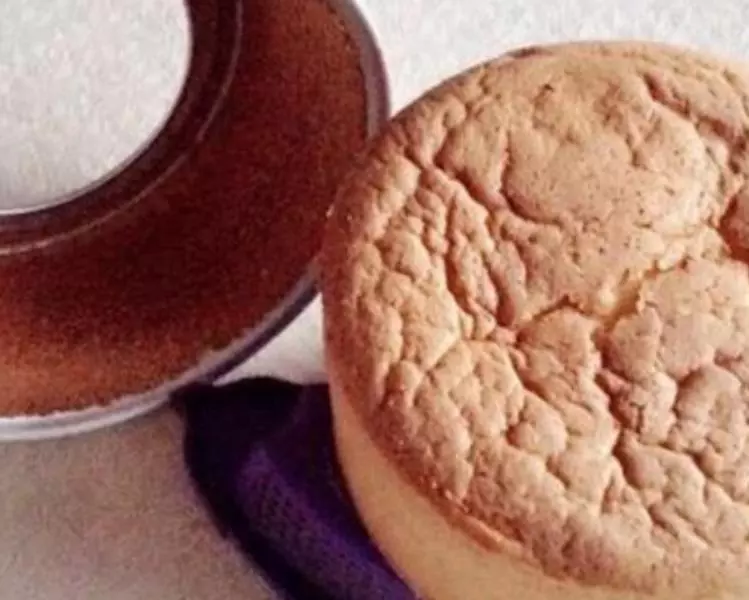
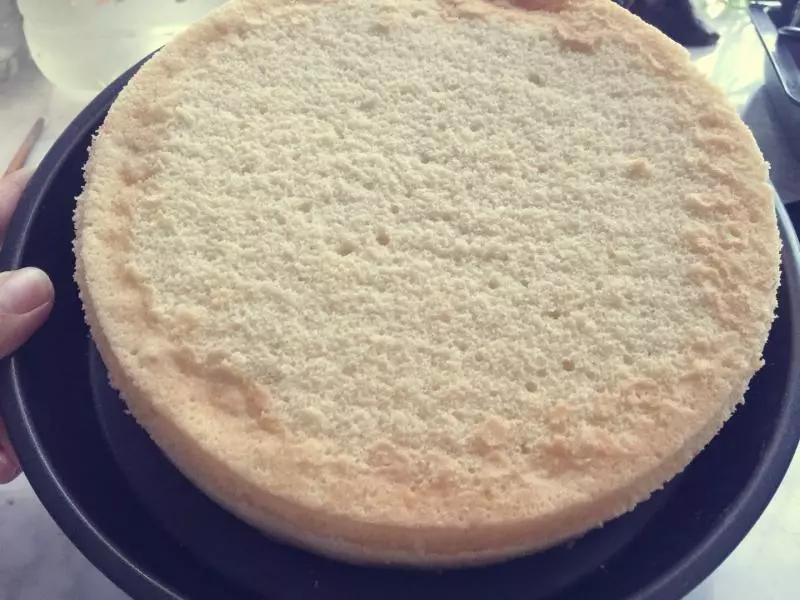
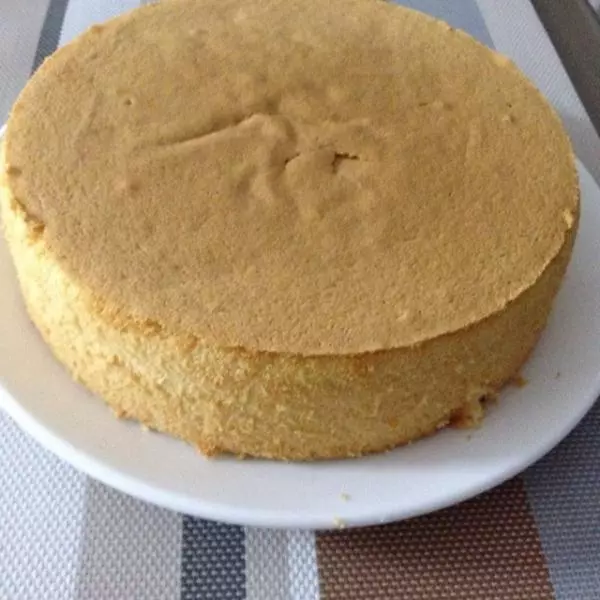
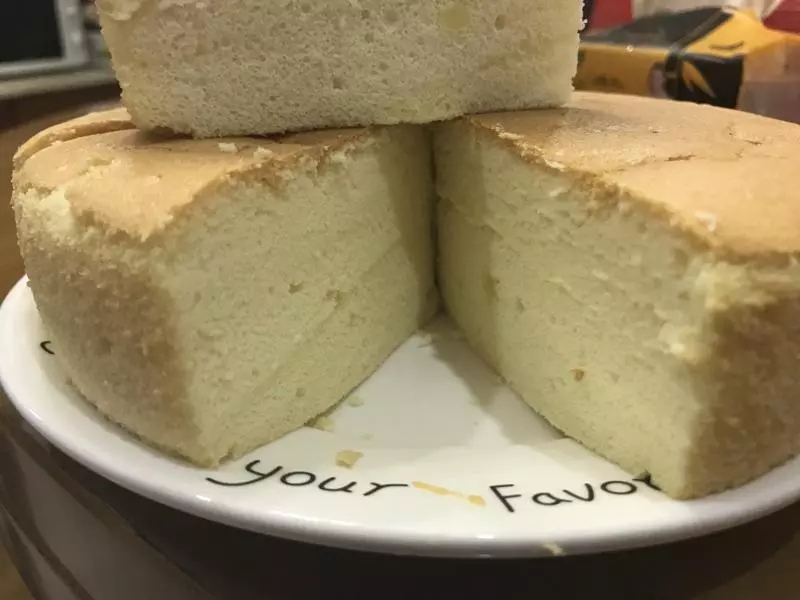
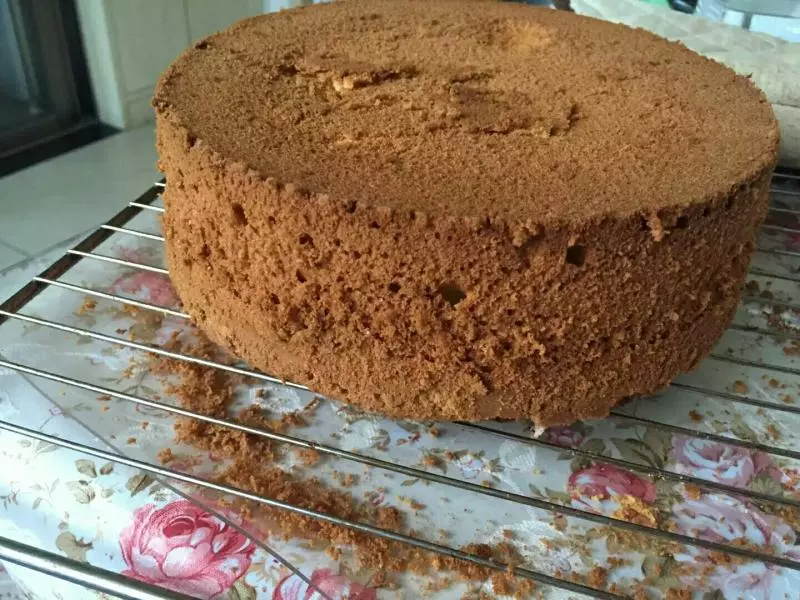
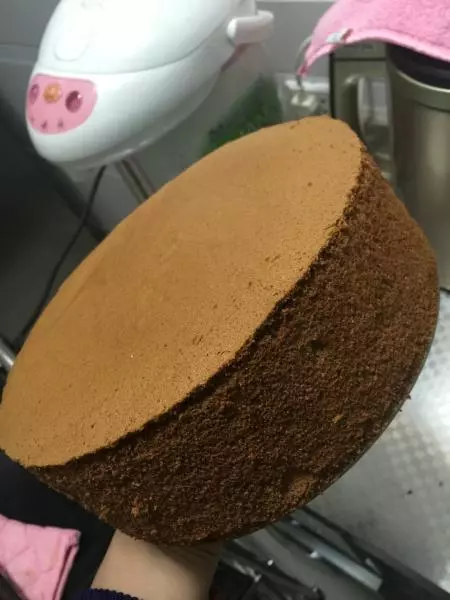
11烤好后,立即取出,正着在40厘米高处自由落体震出大量热气,立马悬空倒扣晾凉,进行脱膜。
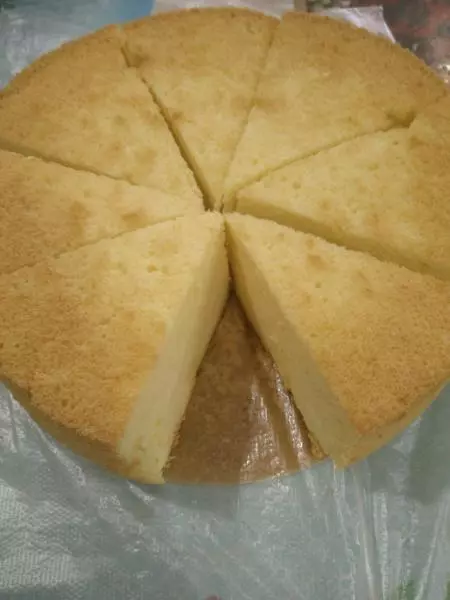
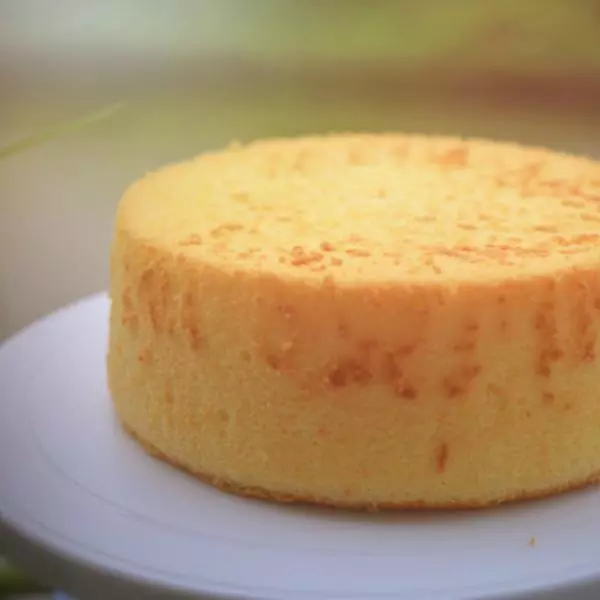
12脱模时无需借助工具,用手慢慢沿着边缘向里轻轻的按就好。