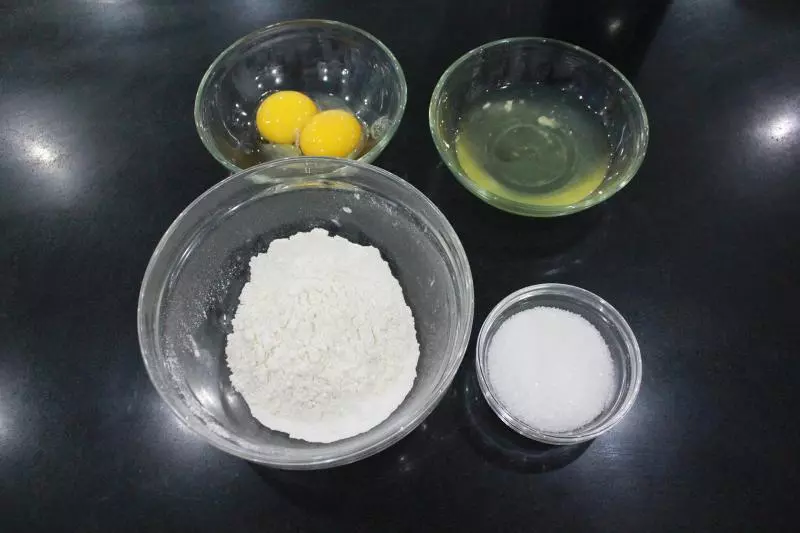
原料
蛋白: 2个, 砂糖: 60g, 蛋黄: 2个, 低筋面粉: 60g
步骤
1将材料备好。
2把蛋白和砂糖放入盆中。
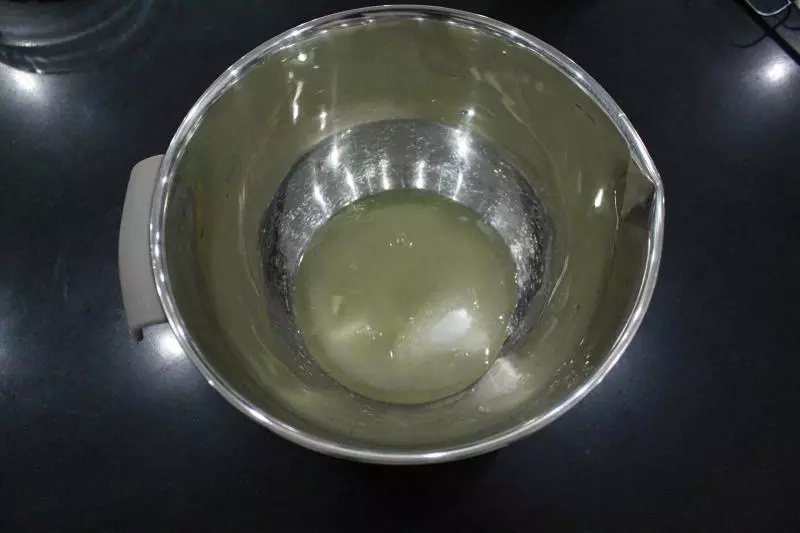
3用东菱打蛋器将蛋白打发至干性起泡。

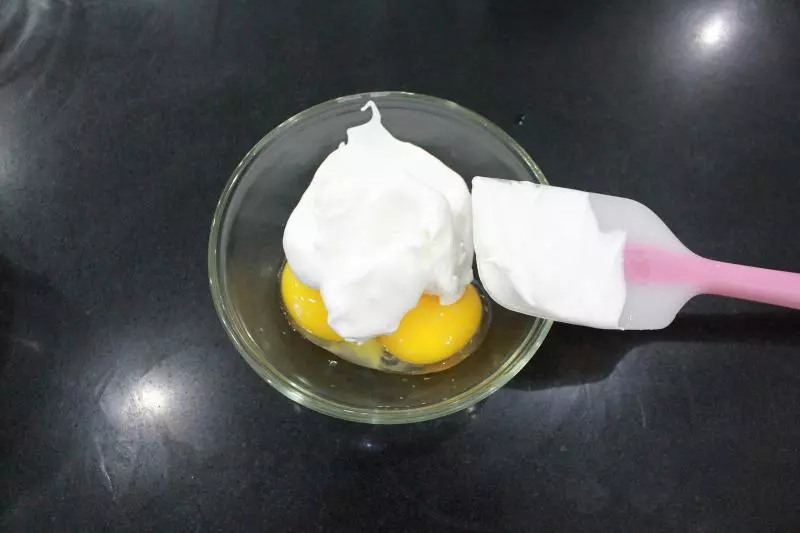
4将打发好的蛋白的四分之一放入蛋黄中。
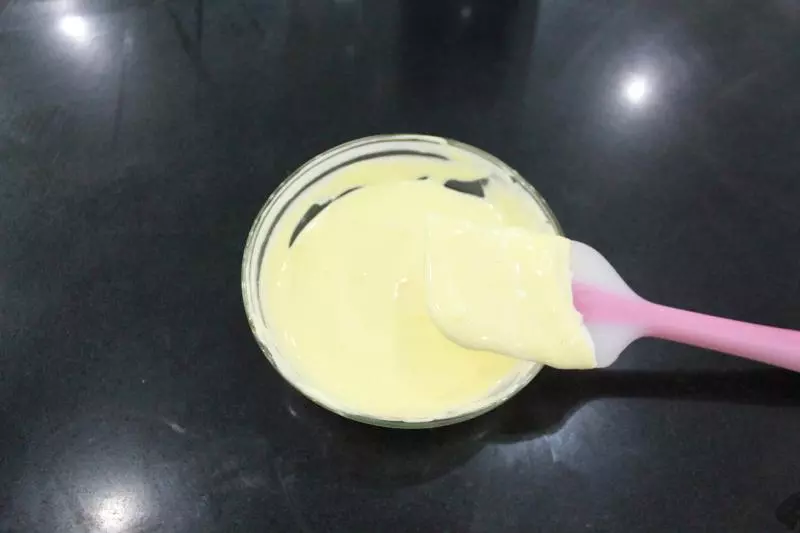
5搅拌均匀。
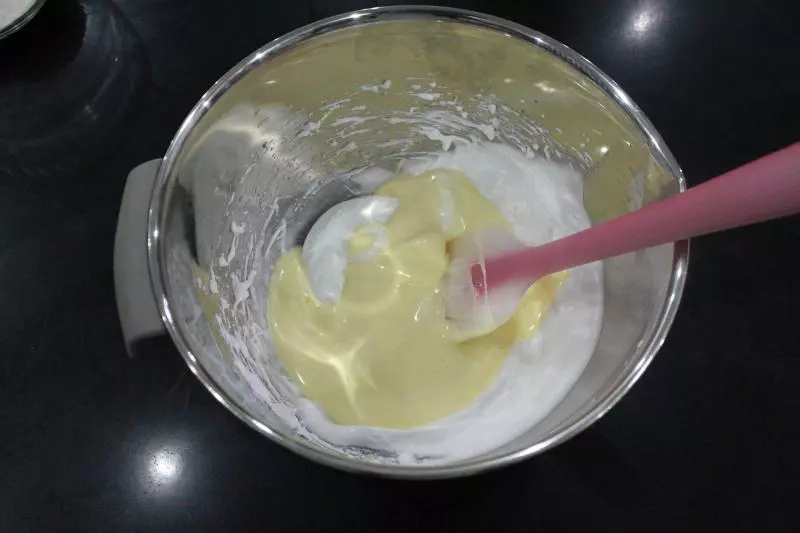
6再将搅拌好的蛋黄糊放入余下的蛋白中。
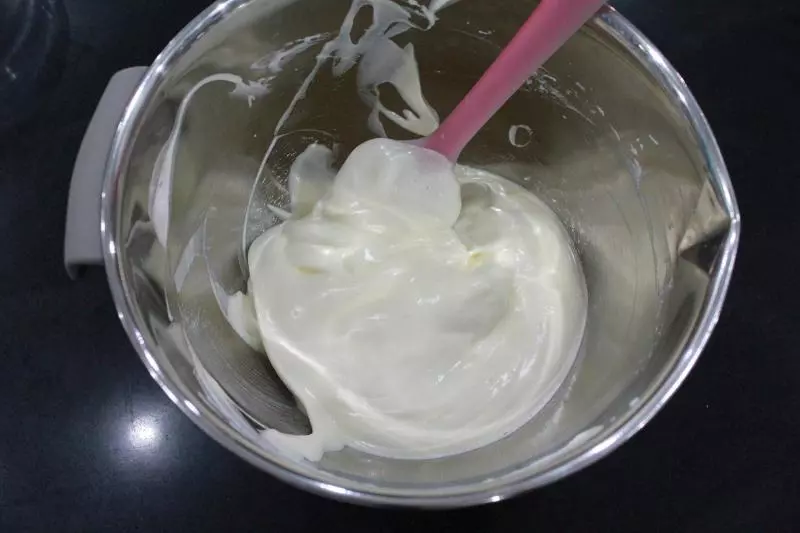
7搅拌均匀。
8加入过筛的低筋面粉。
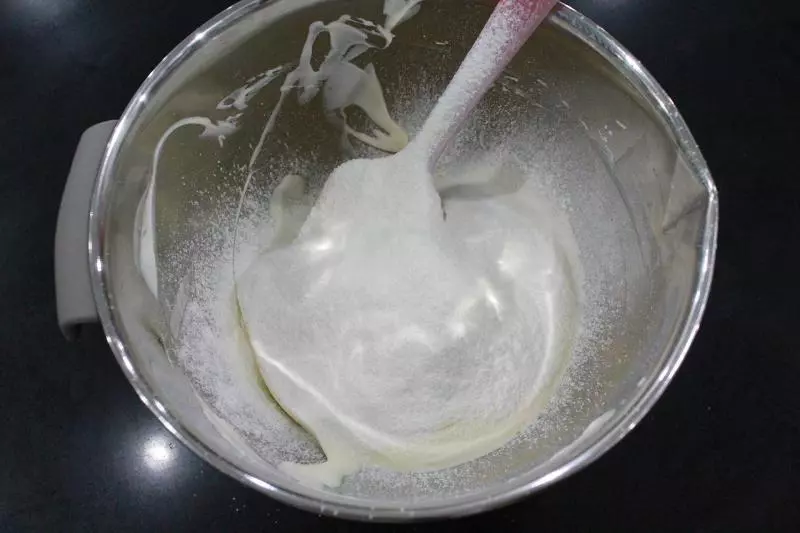
9搅拌均匀即可。

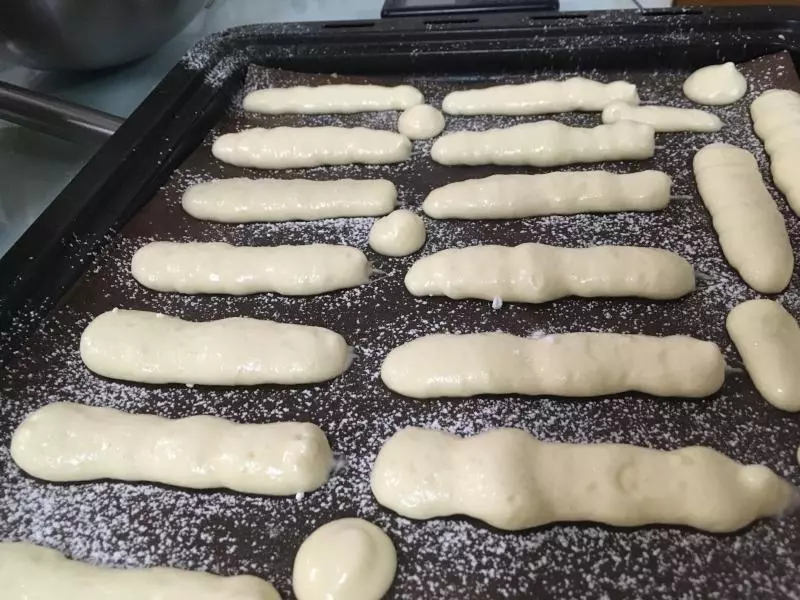
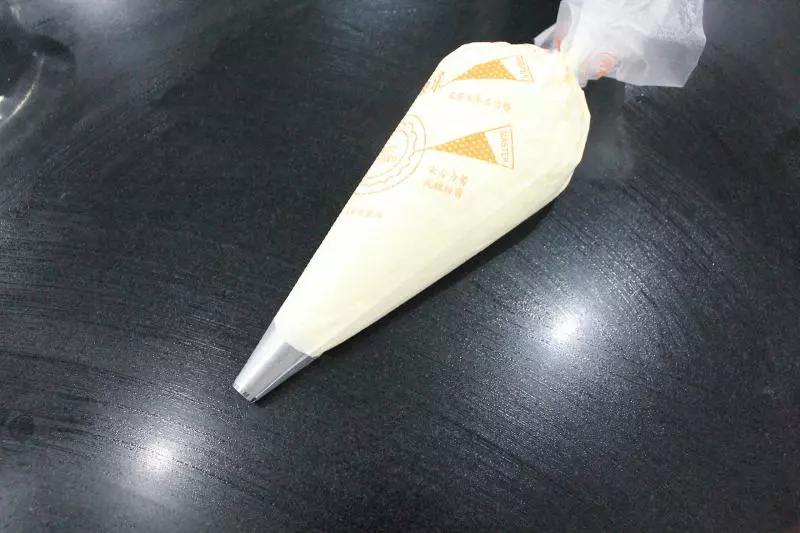
10将搅拌好的面糊装入裱花袋中。
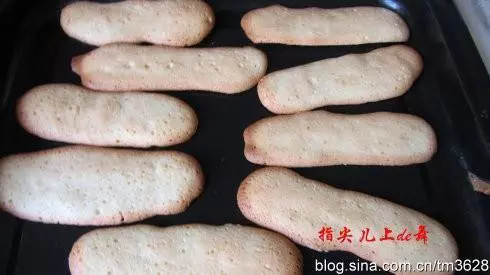
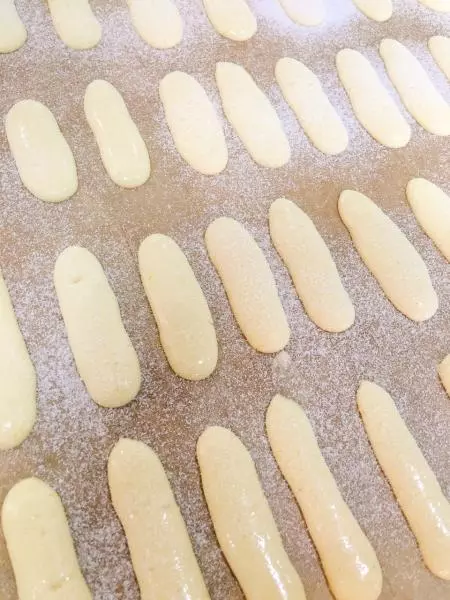
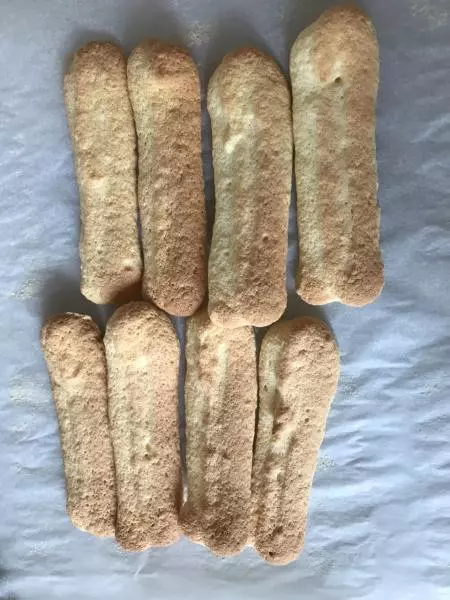
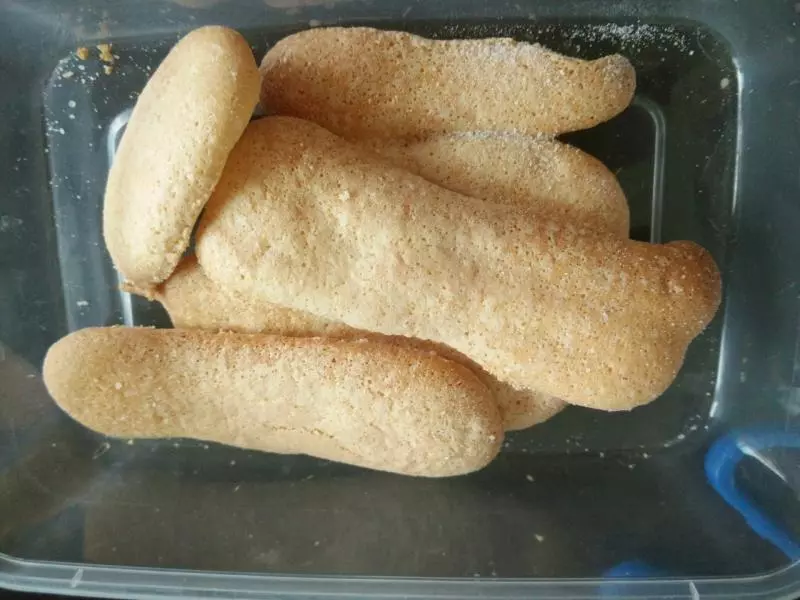
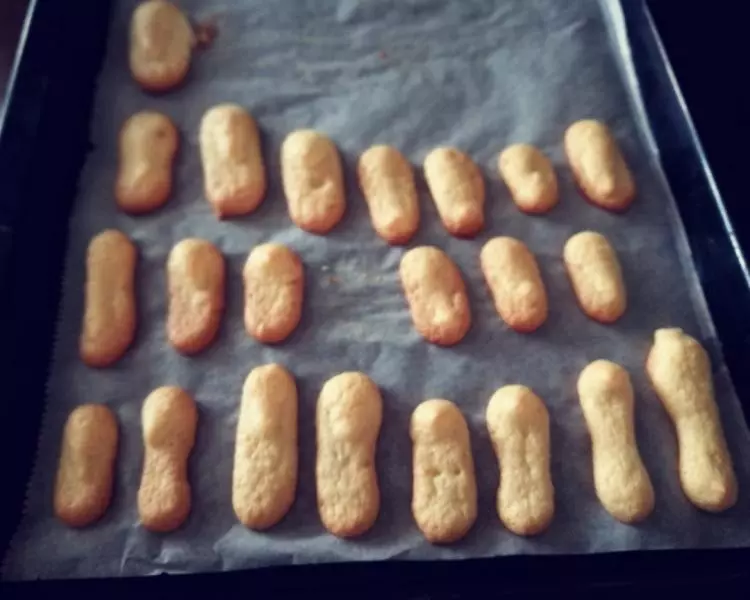
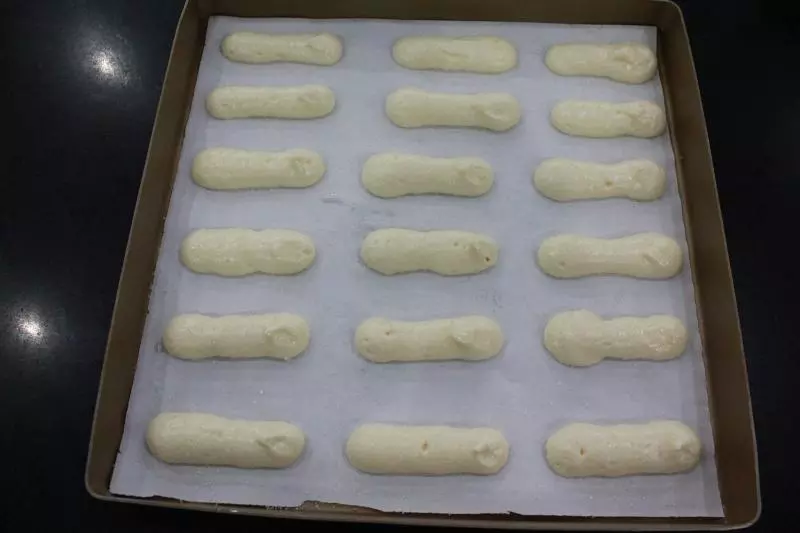
11挤到已经放上油纸的烤盘中,在表面撒上砂糖,放入东菱烤箱进行烘烤,上下管加热,上管180度,下管160度,时间为22分钟。
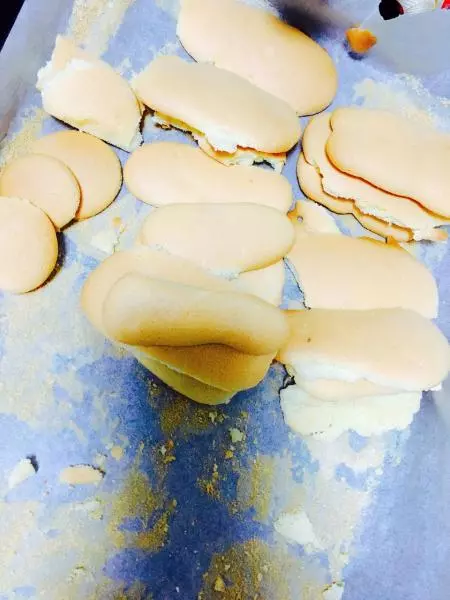
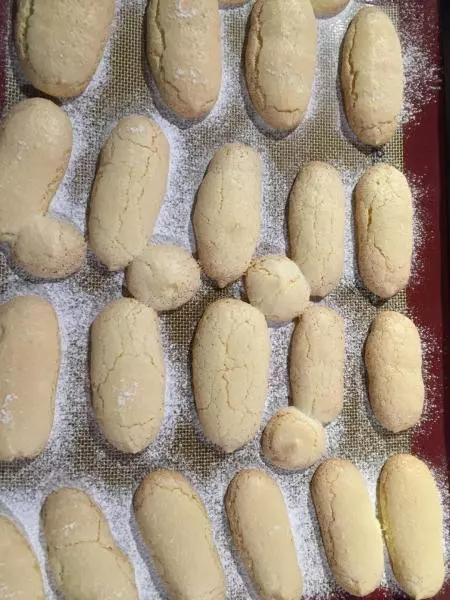
12烤制完成后,拿出放凉,即可把油纸取出。
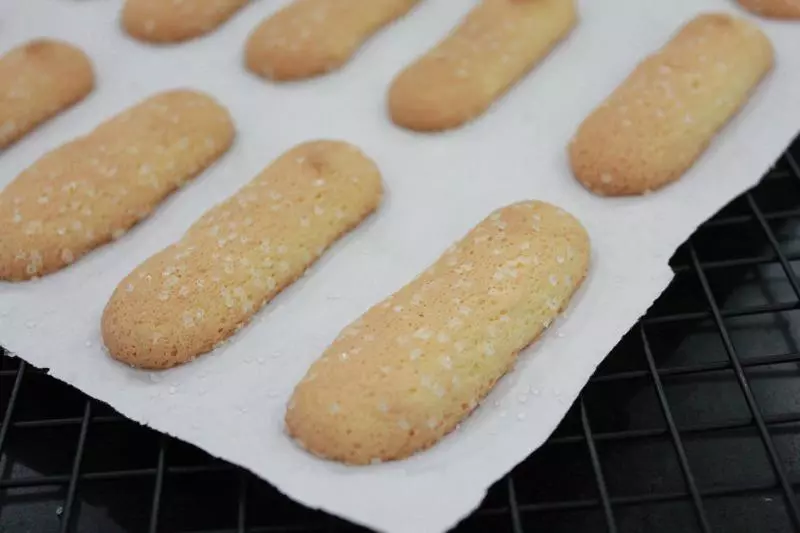
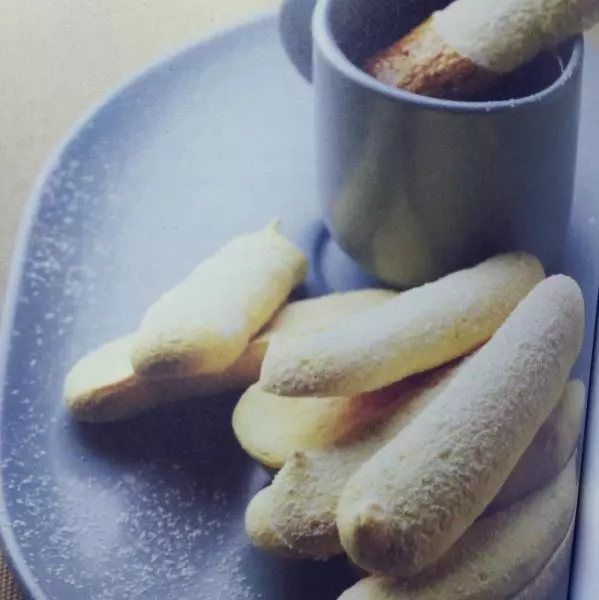
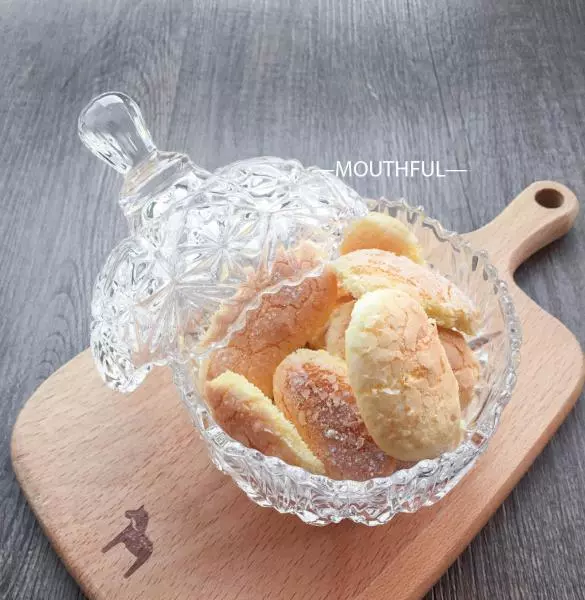
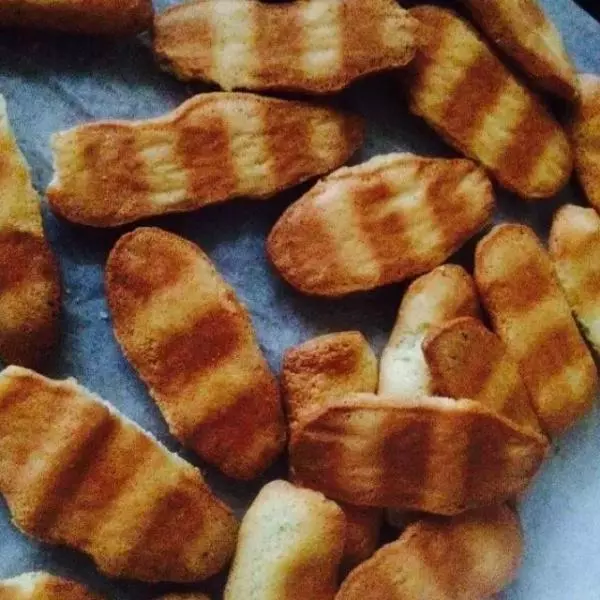
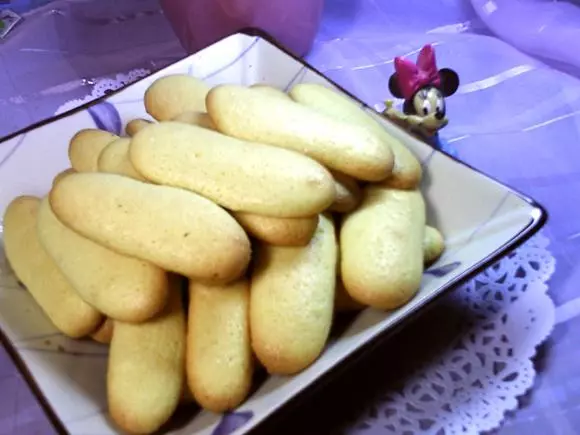
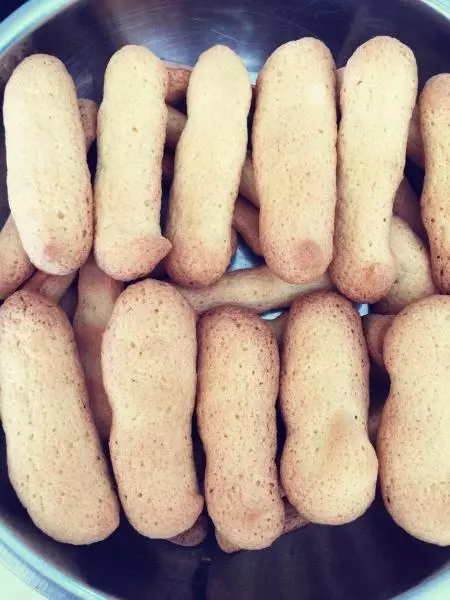
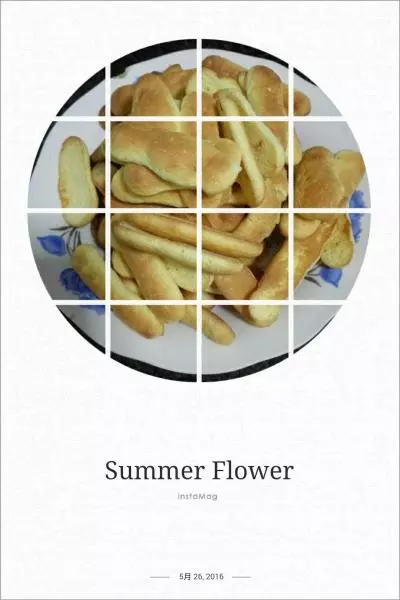
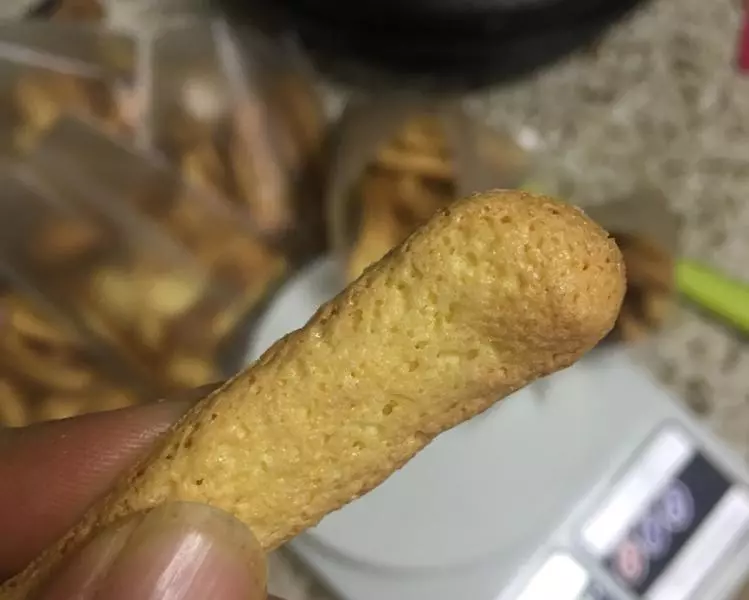
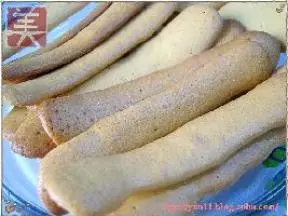
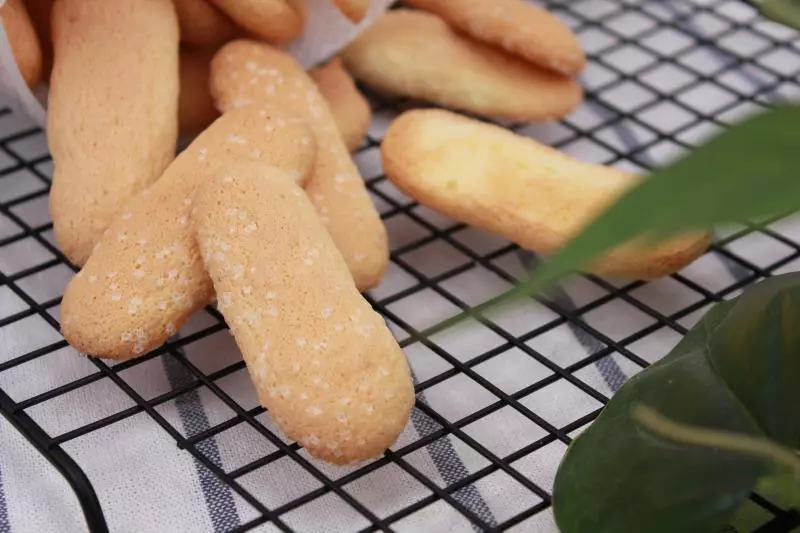
13成品。
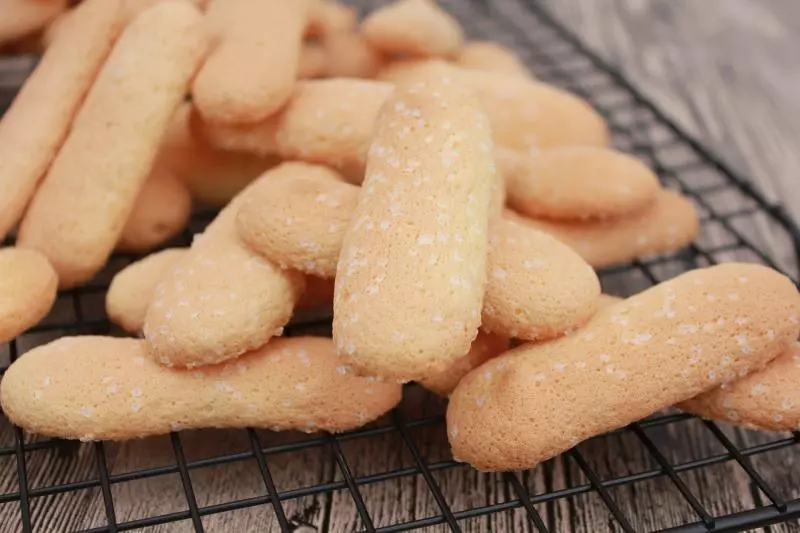
14成品。
小技巧
建议使用可以上下独立控温的烤箱,我使用的是东菱的DL-K38B烤箱哦!