原料
中粉: 200g, 细砂糖: 40g, 猪油: 70g, 清水: 90g, 低粉: 180g, 猪油: 90g, 奶油奶酪: 40g, 黄油: 25g, 原味炼乳: 20g, 牛奶: 125g, 吉士粉: 10g, 澄粉: 50g, 鸡蛋: 2个, 细砂糖: 80g, 椰蓉: 70g, 红曲粉+水: 少许
步骤
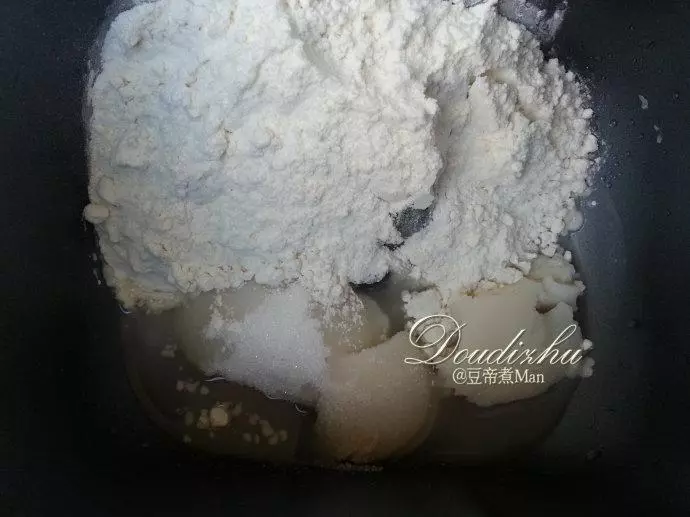
1首先制作油皮,把材料倒入启动搅揉至出膜
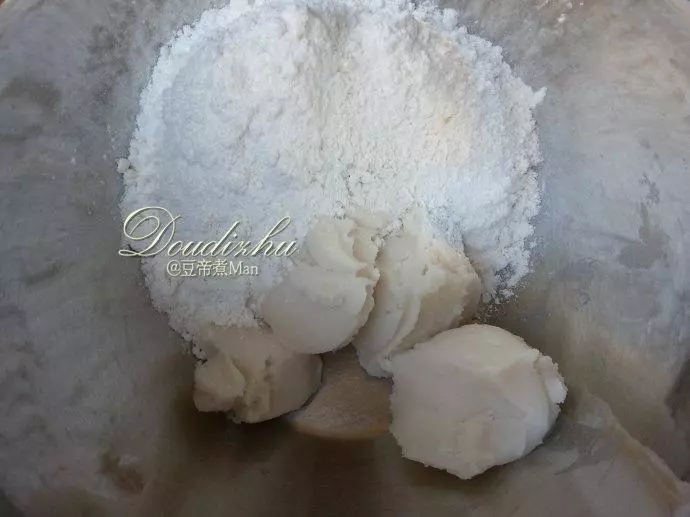
2在机器搅揉的时候,腾出手我们制作油酥。把猪油倒入盆中加入低粉,戴上一次性手套轻揉成团即可
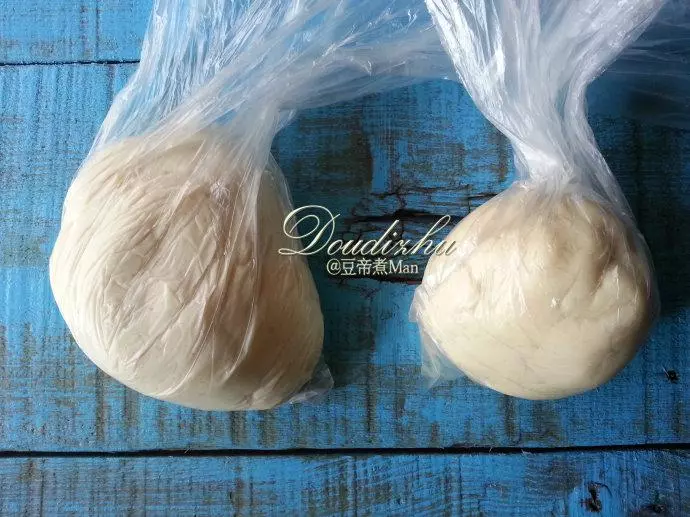
3在油皮 油酥全部制作好的时候,放入冰箱冷藏大概30分钟
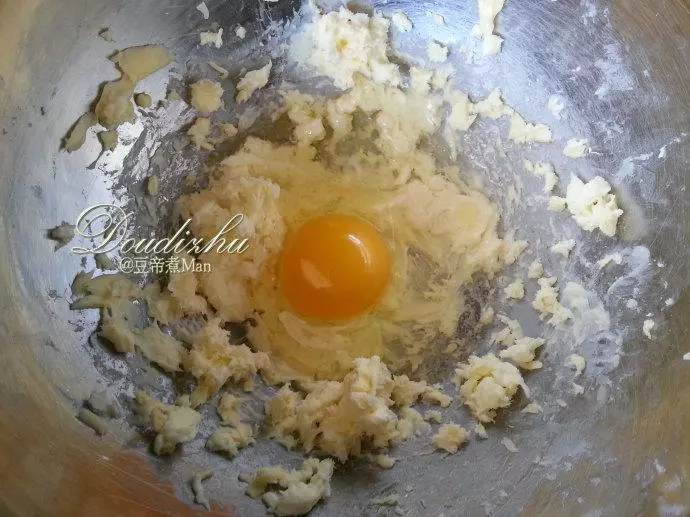
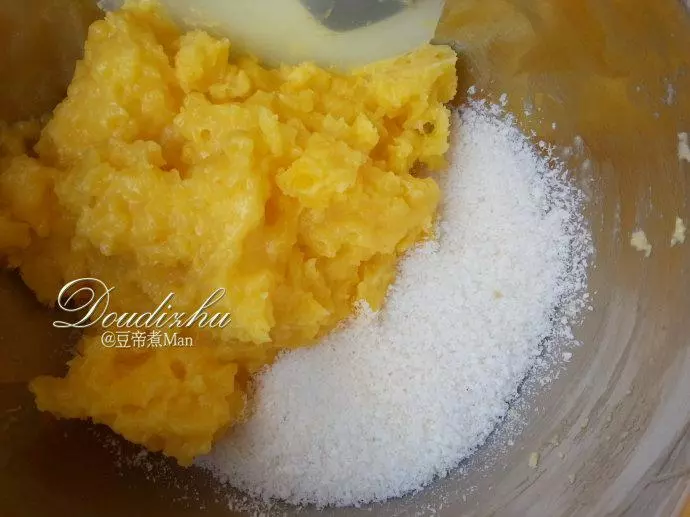
4利用这个时间我们开始制作馅料,奶油奶酪及无盐黄油室温软化。加入细砂糖搅打至顺滑,先加入一个鸡蛋低速搅打融合。再打入另一个鸡蛋一样低速搅打融合
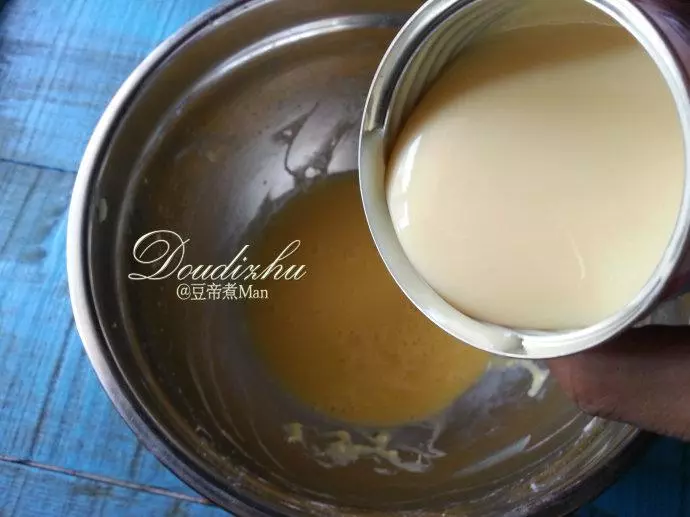
5然后倒入炼乳再加入牛奶。搅拌均匀
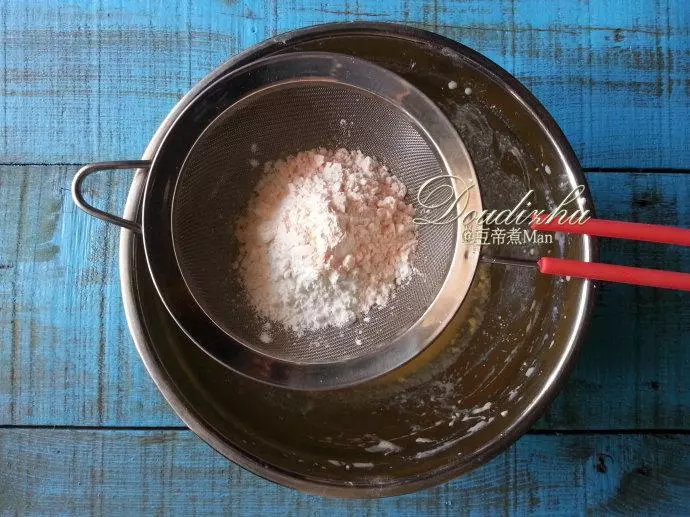
6筛入吉士粉和澄粉,翻拌至粉完全融合
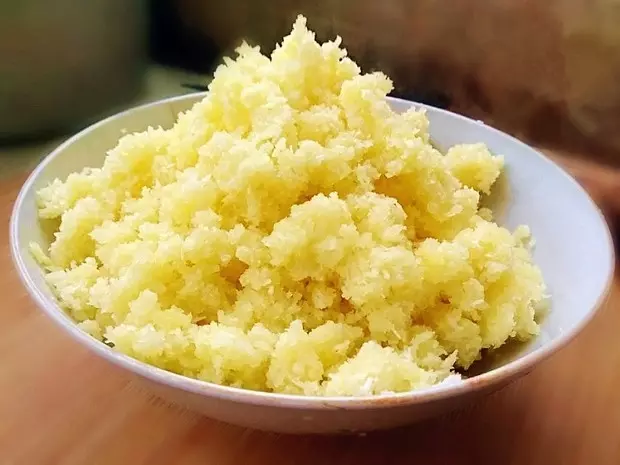
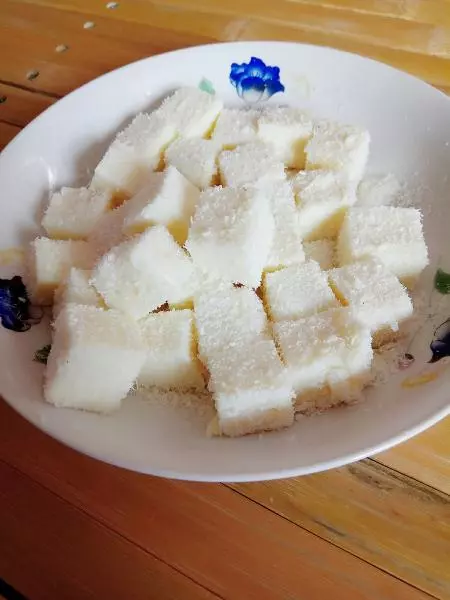
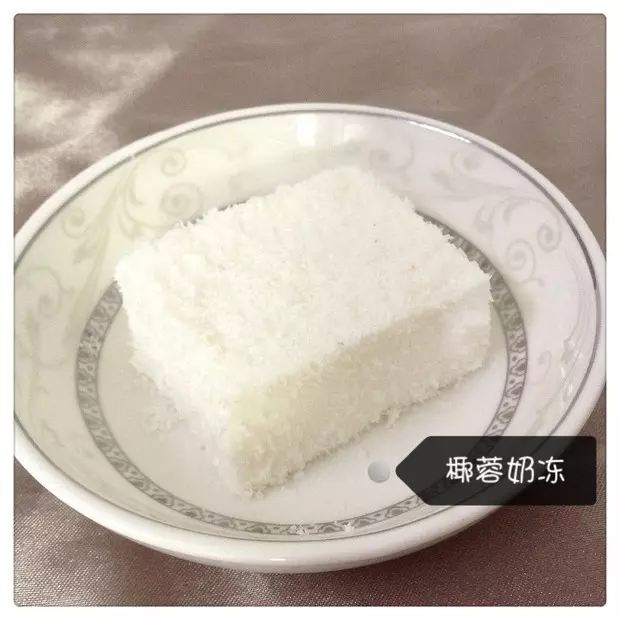
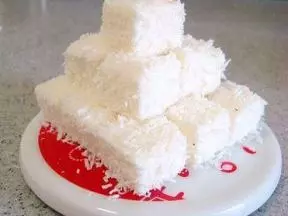
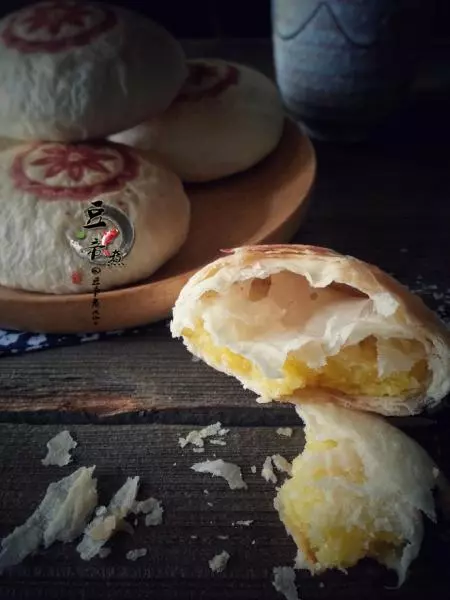
7把拌好的材料隔水加热,搅拌至成型不会水水并成团即可。倒入椰蓉搅拌均匀
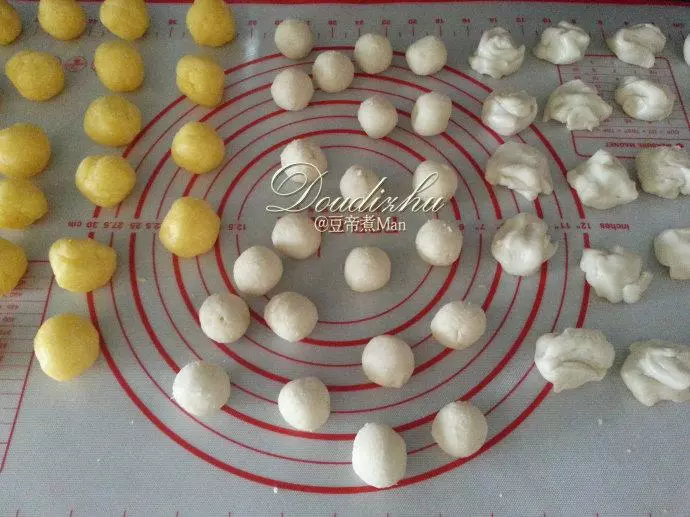
8把所有的材料均匀分成22份
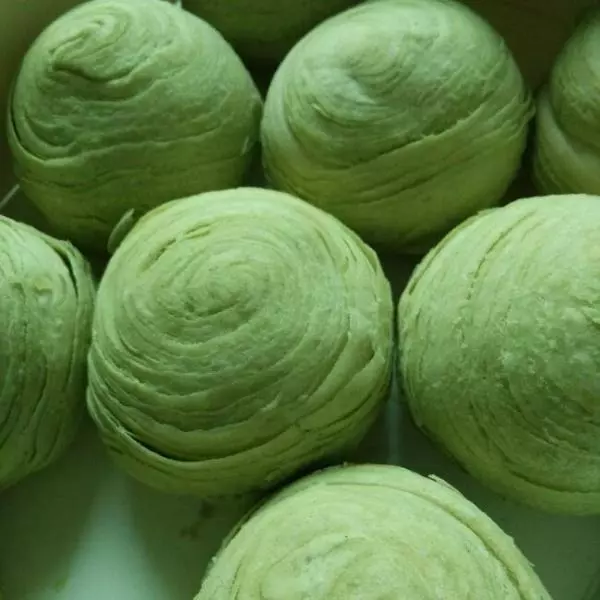
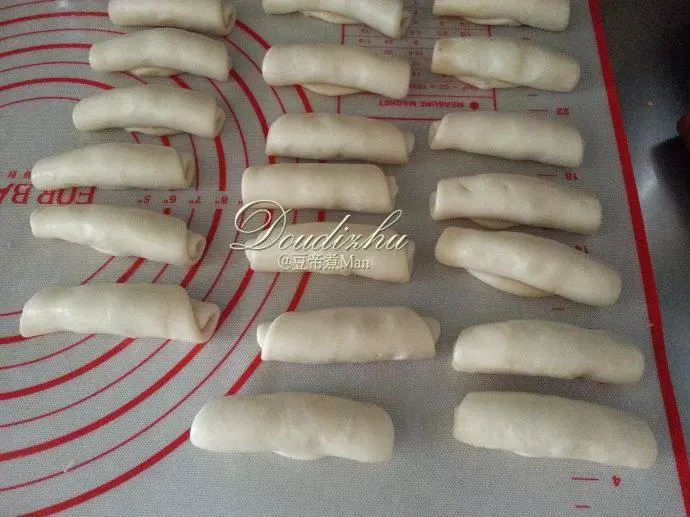
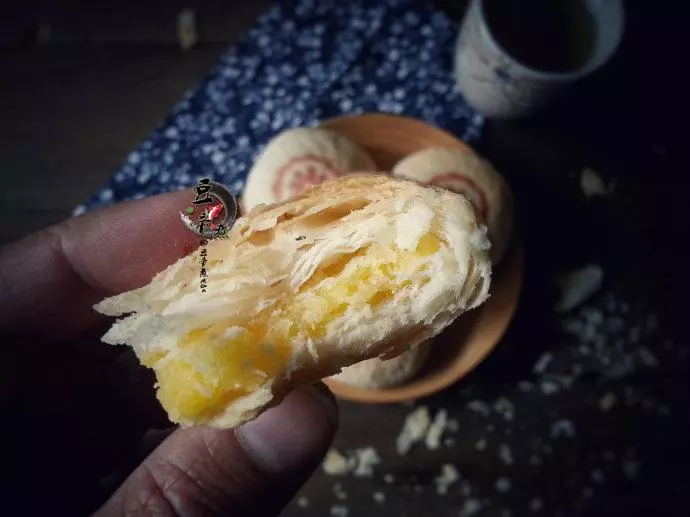
9油酥包入油皮中擀成舌型卷起盖上保鲜膜醒置10分钟,然后再次压扁擀卷再醒置10分钟
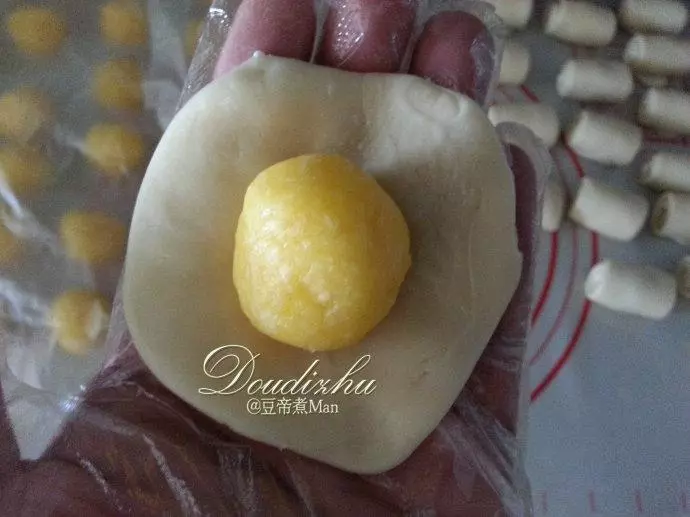
10对折压扁擀成圆形包入馅料密合封口
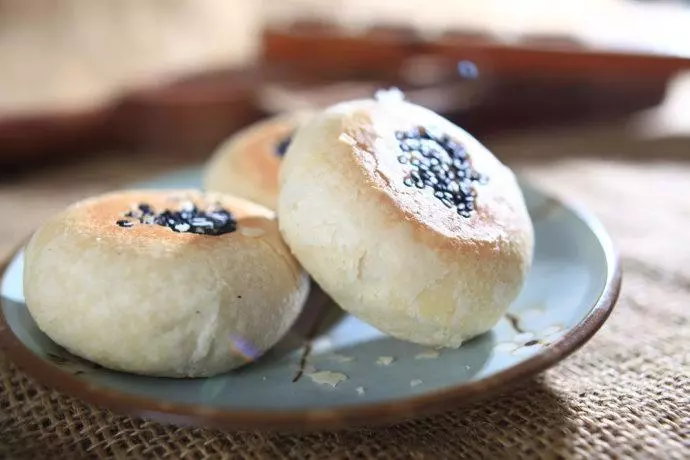
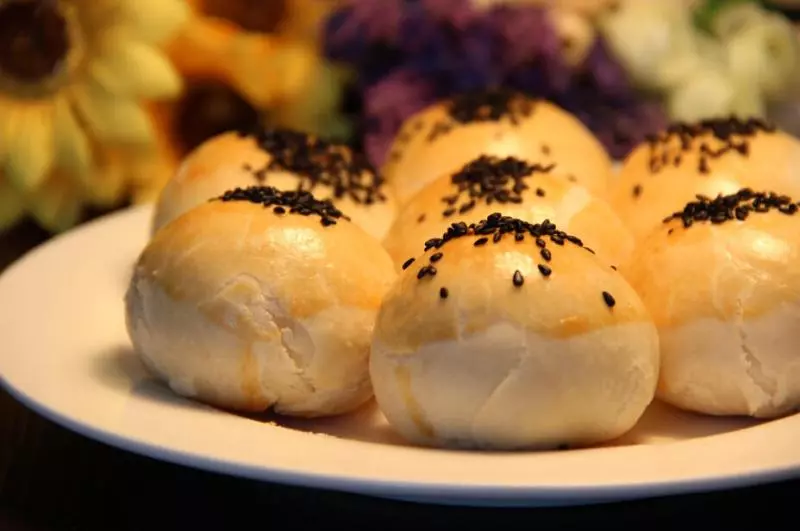
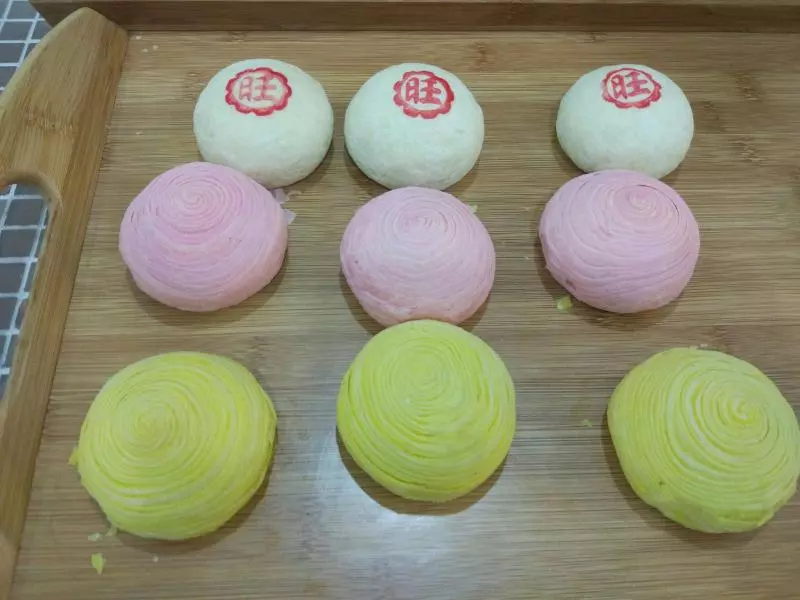
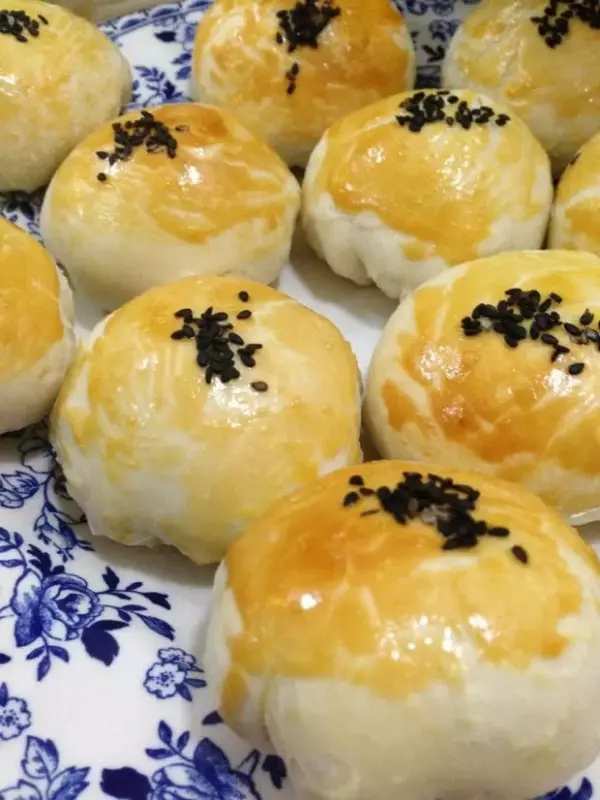
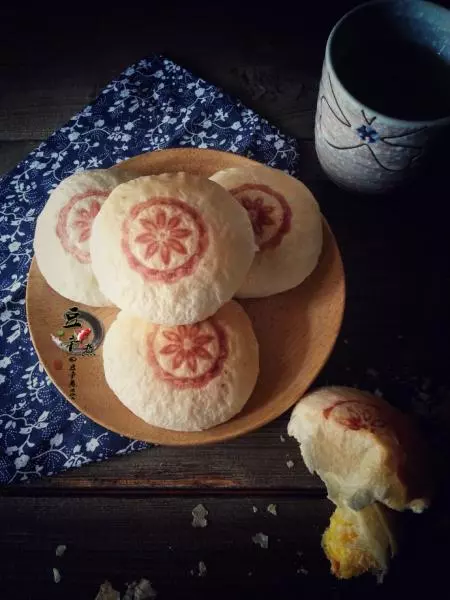
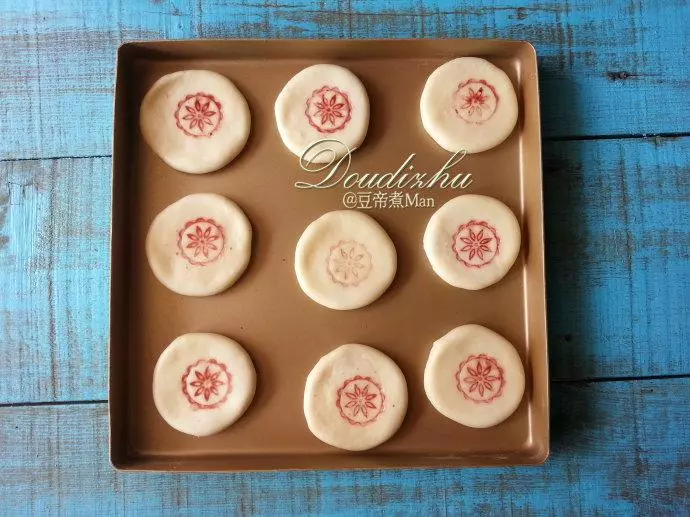
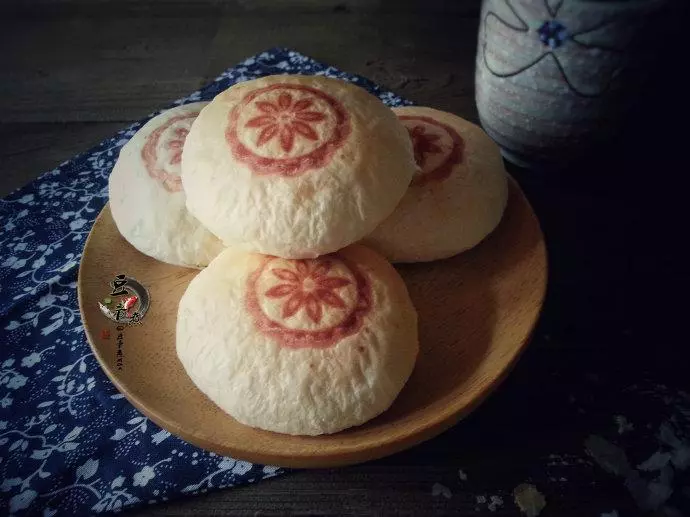
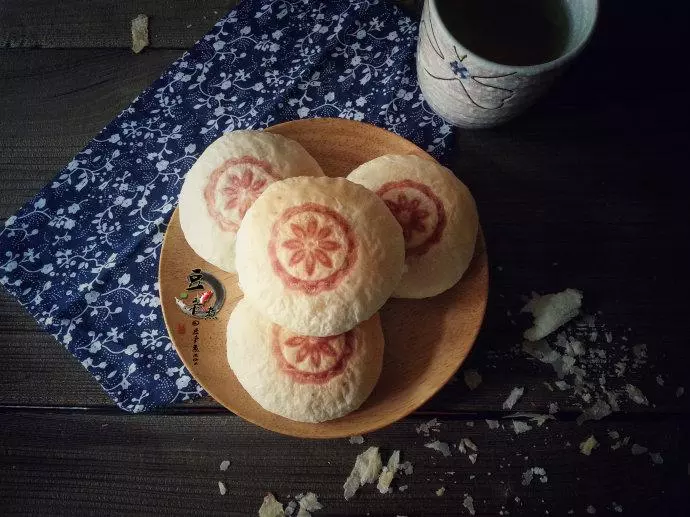
11封口朝下轻微压一下,然后擀一下。不需要太扁!使用红曲粉加入少许水搅融,使用所喜欢的印章印一下
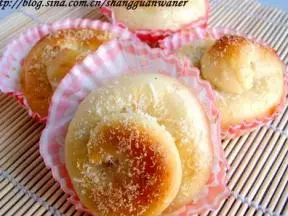
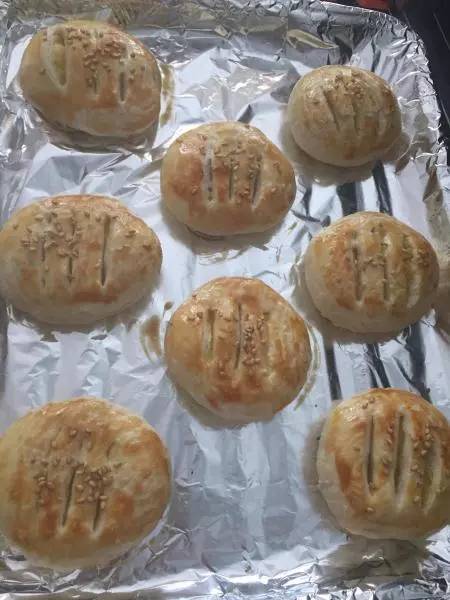
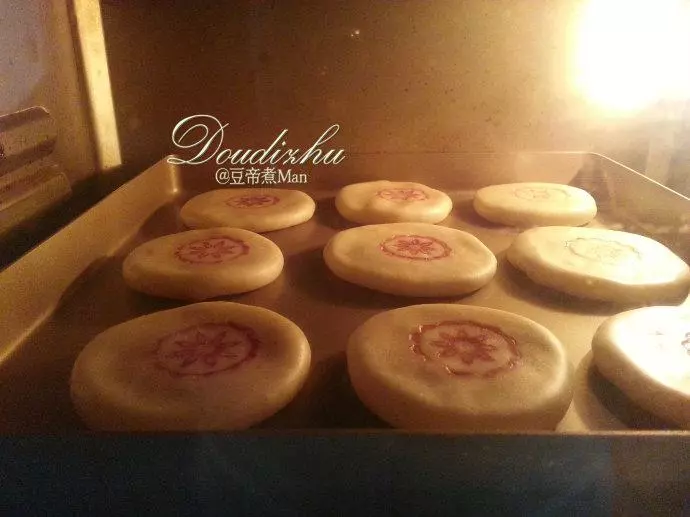
12烤箱提前预热160度 ,上下火中层烤制25分钟即可【温度与时间根据自己烤箱做出调整】
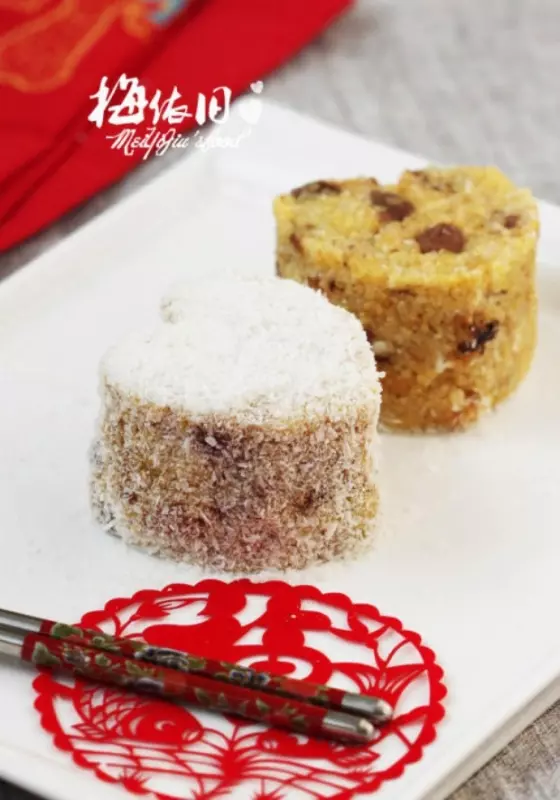
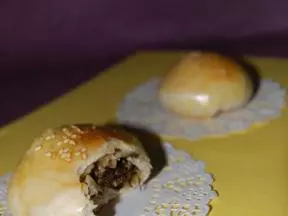
13传统
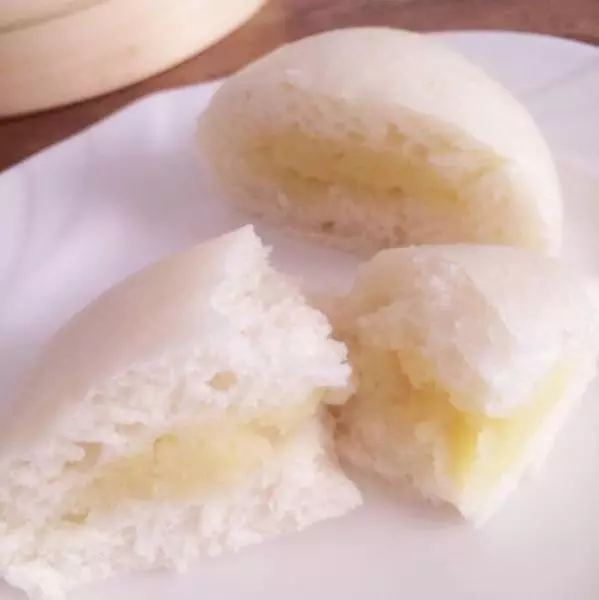
14创新
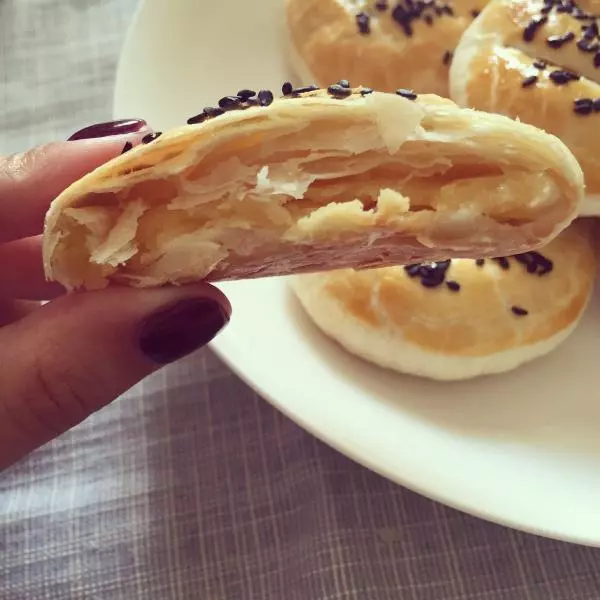
15美味
16你试试
小技巧
压扁擀卷再醒置10分钟可以更好的起酥