原料
白松露酱: 30g, 松露黄油: 10g, 奶油奶酪: 100g, 鲜奶油: 80g, 牛奶: 160g, 砂糖: 40g, 松露蜂蜜: 10g, 蛋黄: 2个, 松露粉: 5g, 百利甜酒: 15ml, 油浸松露片: 适量
步骤
1蛋黄加砂糖搅打至砂糖融化,蛋黄颜色变浅。

2鲜奶油与牛奶混合,加入白松露酱10g,煮至微微沸腾即可离火。

3将离火后稍微放置的松露奶油趁热倒三分之一进蛋黄糊中,迅速搅散打匀,以防蛋黄结块。

4将混合好的松露蛋糊倒回煮鲜奶油的锅中,小火加热,不断搅打,以防蛋黄结块。

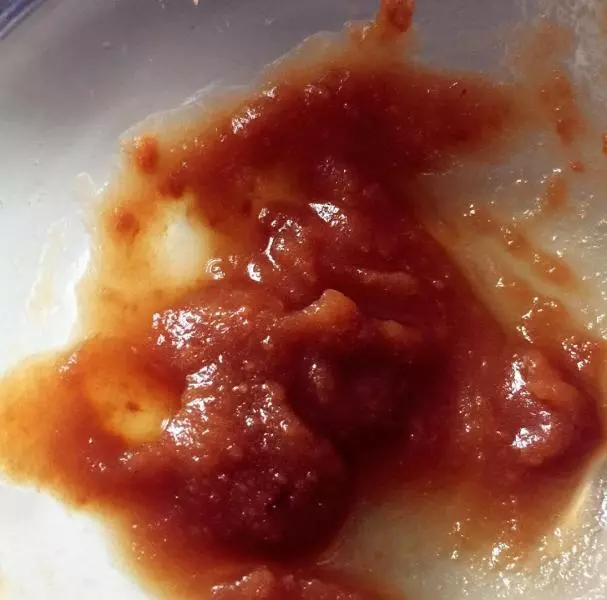
5煮到酱汁开始浓稠,挂一些浆在勺背,手指划过痕迹清晰就是乳化成功了,立即离火。

6松露卡斯达奶酱过筛,让质地更顺滑,最后残留在网筛上的松露酱颗粒要一并加入到松露卡斯达酱中拌匀。隔冰水迅速降至常温。

7盖保鲜膜,紧贴着奶酱,以防水蒸气产生,冰箱冷藏3小时以上,备用。

8奶油奶酪Cream cheese室温软化后搅打至顺滑,加入剩下的20g白松露酱拌匀。

9将冷藏好的松露卡斯达酱与奶油奶酪混合拌匀。

10添加松露蜂蜜和松露粉拌匀。

11再加入百利甜酒,如果介意酒精,可以将酒放到卡斯达酱的步骤,趁热加入,究竟就会发了,只余香气。

12最后,舍得下本的,可以切一些油浸松露原片到冰激凌糊中,不想加也可以省略。

13将冰激凌糊倒入一个比较宽阔的烤盘中平铺盖保鲜膜,记住也是紧贴材料表面。放入冰箱冷冻室,冻至基本凝结,还有一点软的地步,大约1小时,依据各自冰箱功率酌情调整时间。

14取出后用铲刀切分成小方片。

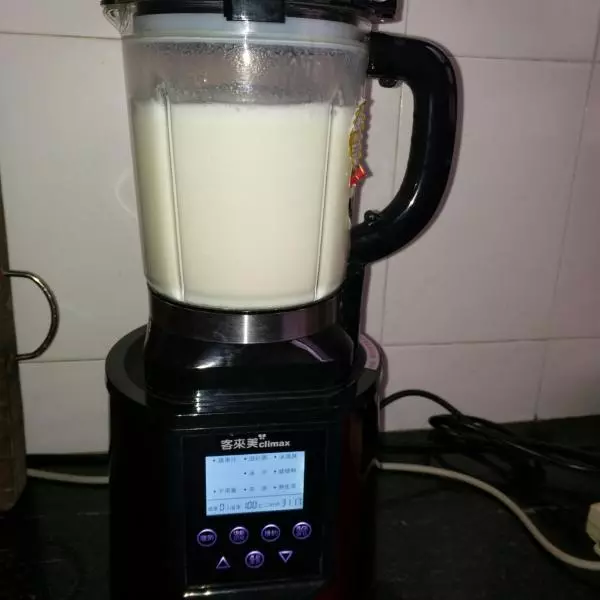
15放到料理机或均质机、果汁机里面低速搅打。注意冰激凌比较稠,要有耐心,慢慢打匀,中途不断开盖去把贴在边上的,或结团的拌匀,再搅打。

16最后要打到完全顺滑。再倒入方盘,盖保鲜膜冷冻1小时,拿出来重复14-15的步骤,就是再用料理机打一遍。

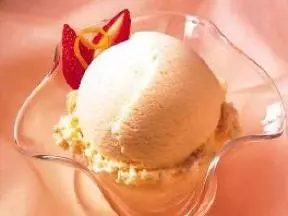
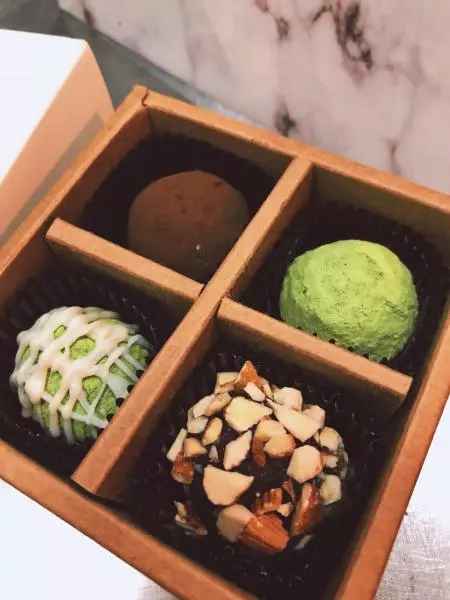
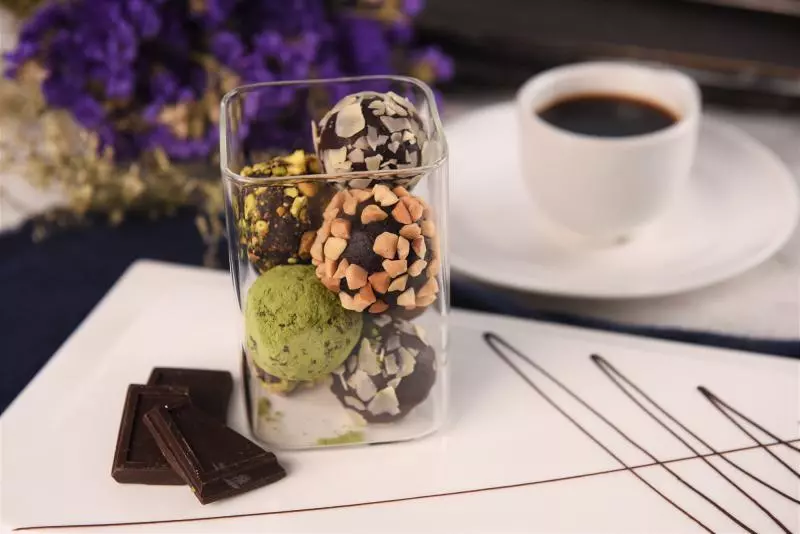
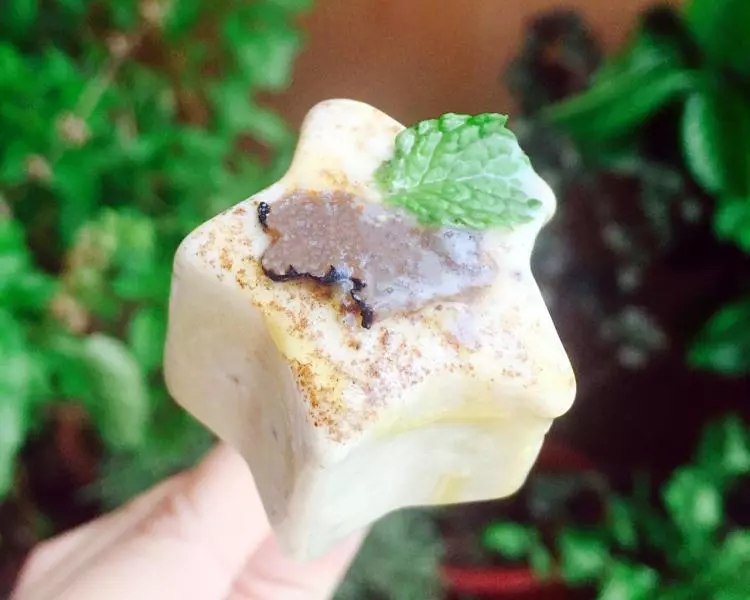
17两次搅打均质的冰激凌糊,倒入你喜欢的模具,盖保鲜膜,并且加盖密封冷冻。吃之前回温片刻。

18步骤14-15也可以用电动打蛋器来做,材料盆外隔冰水,也是重复搅打、冷冻两次。(有冰激凌机的盆友,这步骤只需做一次,记得冰激凌搅拌碗要提前冷冻8小时以上)

19冰激凌可以用硅胶模具或方便脱模的小盒子,直接倒扣出来配酥饼、坚果等食用。

20享用的时候可以再撒些松露粉,淋一点松露蜂蜜。

21也可直接用勺子舀着吃,吃不完的盖保鲜膜用盒子密封起来继续冷冻。