原料
软化黄油: 30克, 糖粉: 30克, 蛋清: 30克, 菠菜泥: 30克, 低筋面粉: 45克, 牛奶: 50克, 玉米油: 40克, 低筋面粉: 80克, 鸡蛋: 4个, 细砂糖: 65克
步骤
1软化黄油,加入糖粉,打发至颜色变浅蓬松状后,逐次少量加入蛋清搅拌均匀,再逐次少量加入菠菜泥搅拌均匀。
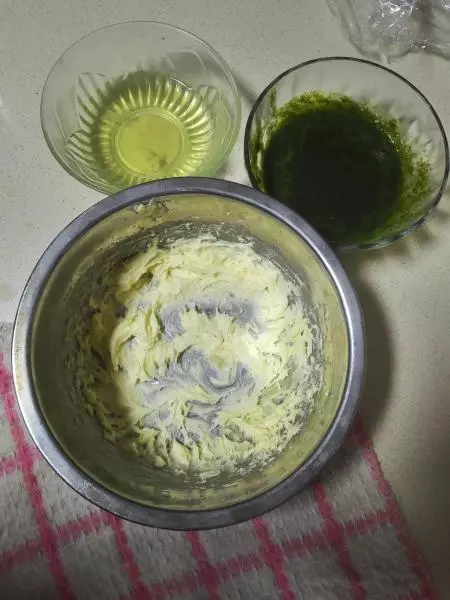
2加入低粉,翻拌均匀,如图,得到粘稠顺滑的菠菜蛋清面糊。

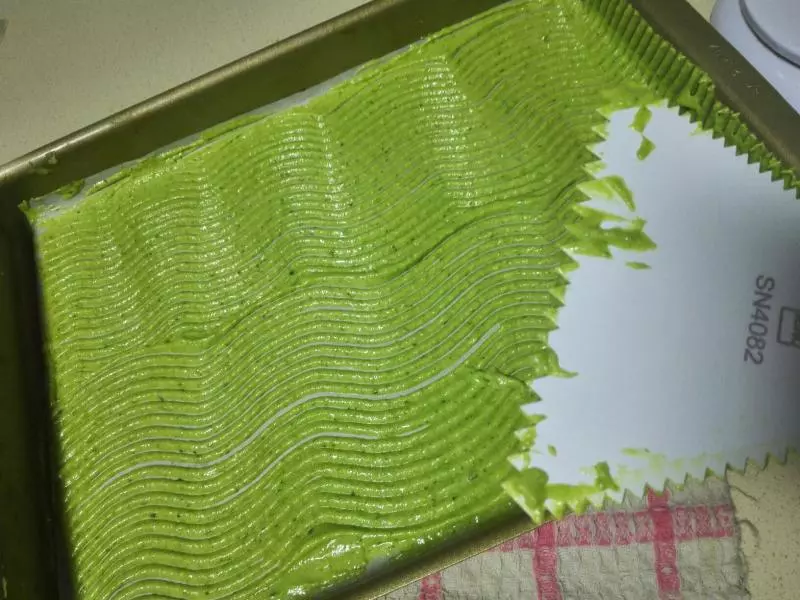
3烤盘下垫油纸,装入菠菜面糊,并用刮刀抹平整。
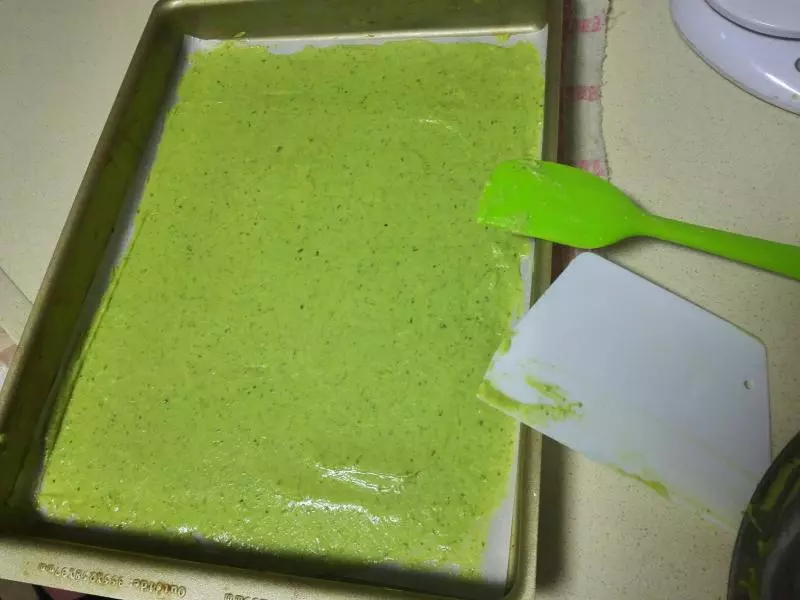
4用三角带齿刮刀在菠菜面糊上画出纹路后,入冰箱冷藏。
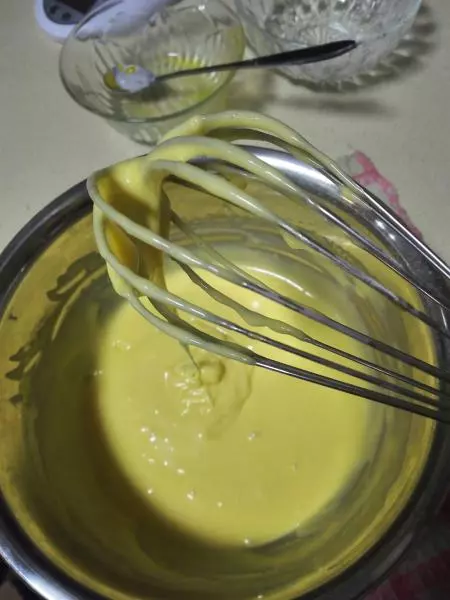
5蛋黄糊材料,用后蛋法混合均匀。得到光滑如锻状即可。用纱布覆盖提防水分流失。
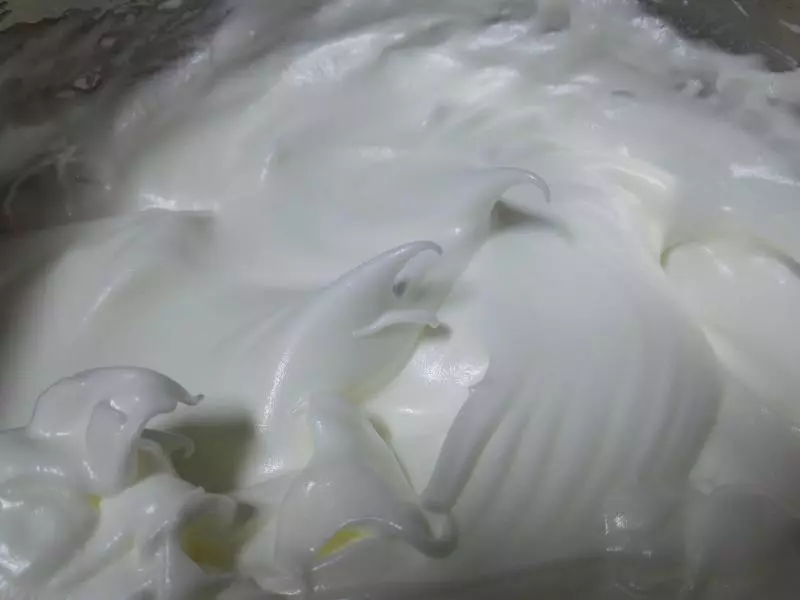
6分三次加糖,打发蛋白,如图状。
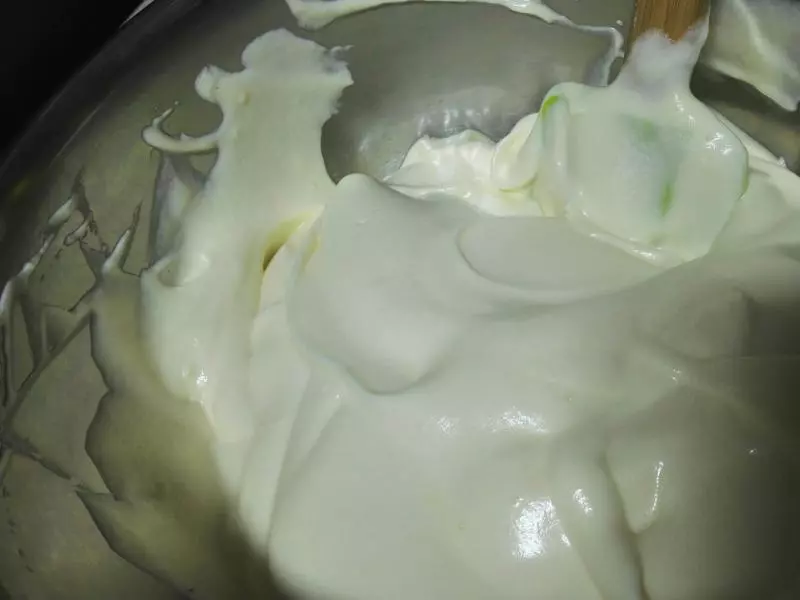
7用翻拌手法混合蛋黄糊和蛋白霜。
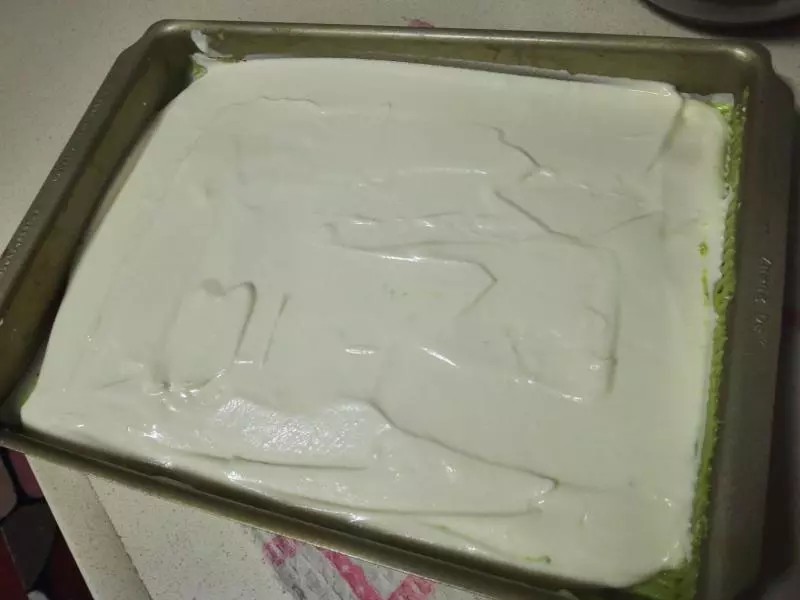
8预热烤箱。上下火175℃。 冰箱取出菠菜蛋清皮,上面倒入蛋糕糊,用刮刀抹平。
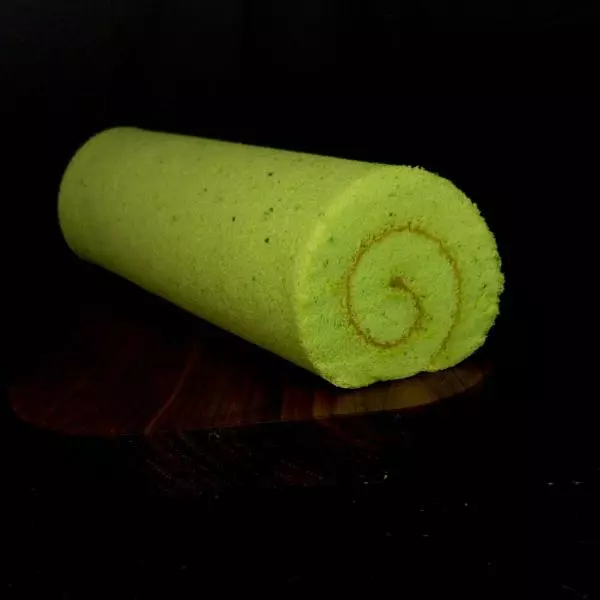
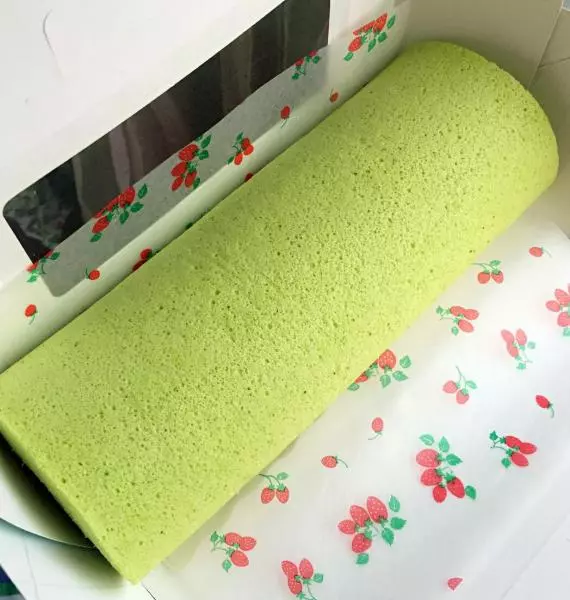
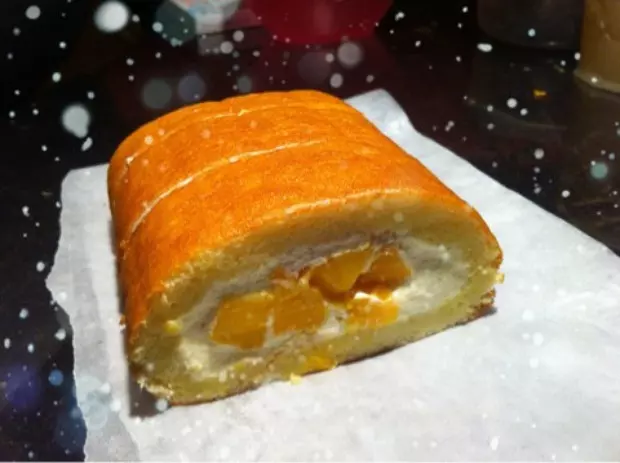
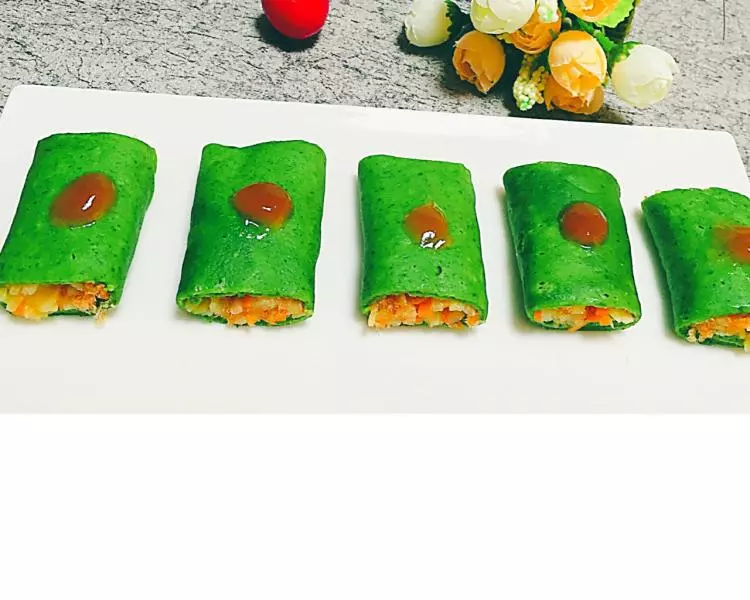
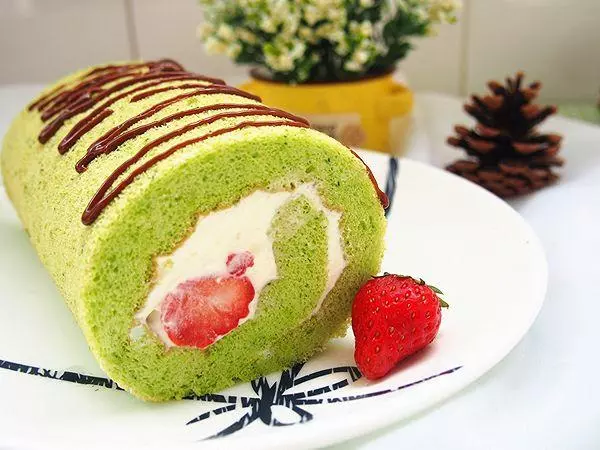
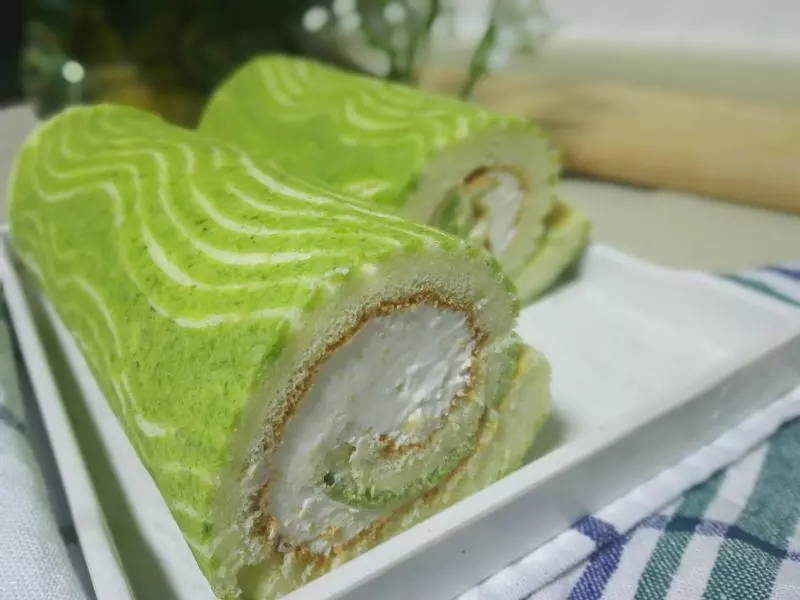
9烤箱预热好后,放置烤箱中层,上下火160℃烤25至30分钟。出炉。晾凉时打发奶油,蛋糕凉至手温后脱模,菠菜皮朝下,面上抹奶油,卷起,冰箱冷冻定型一小时后取出放冷藏,吃时切件。
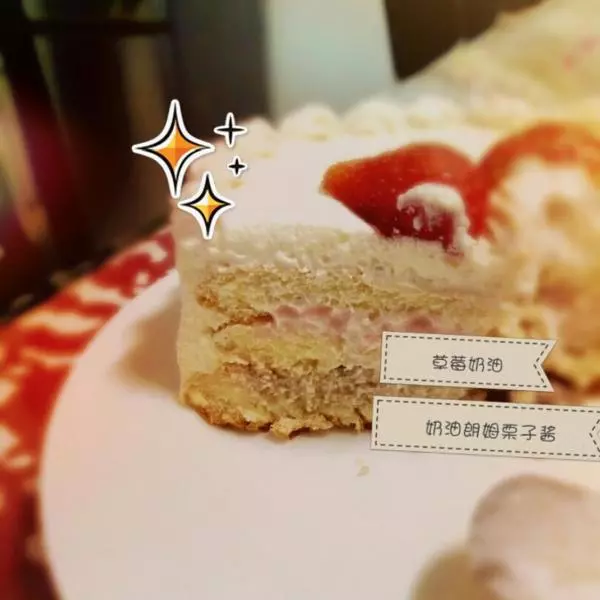
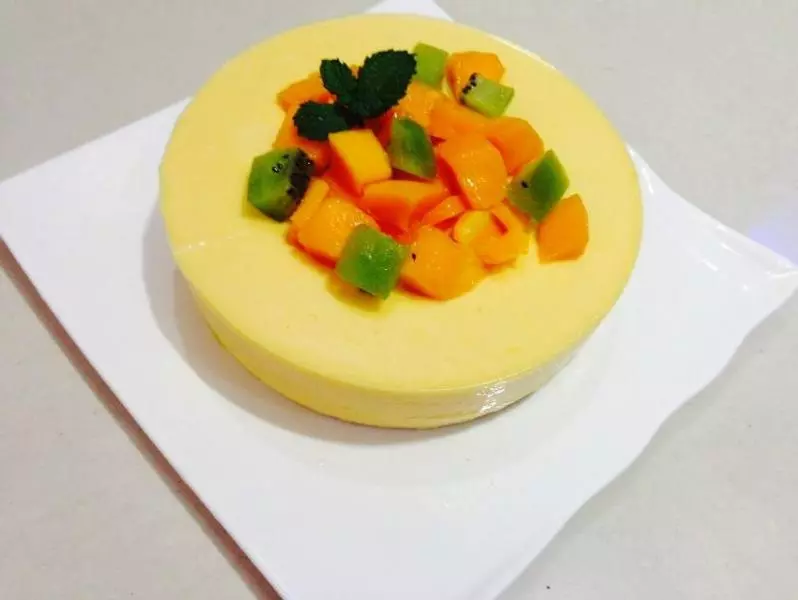
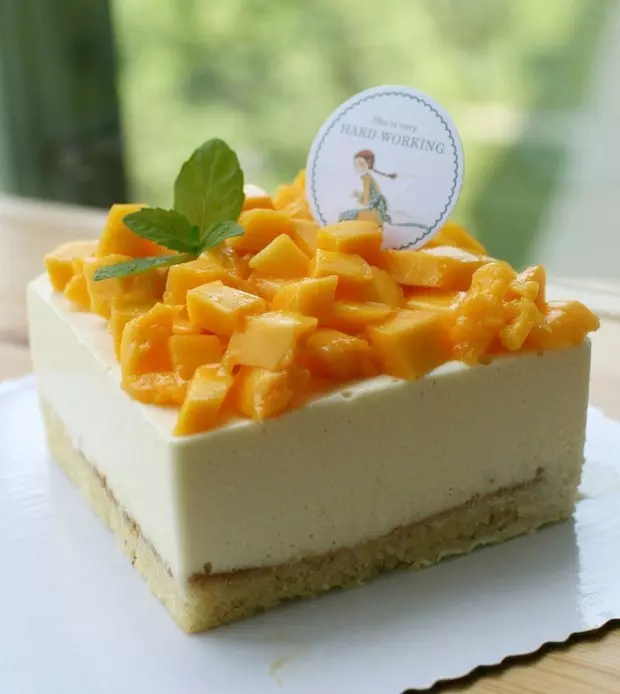
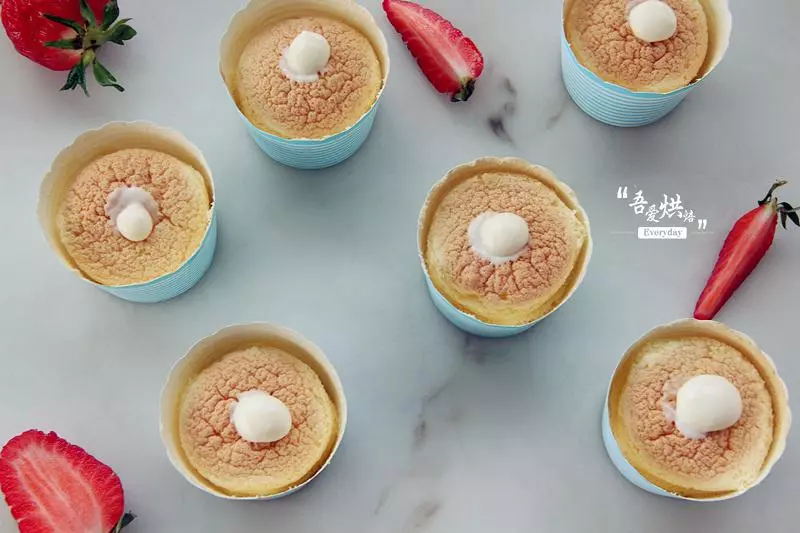
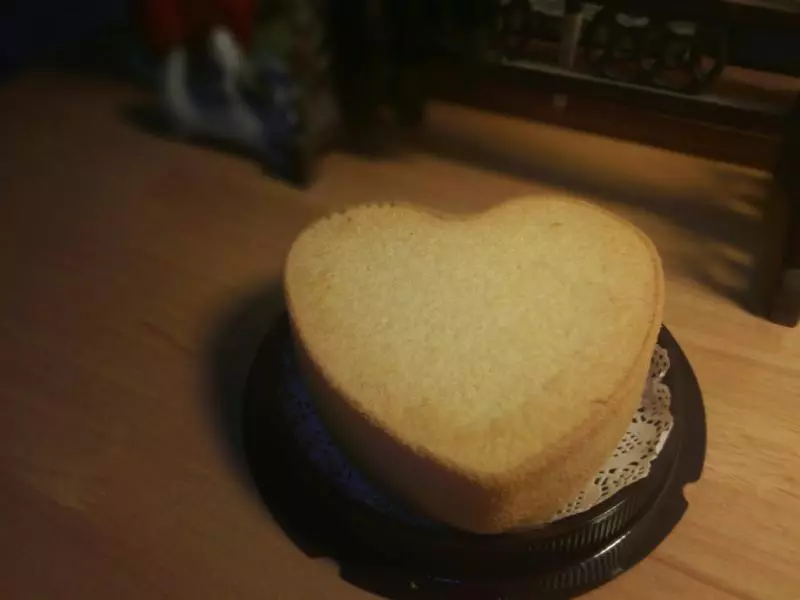
10其他面糊做了一个心~到盆友家做伴手礼,人家回赠了一瓶玫瑰精油,这回,赚大发了?
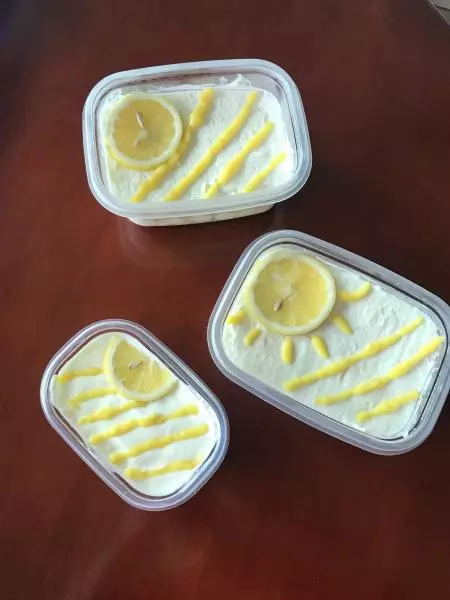
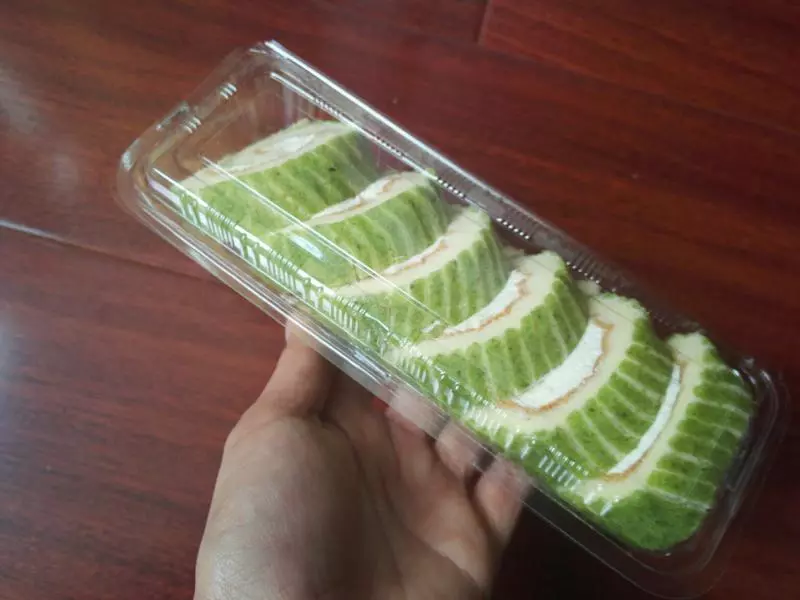
11打包送人也不错,可出12个卷卷~
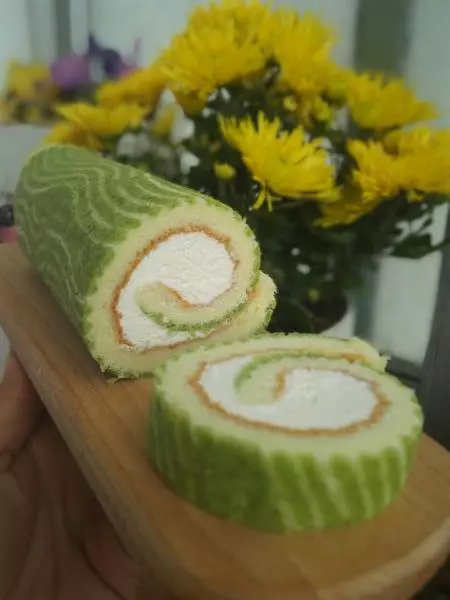
12配上家里阳台上正艳的黄菊,咔嚓~心里一片清爽……