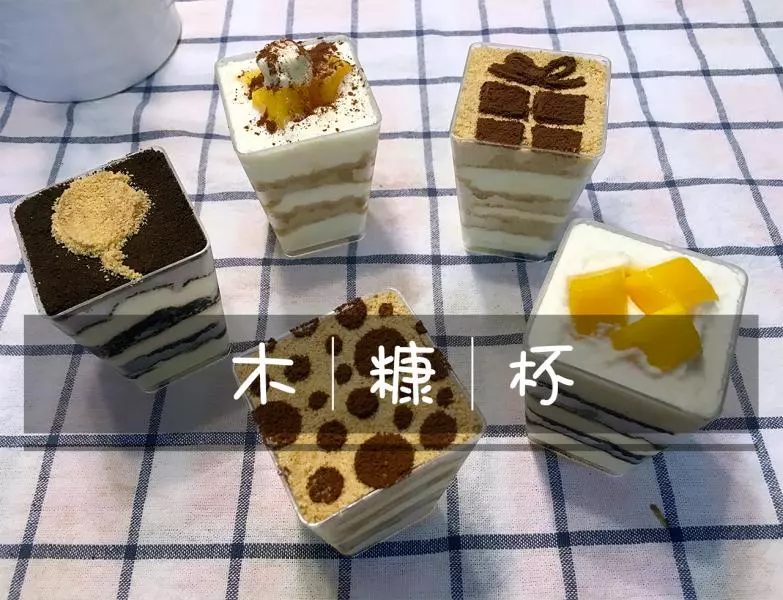
原料
安佳淡奶油: 500g, 薏米饼干: 360g, 炼奶: 115g, 柠檬汁: 3滴(不加也可以)
步骤
1准备食材啦啦啦~淡奶油,打蛋器,饼干,炼奶,搅拌机,裱花袋一个~各种器皿~

2买的杯子我在准备工作前就事先在泡一下~因为外面买的还是怕会不够干净~

3在没打碎饼干前就量好多少g,打碎后量有点不方便~都是粉末碎碎~~

4没有搅拌机器的亲也不用担心~手动操作也可以~但就费劲些~因为做木糠杯的精髓在于它入口的细腻~所以饼干碎碎越碎越好哟,越细腻越好!我是怕饼干末末到处飞~所以我开始就用保鲜袋子装好饼干再捣鼓它们~感觉受力面也会大些~

5最后用搅拌器一打~细腻末末就出来啦~

6饼干碎碎弄好后就可以开始打发奶油啦~

7奶油打发到6分的时候就把炼奶加进去继续打发到8分~就可以啦~

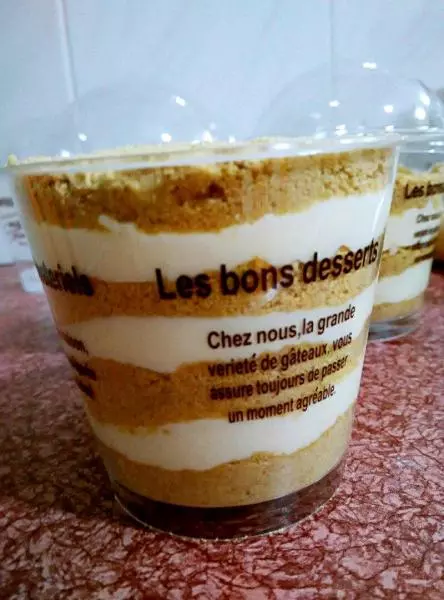
8杯子底部先铺一层饼干末,压平,再用裱花袋挤奶油进去,震平,一层饼干末一层奶油这样放,奶油要轻压,以防饼干和奶油混合在一块就不美观了~

9然后放进冰箱2~3个小时~ 就可以吃啦!大功告成~

10是不是很简单~

小技巧
建议从冰箱拿出来后3分钟再吃口感更好哦~软软滑滑的~~ 建议打发奶油的时候可以用冰块坐着底部打~天气热嘛~~容易打得更好一些 奶油太多有时候不好打发~可以分开两次打