原料
水: 150克, 盐: 2克, 糖: 30克, 玉米油: 20克, 鸡蛋: 1个, 面粉: 300克, 酵母: 4克
步骤
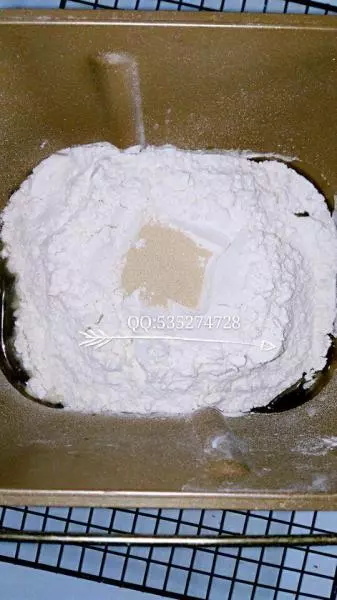
1将材料依次放入面包桶内。
2面包机发面程序。
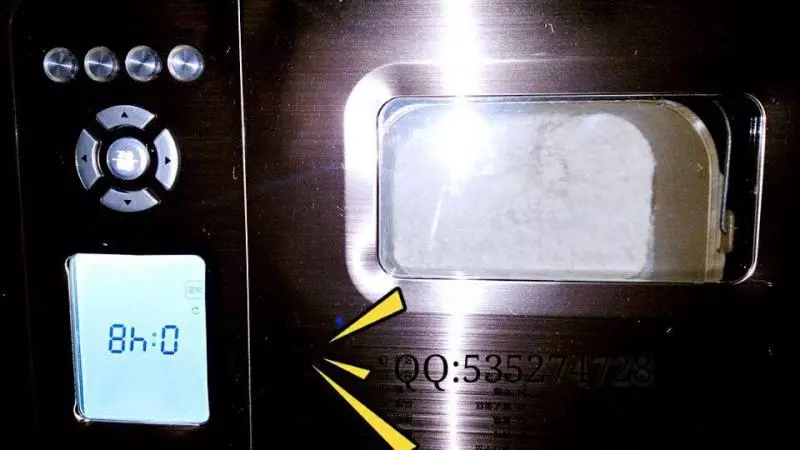
3程序结束。

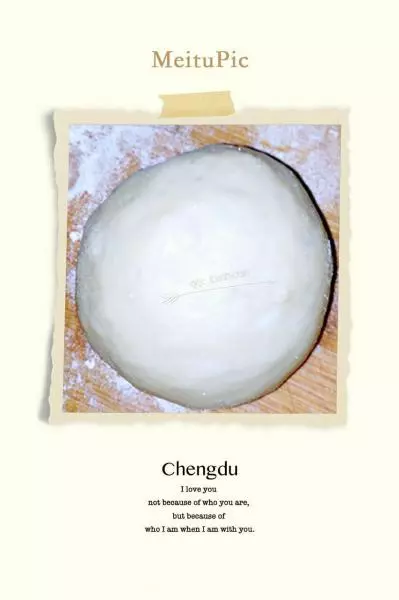
4取出来整形。

5充分排气后,盖上保鲜膜松弛15-20分钟。

6取松弛好的面团。

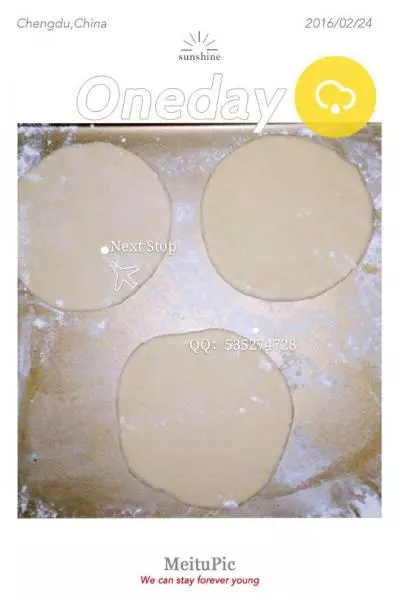
7将面团分成60克左右一个的小面团3个(6寸披萨),127克左右一个的小面团3个(8寸披萨)。

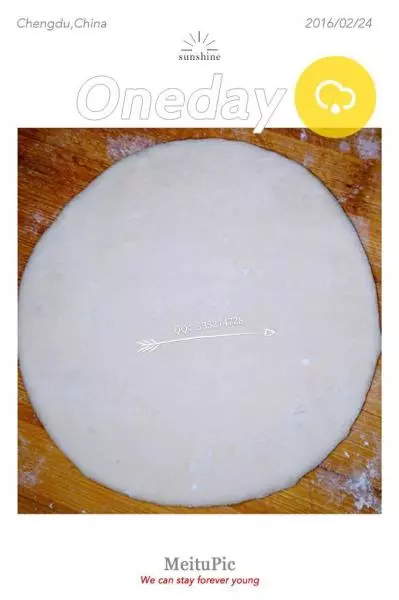
8取一个面团。
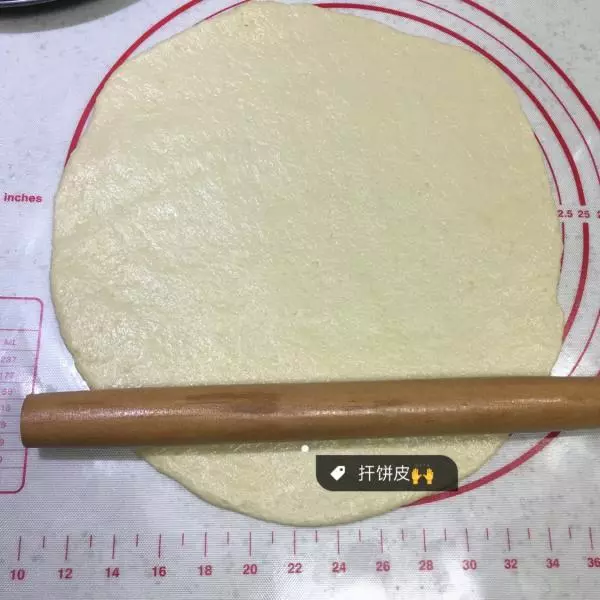
9用手压扁。

10用擀面棒擀成圆形,其中6寸的直径为12.5cm,8寸的直径为17.5cm。
11放入事先涂好油的披萨盘中。

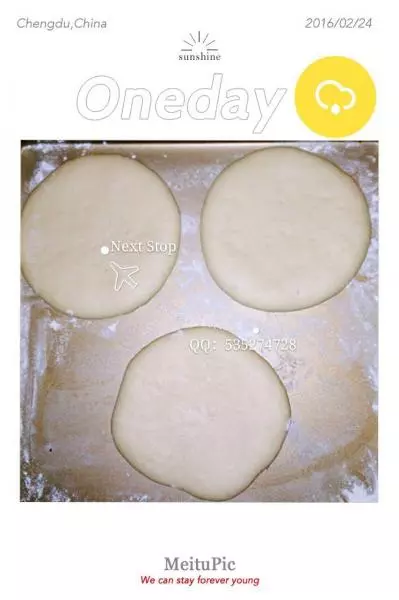
12(如果不是马上吃的,就放入烤盘中)。 放温暖的地方进行二次发酵。
13发酵好后取出。
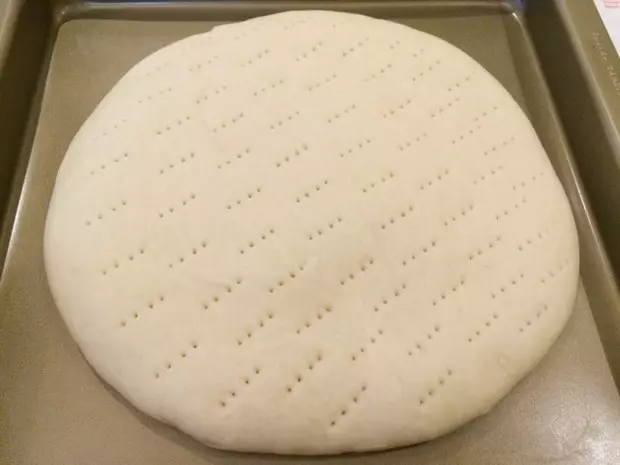
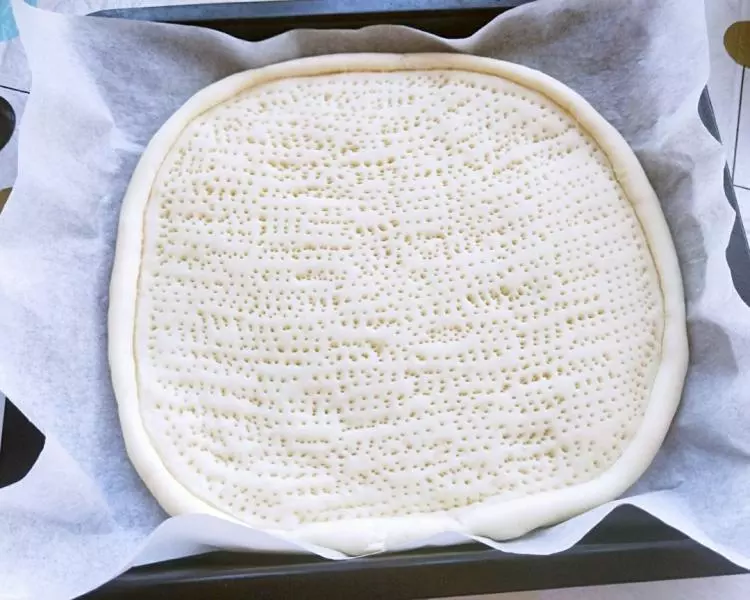
14先将叉子上面抹上油。

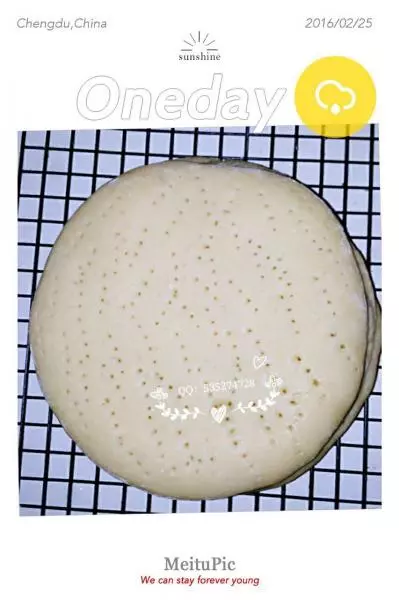
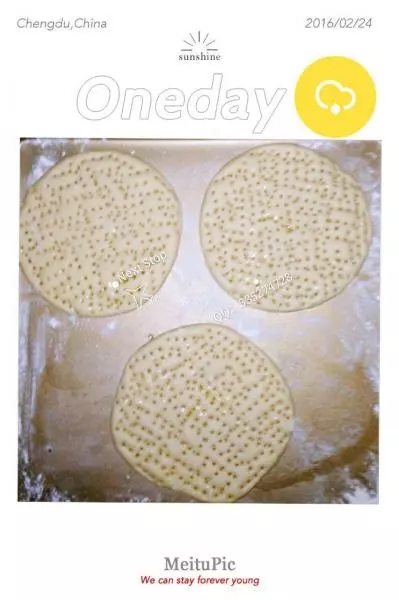
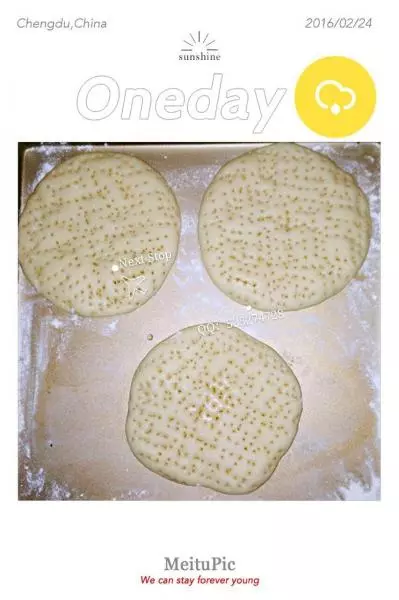
15然后用叉子在饼皮上扎孔(防止饼皮烤制的时候鼓起)。
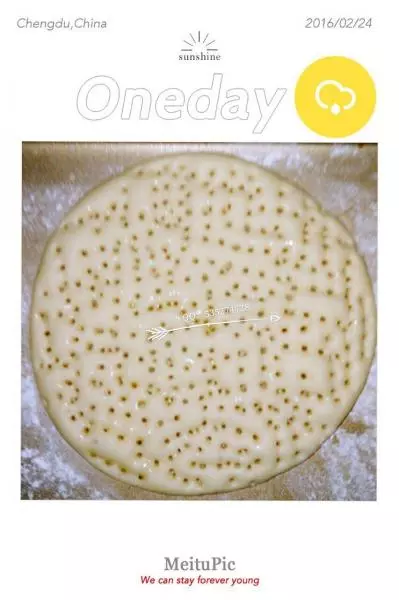
16全部都扎好孔后。
17放入预热好200度的烤箱中,上下火200度烤5分钟即可。 (烘烤的温度请根据自己的烤箱实际情况自行调整哦)
18取出放凉。

19饼底背面。

20完全凉了后包上保鲜膜放冰箱冷冻保存即可(最好独立包装,这样方便之后食用哦)。

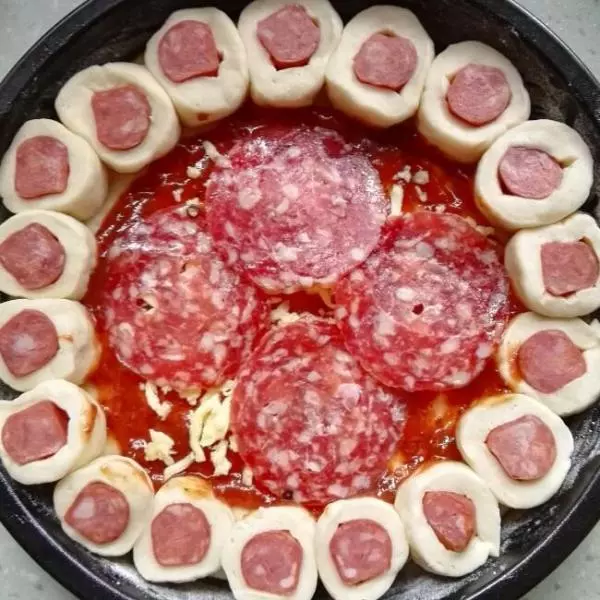
21成品图。

22为了方便区别,6寸的饼底扎孔多一些,8寸的扎孔少一些。
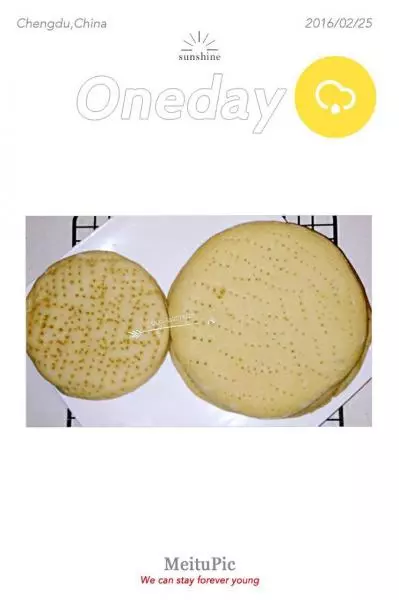
23成品图。