原料
材料A:无盐黄油: 50克, 细砂糖: 35克, 低粉: 70克, 浓缩咖啡粉: 2大匙, 鲜牛奶: 2大匙, 材料B:无盐黄油: 50克, 细砂糖: 20-25克(根据喜好增减), 低粉: 60克, 淡奶油: 1大匙
步骤
1烤箱170度预热,鲜牛奶加热后,加入咖啡粉搅拌均匀,放凉备用。

2材料A的黄油室温软化后,加入细砂糖,用蛋抽大幅度搅拌至颜色略浅,呈光滑奶油状。

3分次加入咖啡液,每一次都要彻底混合均匀。

4筛入低粉。

5用刮刀拌匀至无干粉状。

6材料B的黄油室温软化后,加入细砂糖,用蛋抽大幅度搅拌至颜色略浅,呈光滑奶油状。

7加入一大匙淡奶油,继续搅拌均匀。

8筛入低粉,用刮刀拌匀至无干粉状。

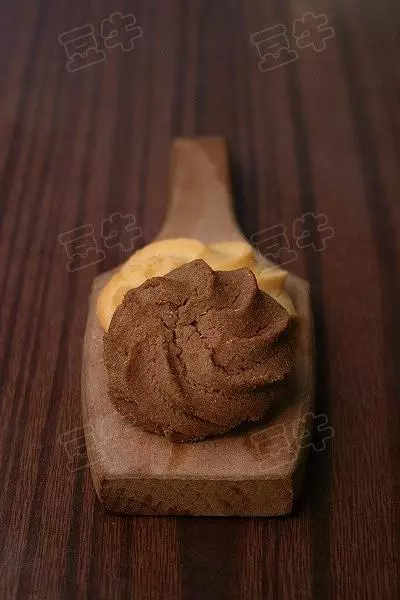
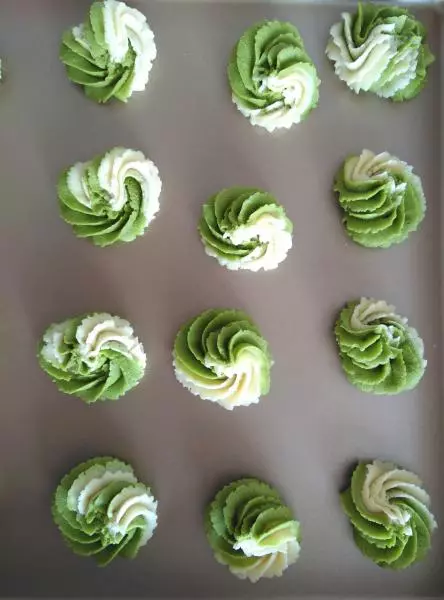
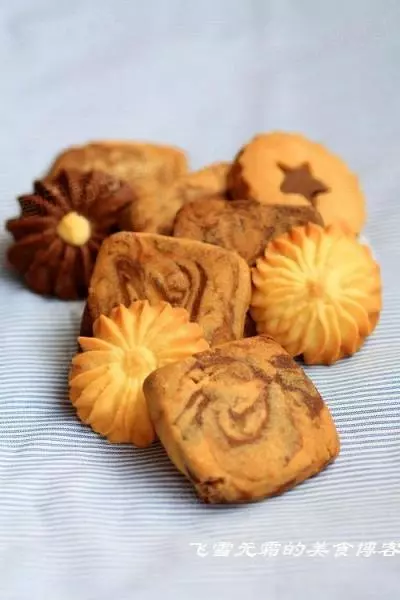
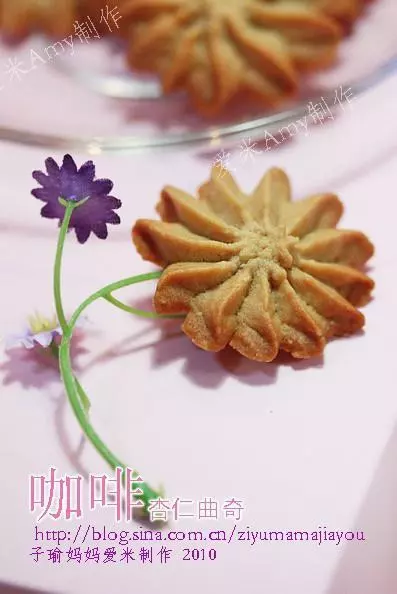
9裱花袋中放入花嘴,将双色面糊装入裱花袋中,将封口处系紧。在烤盘中挤出大小,厚度一致的花形,放入烤箱中,170度15-18分钟左右。烤好后,放置晾架上冷却。