原料
面团: , 金像面包粉: 252克, 太古红糖粉: 9克, 盐: 3克, 蛋白: 36克, 红糖姜汤: 140克, 姜泥: 5克, 无盐黄油: 18克, 耐高糖酵母: 3克, ——: ——, 红糖姜汤: , 太古红糖粉: 40克, 生姜: 40克, 水: 360克, ——: ——, 夹馅: , 核桃: 30克, 太古红糖粉: 40克
步骤
1材料分别称量好

2先制作红糖姜汤,姜片、红糖、水放入奶锅中

3加热至沸腾,红糖融化闻到姜味

4过滤到量杯中,放晾备用

5称出需要的红糖姜汤放入搅拌缸中,加入面团中的红糖,用刮刀搅拌至融化(红糖颗粒用刮刀碾压一下就可以融化)

6加入酵母,搅拌至融化

7加入面包粉、蛋白、姜泥

8动厨师机1档成团后调到3-4档摔打面团

9能拉出容易破的薄膜

10加入软化的无盐黄油、盐

11启动厨师机1档,面团吸收完黄油后调到3-4档摔打面团,至能拉出不容易破坚固的筋膜

12戳开边缘平滑

13手套膜~

14滚圆放入玻璃碗中,室温发酵至2倍大

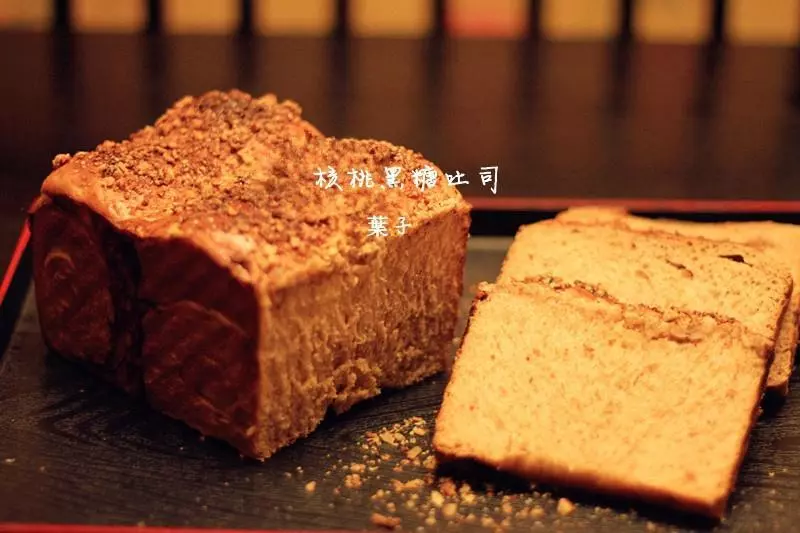
15制作夹馅,核桃放入烤箱中150度烘烤5分钟左右烤熟即可

16切碎放入碗中跟红糖搅拌均匀备用

1710、取出发酵好的面团, 手指蘸面包粉戳到面团中,不回缩、不塌陷即发酵好

18轻轻倒到揉面垫上,手掌轻拍排气

19平均分成3份

20滚圆盖保鲜膜松弛20分钟

21取出松弛好的面团,用擀面杖擀成牛舌状

22翻面,由上往下卷起收口向下

23依次做好另外两个盖保鲜膜松弛20分钟

24取出松弛好的面团,用擀面杖擀成牛舌状,翻面

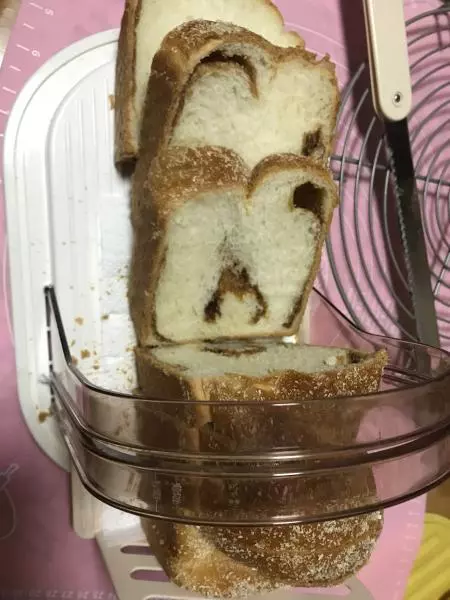
251放入1/3夹馅由上往下卷起,收口捏紧

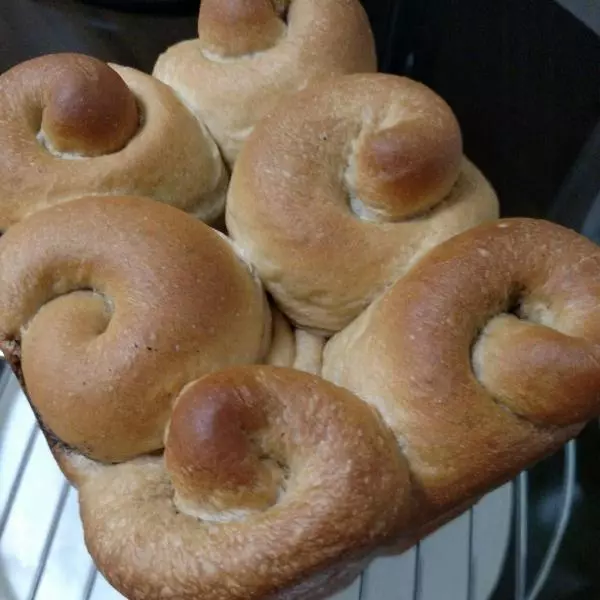
26依次做好另外两个放入吐司盒中

27放入烤箱中38°发酵至8分满(差不多到8分满时取出,170°预热烤箱)

28差不多到8分满时取出,170°预热烤箱(具体的温度按自家的烤盘脾气)

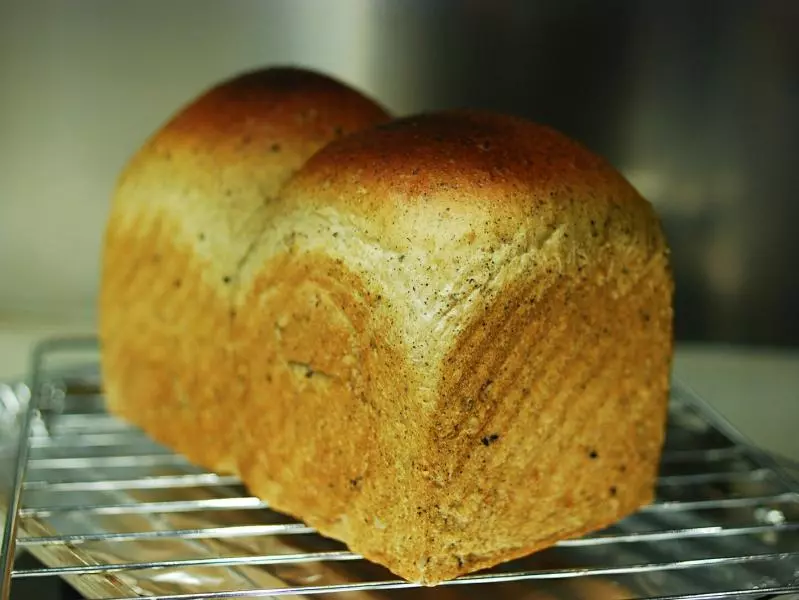
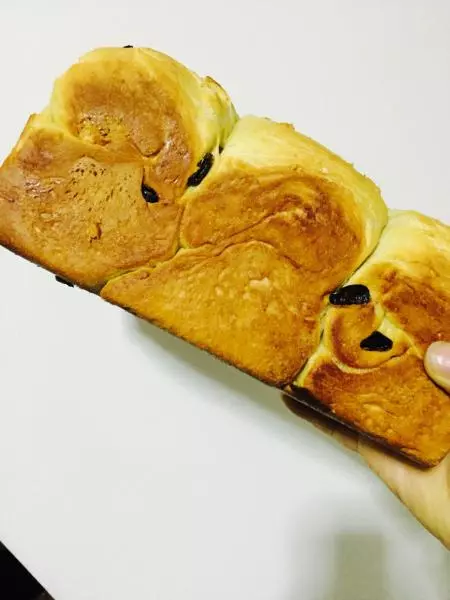
2916、放入预热好的烤箱中,烘烤30分钟即可(吐司表面烤上色后可以盖一层锡纸预防上色过深)

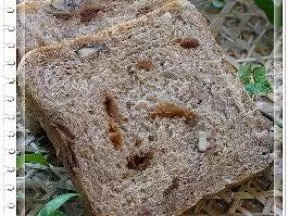
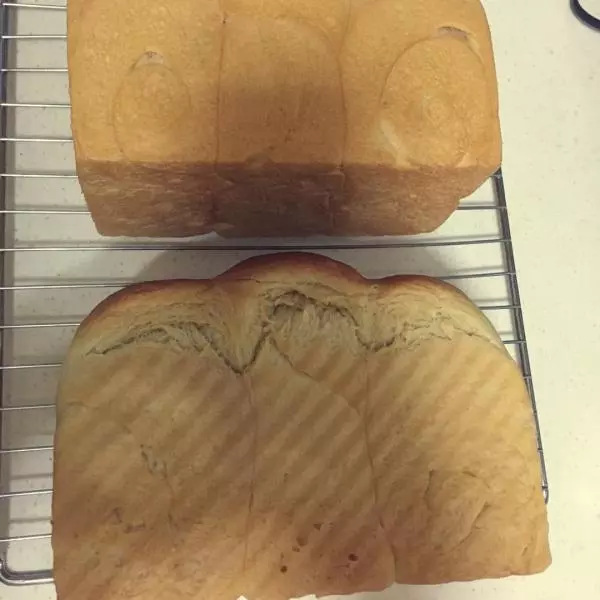
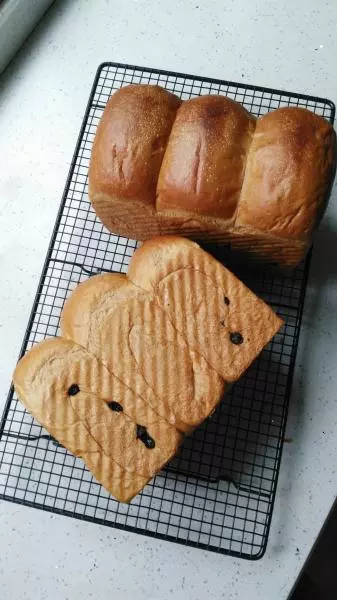
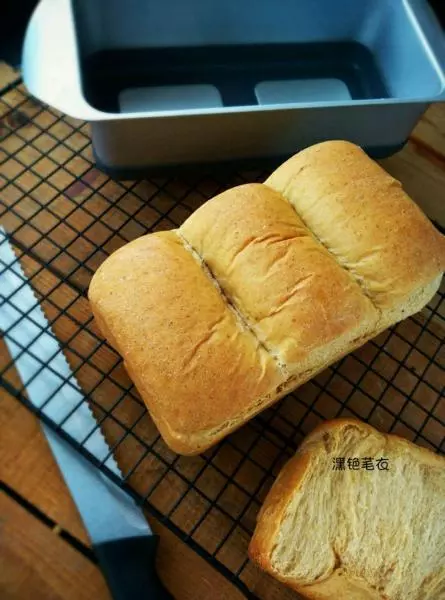
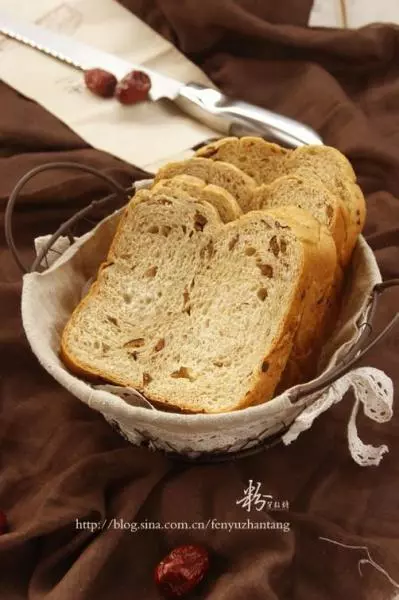
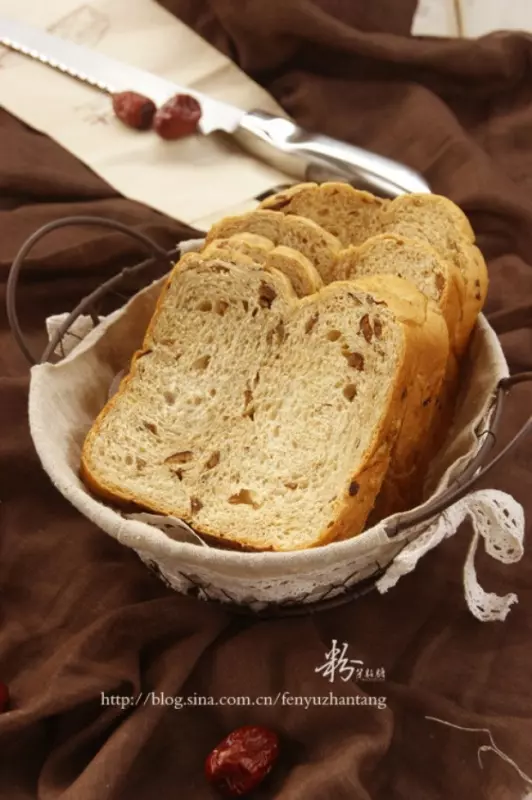
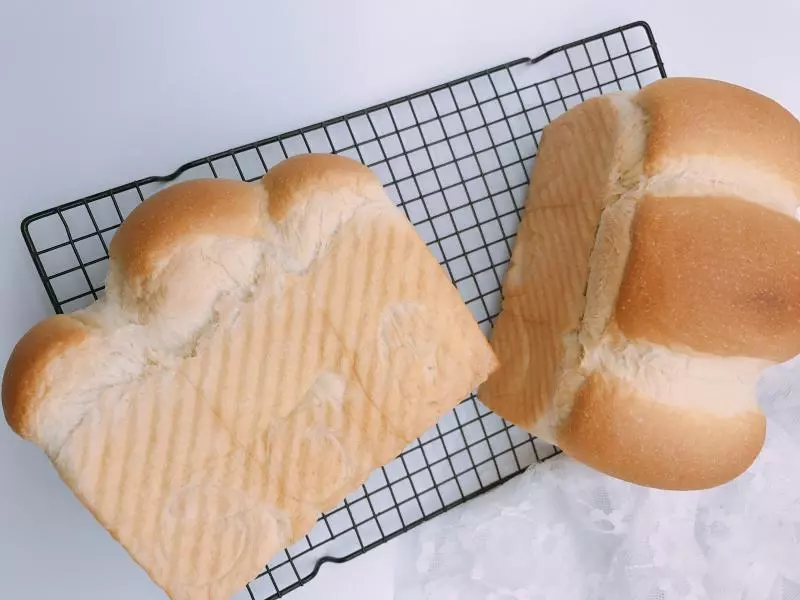
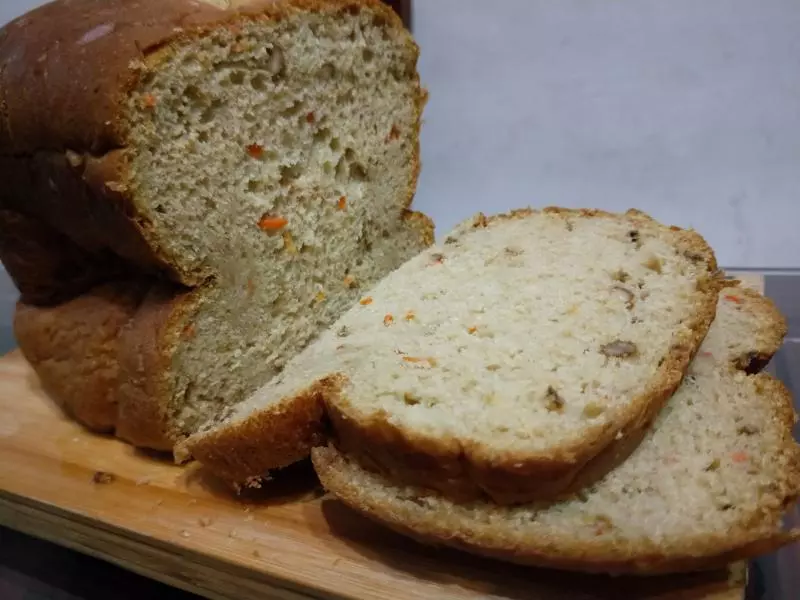
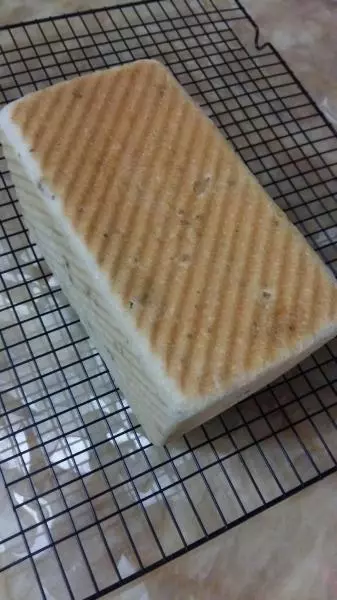
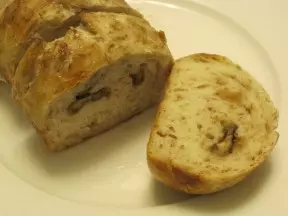
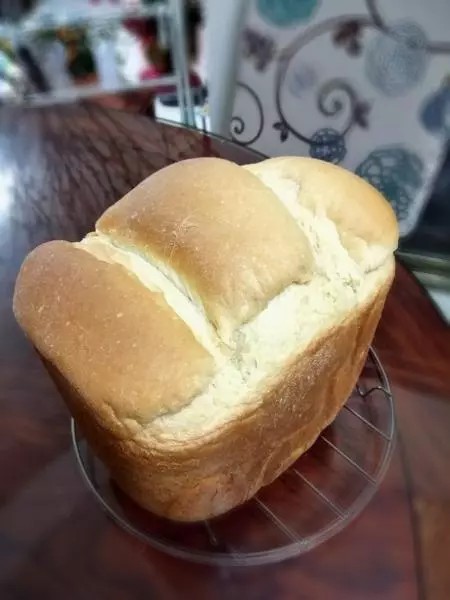
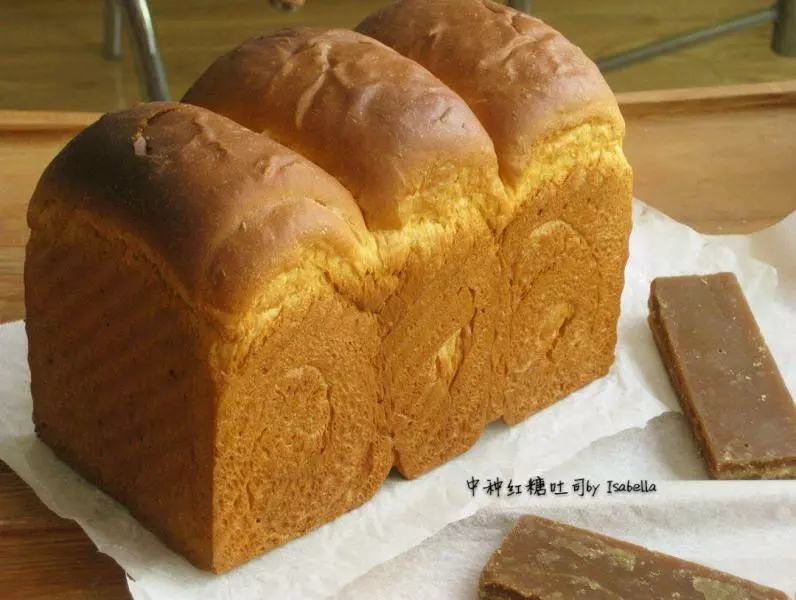
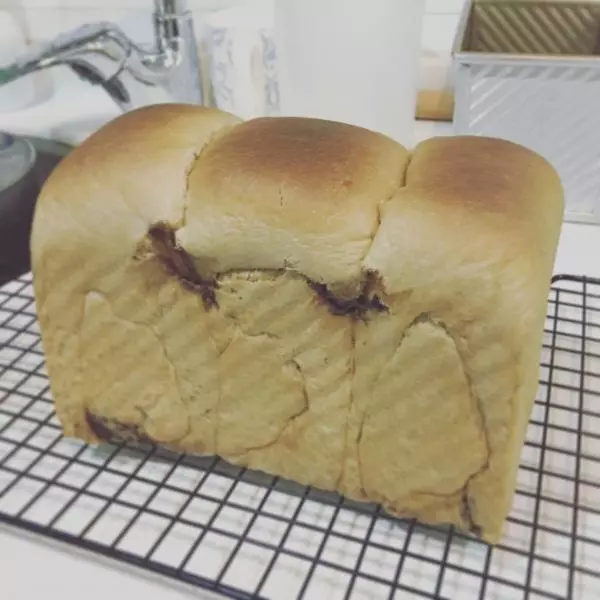
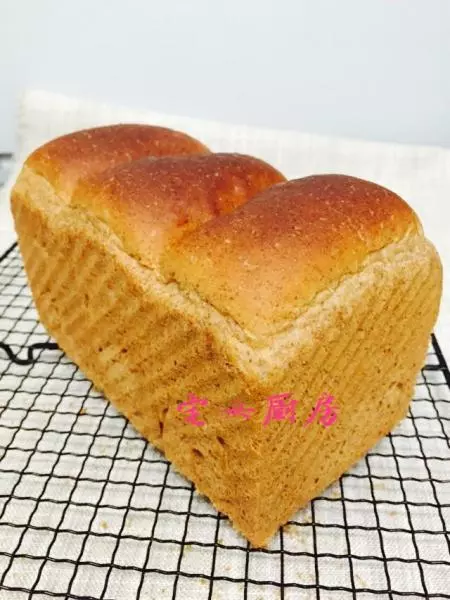
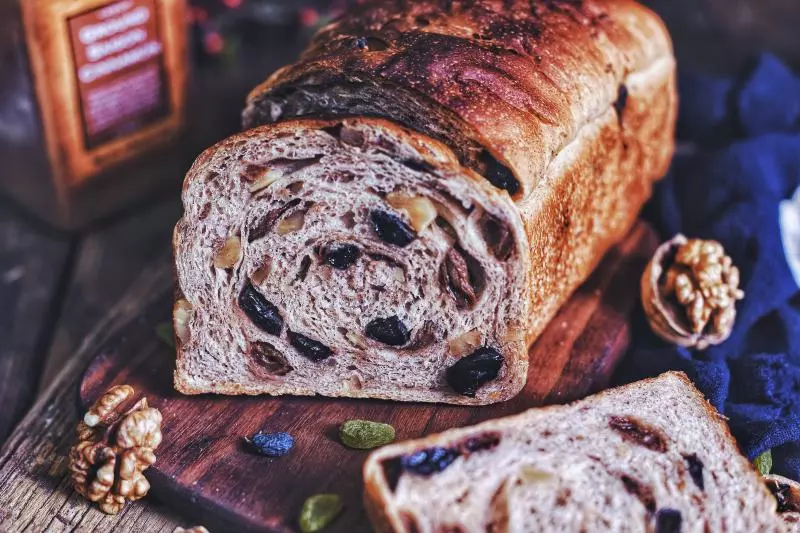
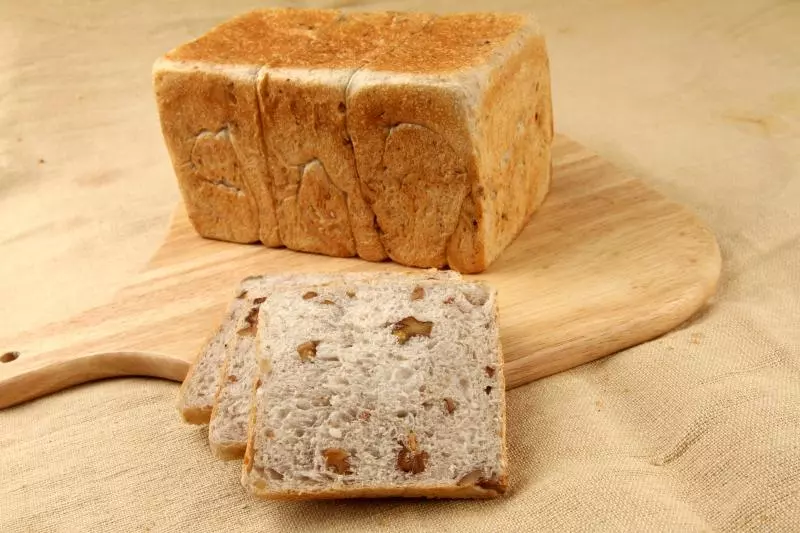
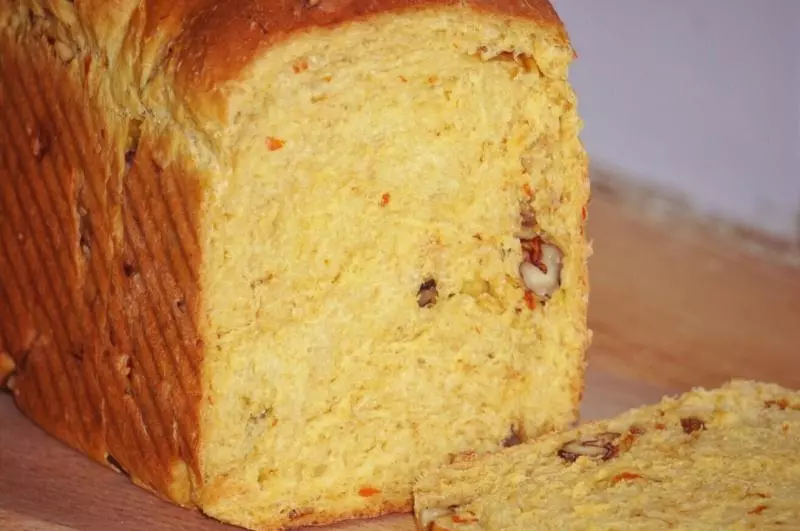
301出烘烤好的吐司,脱模至凉架上冷却即可

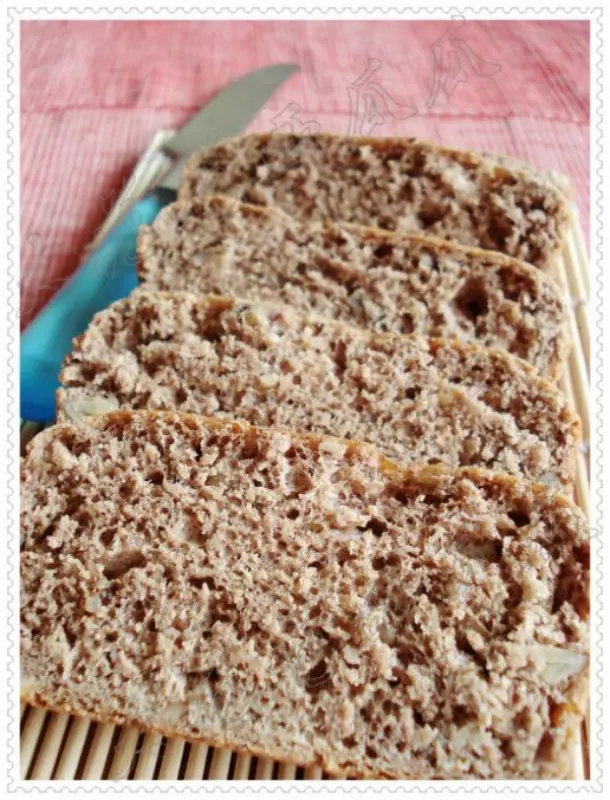
31待吐司冷却到手心温度后即可密封包装好

小技巧
1、红糖姜汤必须要完全冷却,不然会烫死酵母 2、吐司的筋膜一定要揉到完全阶段,不然会不长个,口感不好 3、如果不确定红糖在烘烤的时候会不会流出来,就放在烤盘上烘烤 4、烘烤到颜色完毕后,可以盖张锡纸防止上色过度 5、吐司入炉前可以刷一层薄薄的全蛋液 6、吐司出炉后可以刷一层融化的黄油,让吐司外观更好看