原料
黄油: 60克, 糖粉: 50克, 盐: 1小撮, 蛋: 1个(蛋液约60克,留少许刷表面), 低筋面粉: 200克, 泡打粉: 1小勺(5ml), 馅料:奶油乳酪: 200克
步骤
1先把乳酪分切成20小块,放回冰箱冷藏备用。(过程图是一半的量)

2黄油室温软化后用打蛋器拌顺滑,再加入糖粉和盐搅拌均匀,接着分次加入蛋液拌匀。

3筛入低粉和泡打粉,用橡皮刮刀压拌至没有干粉,用手捏成面团,放入冰箱冷藏至少30分钟。

4将面团分切成20份(过程图是一半的量)。

5先将小面团搓圆再压扁,在饼皮内包入一块乳酪,像包汤圆一样包成小圆球状。

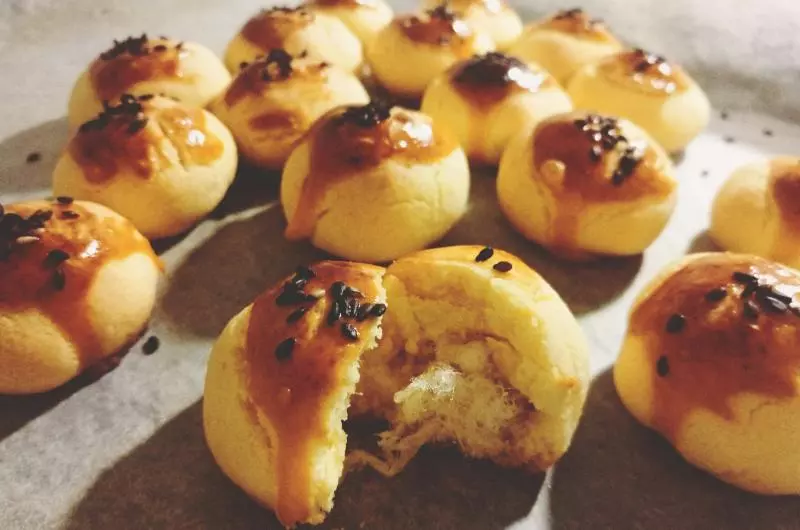
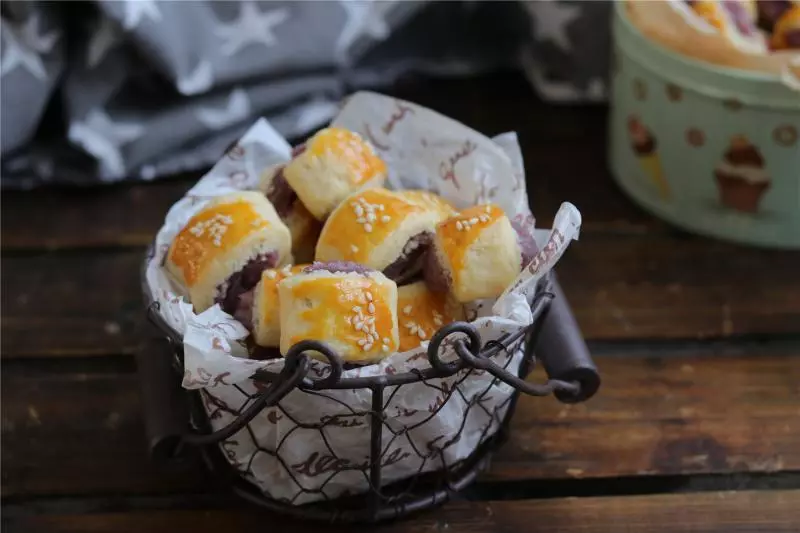
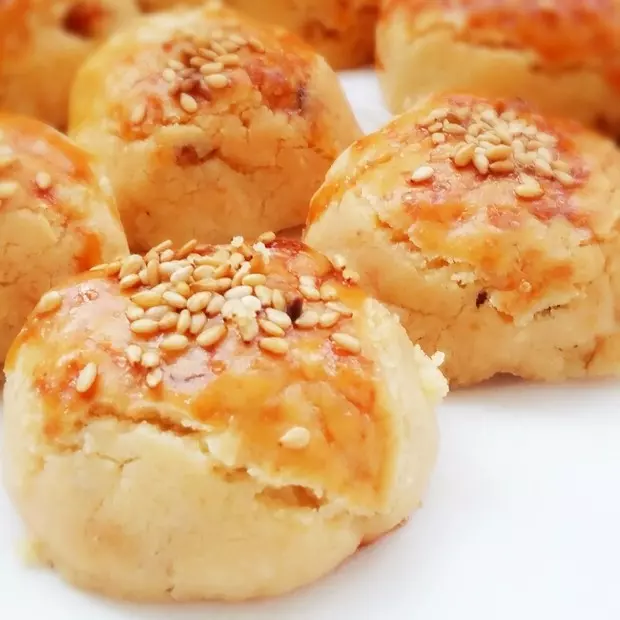
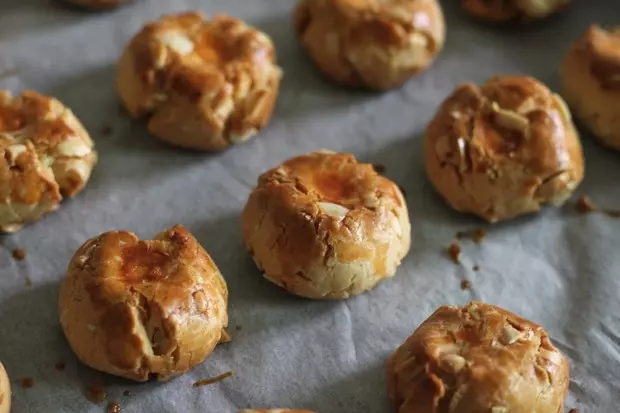
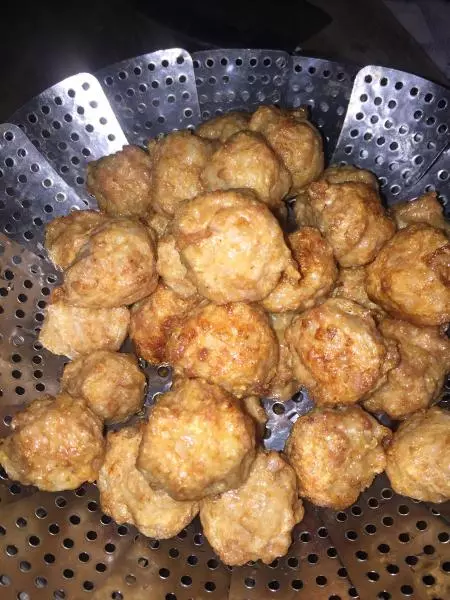
6依次将20个都包好,表面刷上剩余的蛋液

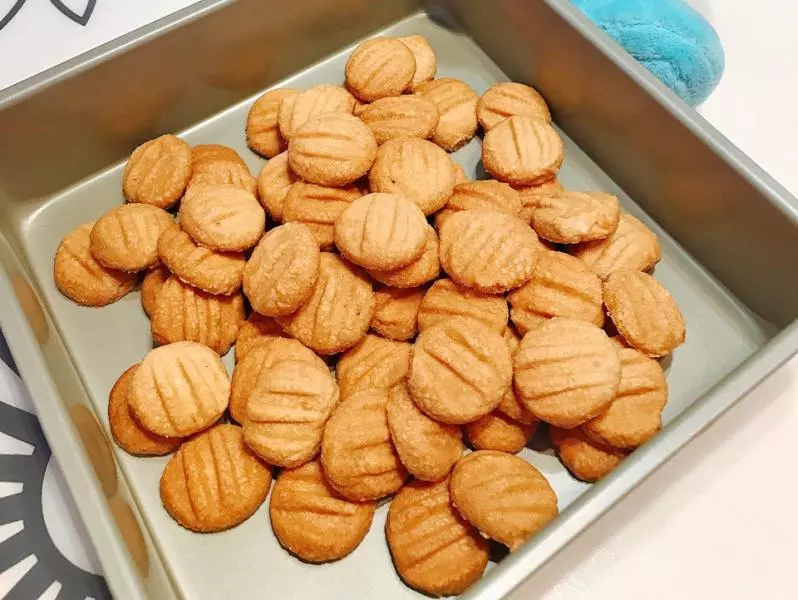
7放入预热到180℃的烤箱烘烤15分钟左右,至表面呈现金黄色即可。

小技巧
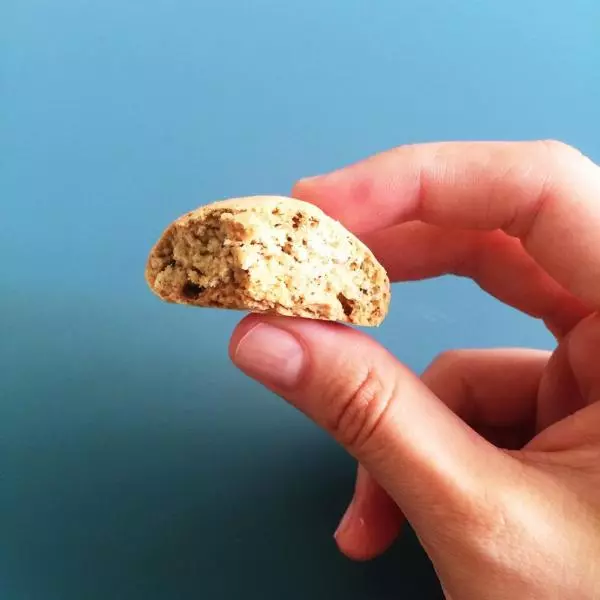
这款小点心的甜度不高,馅料中的乳酪是原味的,没有加糖,可以吃到乳酪的香醇,喜欢偏甜口味的酌情调整。