原料
鸡蛋: 2只, 鲜奶: 80ml, 淡奶油: 90ml, 糖: 20g, 蛋挞皮: 10个
步骤
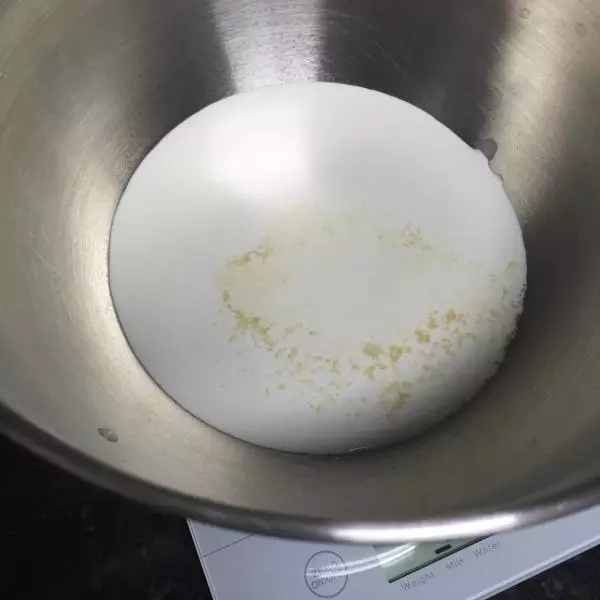
11、把牛奶和淡奶油、糖在同一个容器中称好。(酱紫就不用洗这么多碗啦~哈哈)
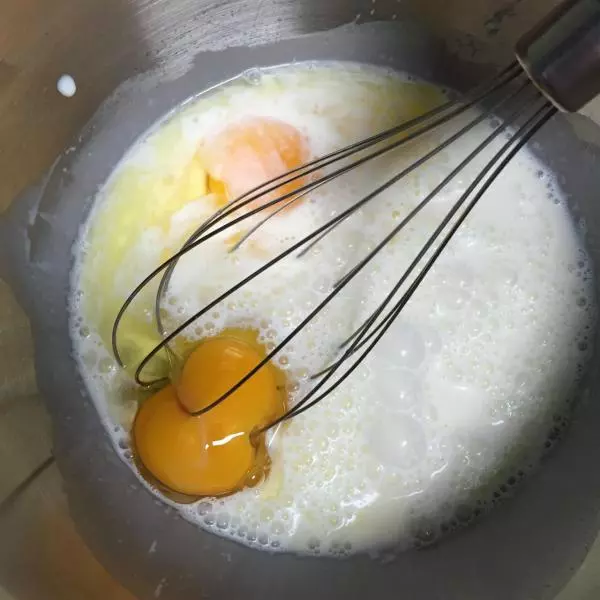
22、用手动打蛋器搅拌到砂糖融化后,打入两只鸡蛋。
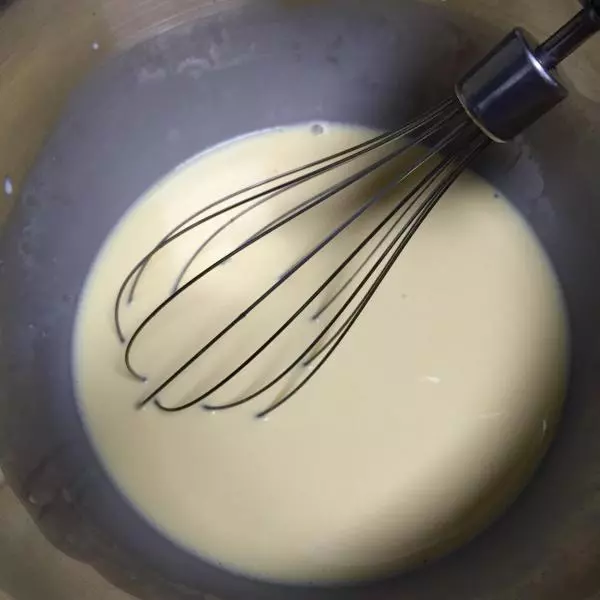
33、把蛋液搅拌均匀,这样蛋挞液就完成啦。
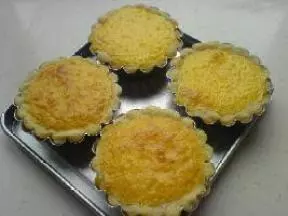
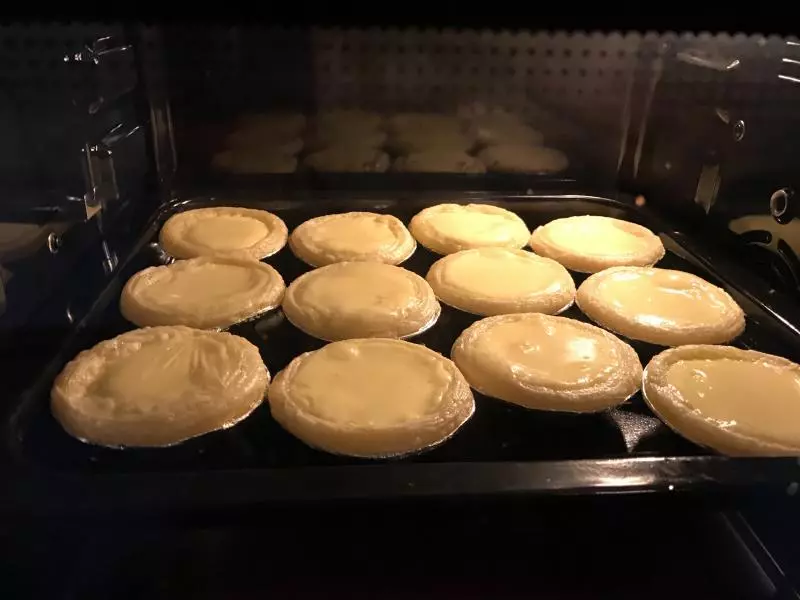
44、把蛋挞皮在烤盘上铺好,倒入蛋挞液,8分满就OK。
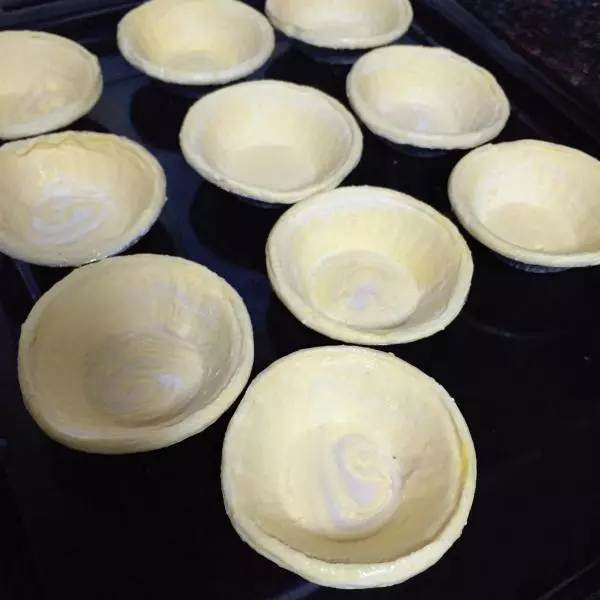
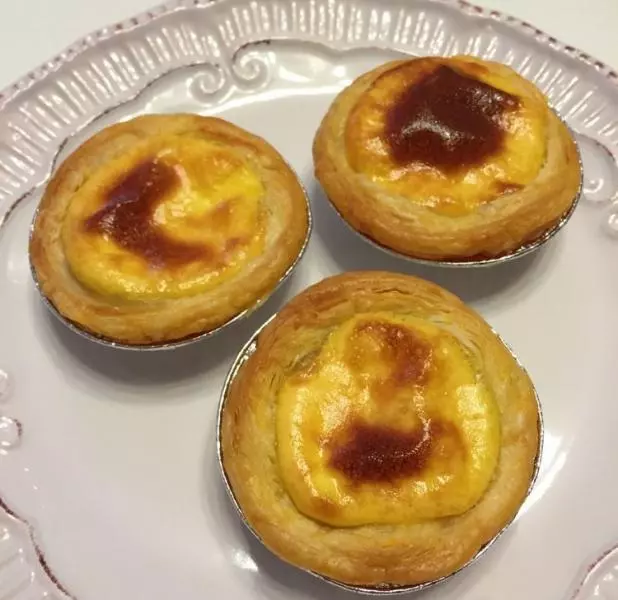
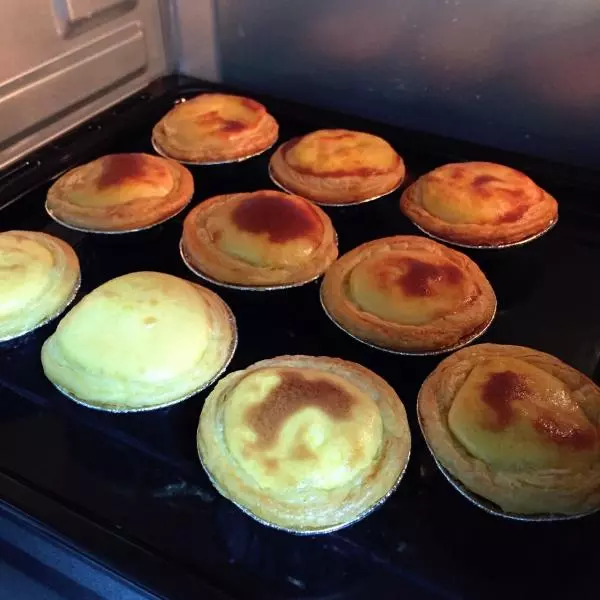
55、小心放入烤箱中层。上下管180*c烤25分钟。

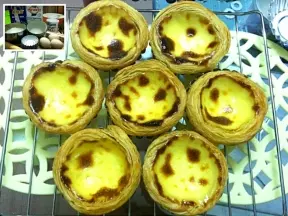
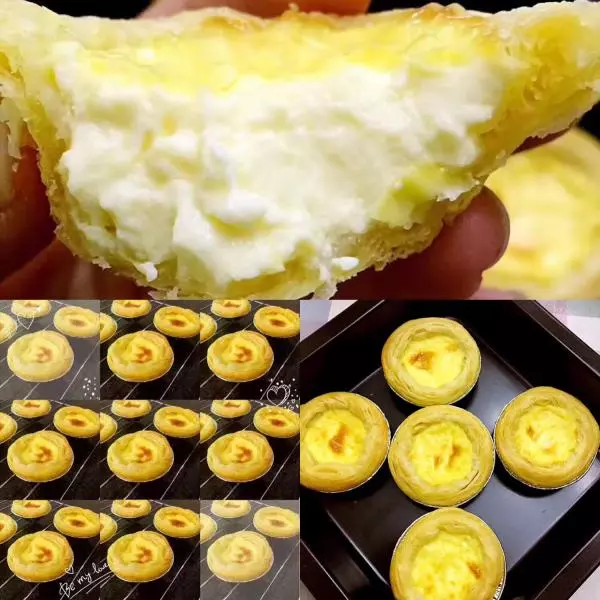
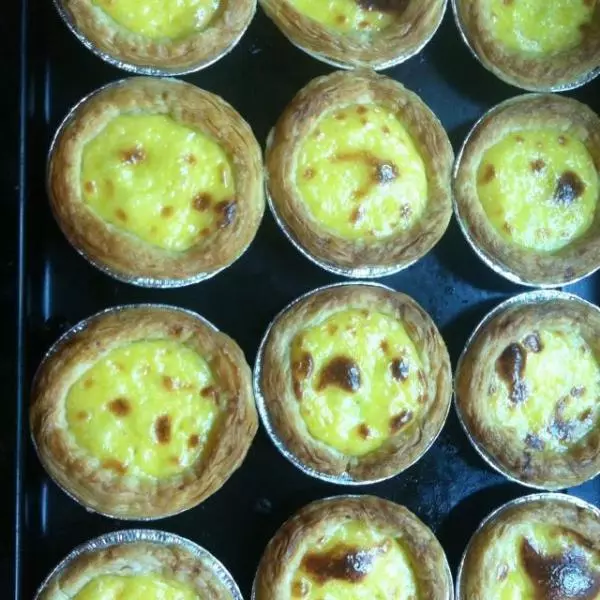
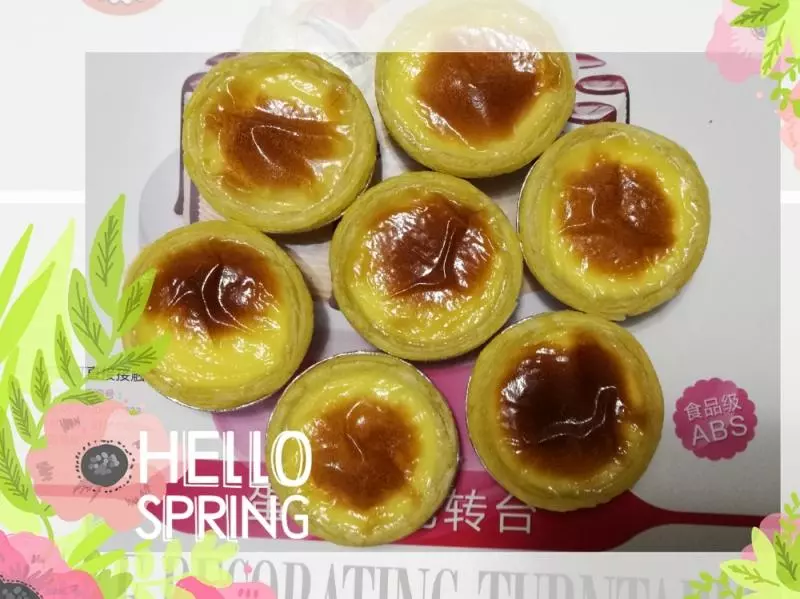
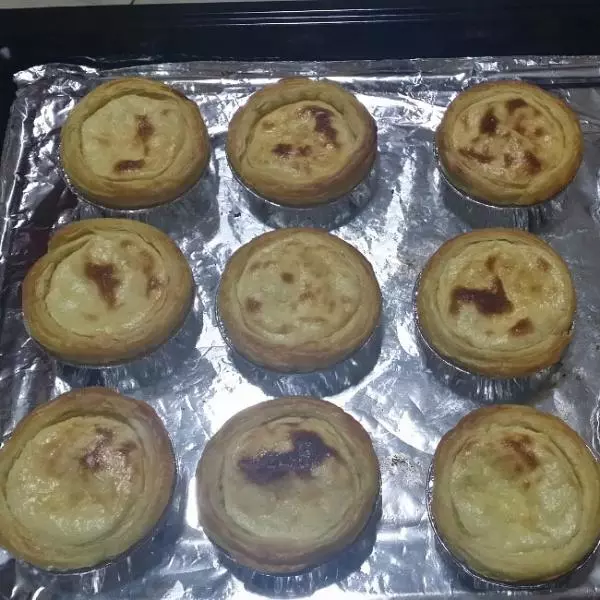
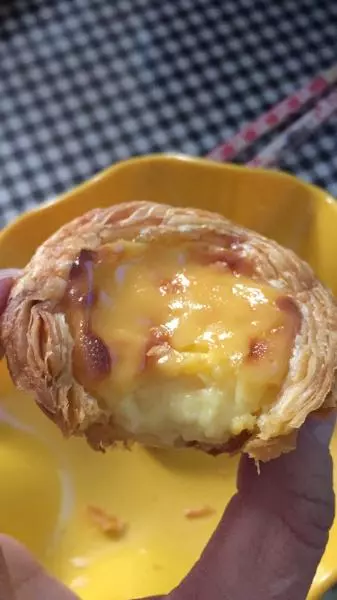
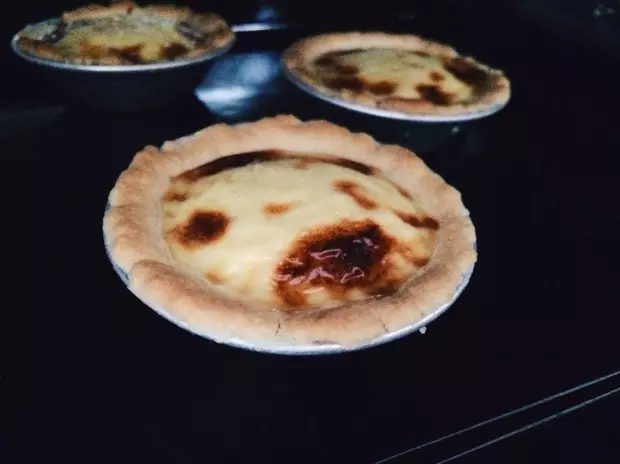
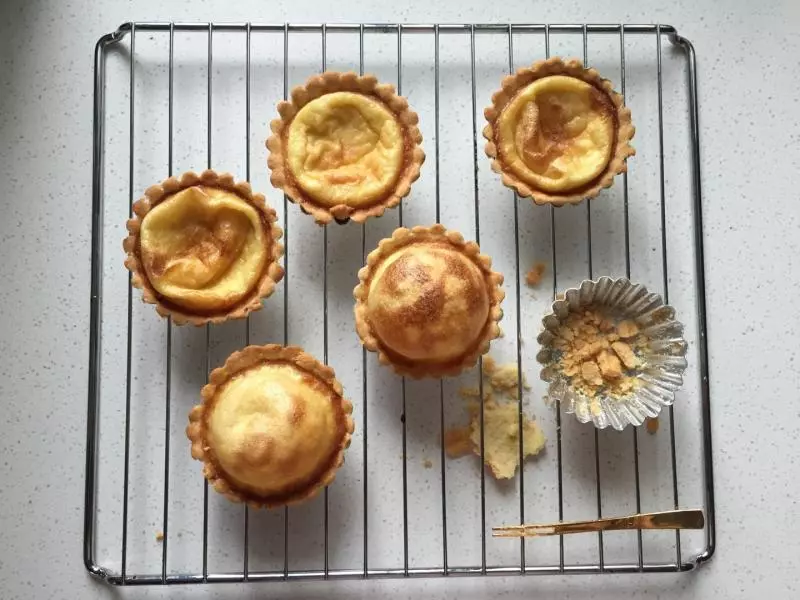
66、完成~取出来时小心烫喔!稍微凉一下就可以开动啦!
小技巧
在准备的时候就要把蛋挞皮从冰箱拿出来解冻一下喔~烤箱也记得以前预热呢。这里我放的糖是很少很少的,喜欢甜的朋友可以加多点喔!