原料
参考10寸可可戚风配方: , 黑白巧克力: 200g, 新鲜草莓: 几个, 淡奶油: 250g
步骤
1准备戚风食材
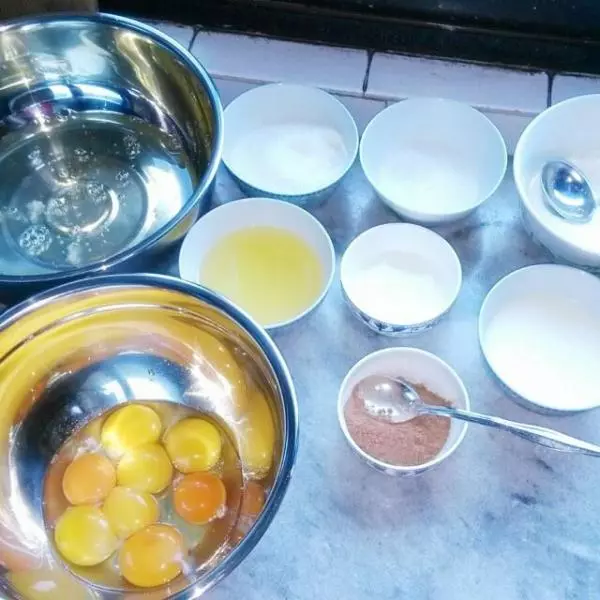
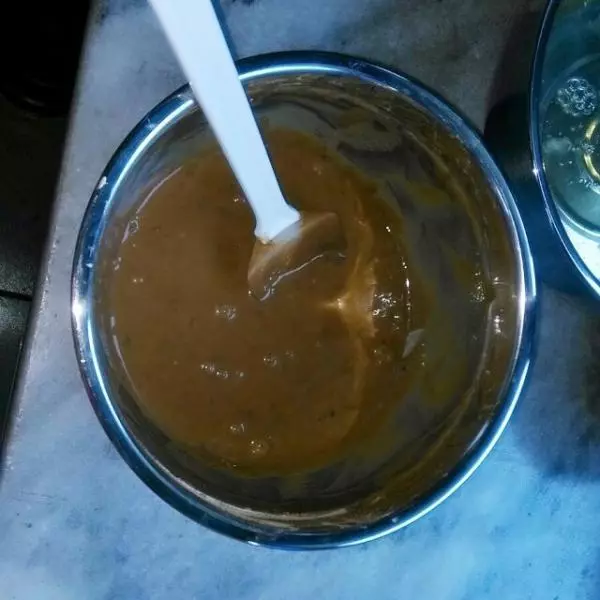
2可可蛋黄糊
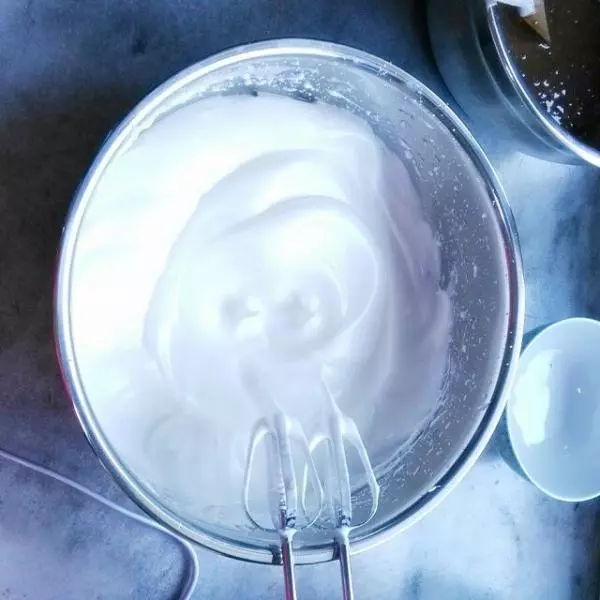
3打发蛋白
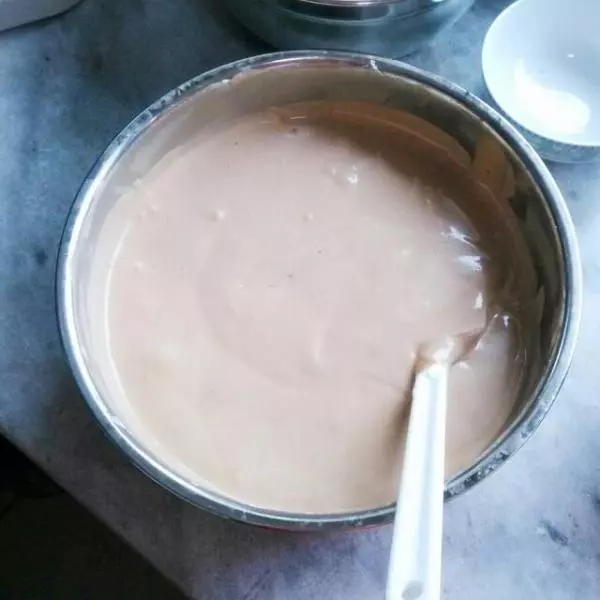
4拌匀的蛋糕糊
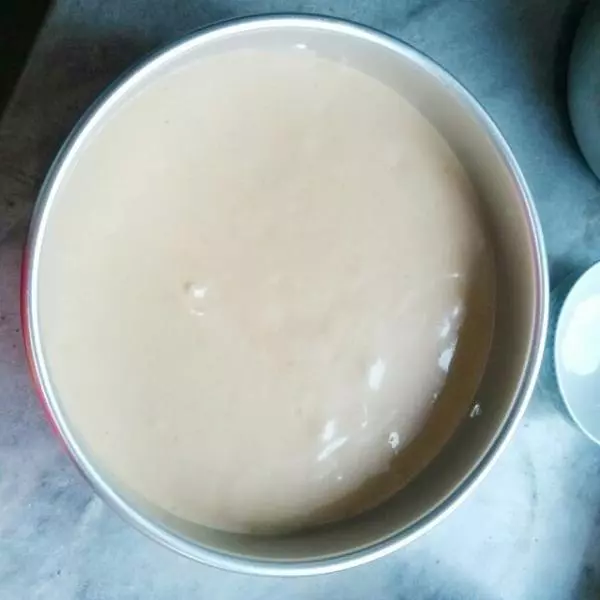
5入模烤制
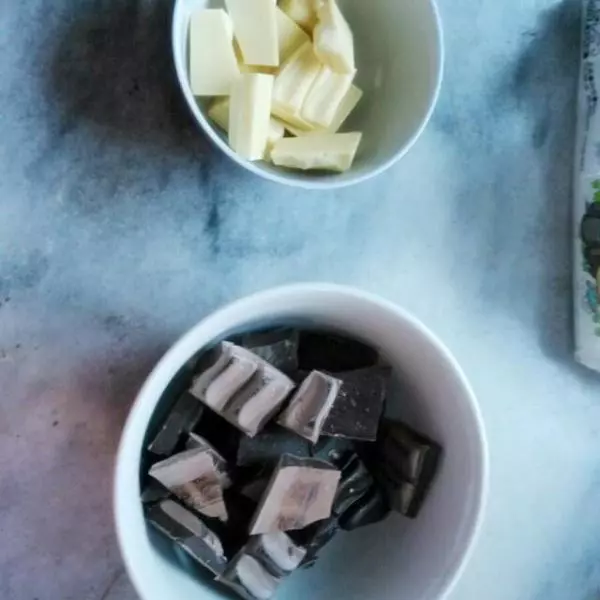
6准备黑白巧克力
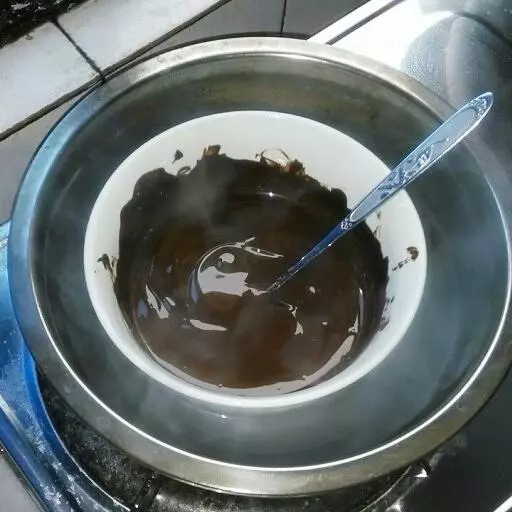
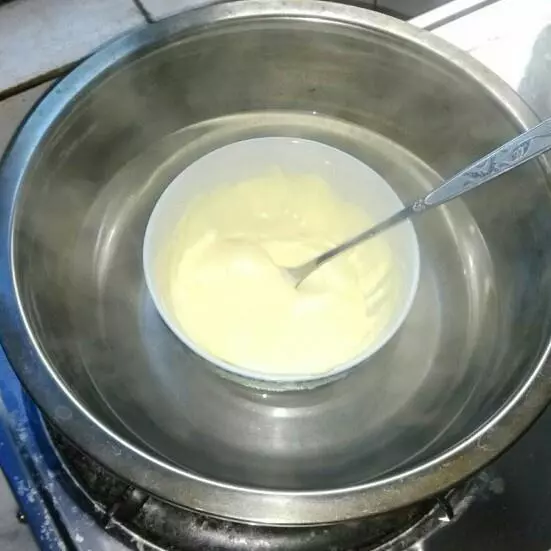
7隔水加热融化,记住要不停搅拌。装巧克力的容器不能沾水,否则很惨(不会融化,呈豆腐渣状)
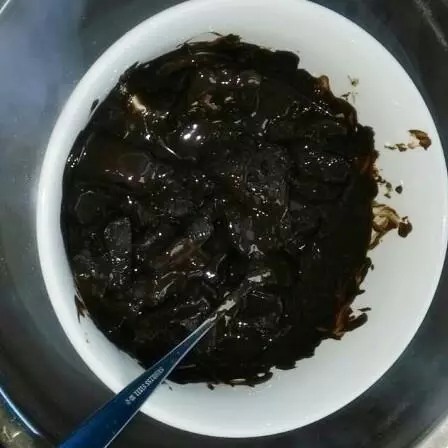
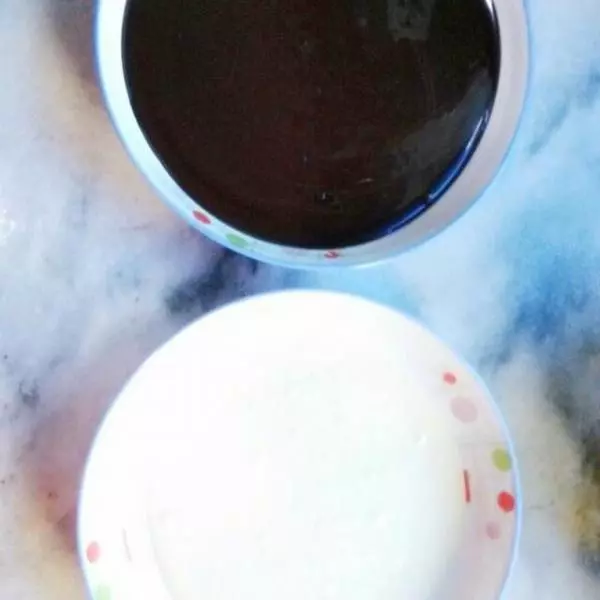
8融化后的黑巧克力
9继续加热白巧克力
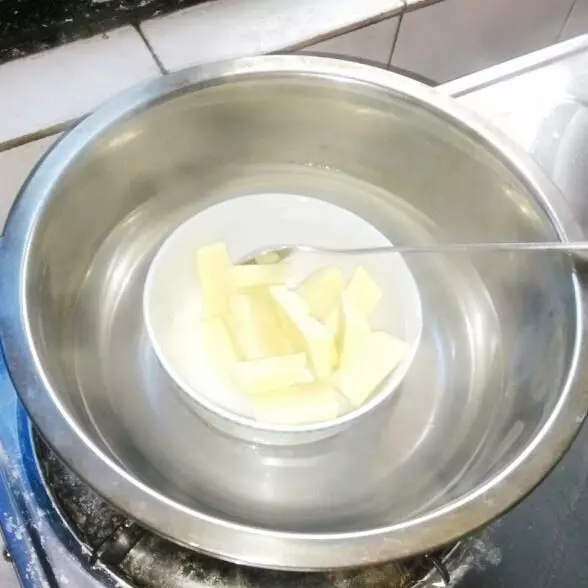
10千万小心不要溅水到巧克力里。如果是一两滴,要迅速用厨房纸吸干水分,并用小勺挖出溅水部分
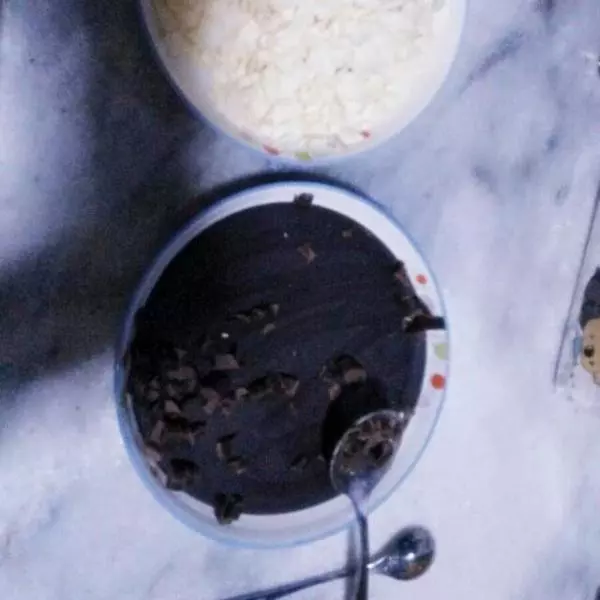
11融化后的巧克力,整形冷却
12好吧,没人告诉过我,原来挖巧克力屑是一件多么容易让人崩溃的事。废弯掉两个勺
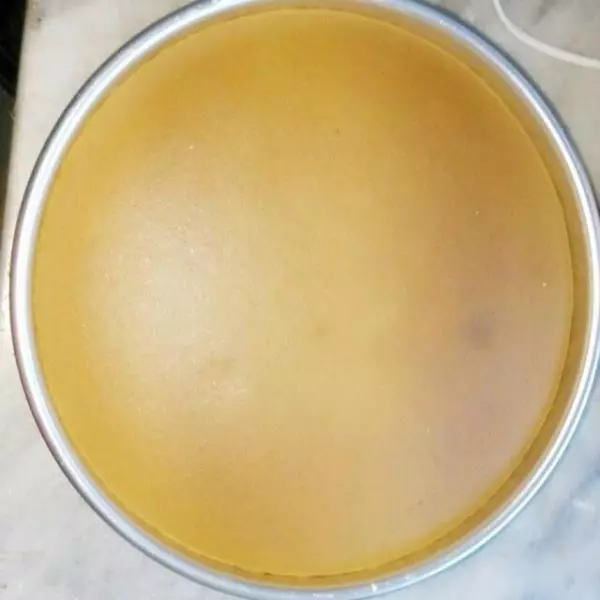
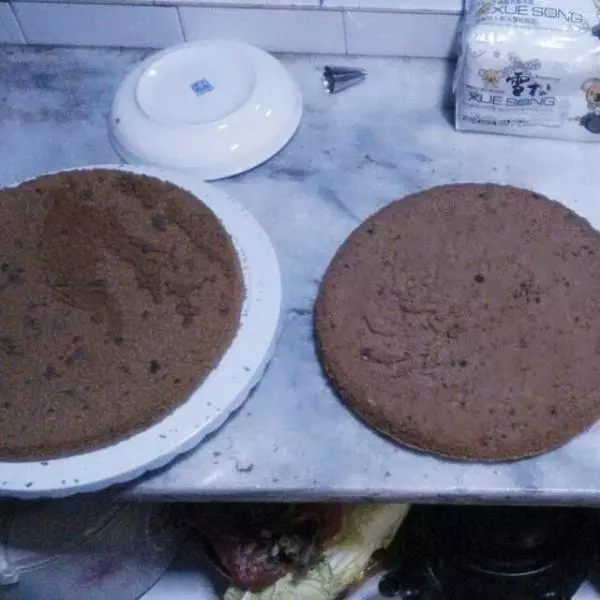
13戚风蛋糕出炉
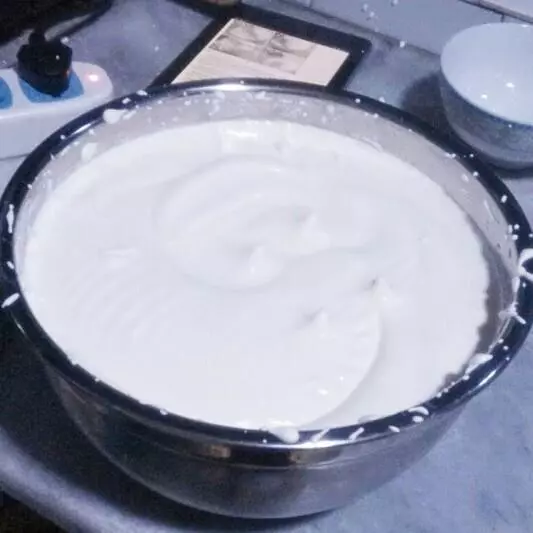
14准备奶油
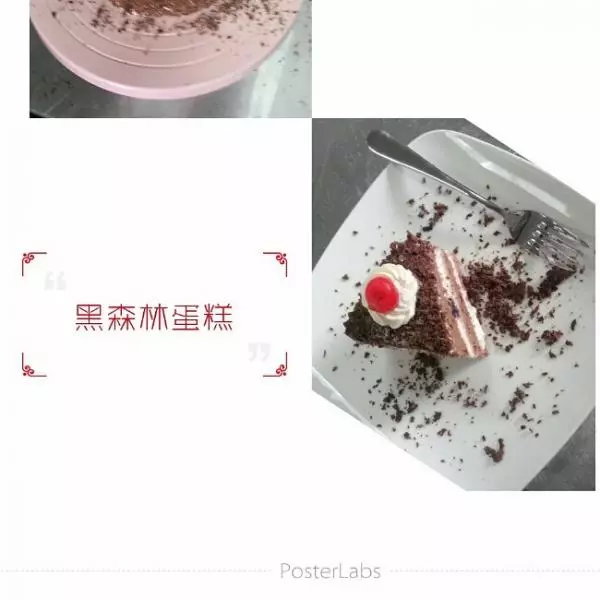
15纯手工分片,共三片,还算平整均匀
16第一次打发奶油,倒多了。也好像打发不够到位,奶油有点稀
17把上面层蛋糕片放底部。用抹刀在裱花转台上把奶油抹匀
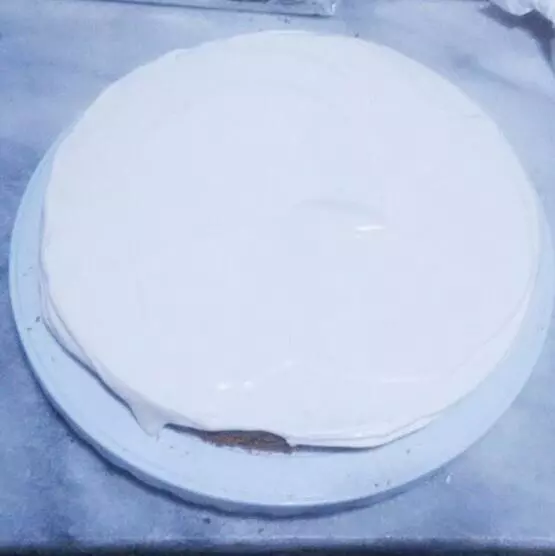
18平面洒上一层黑巧克力屑
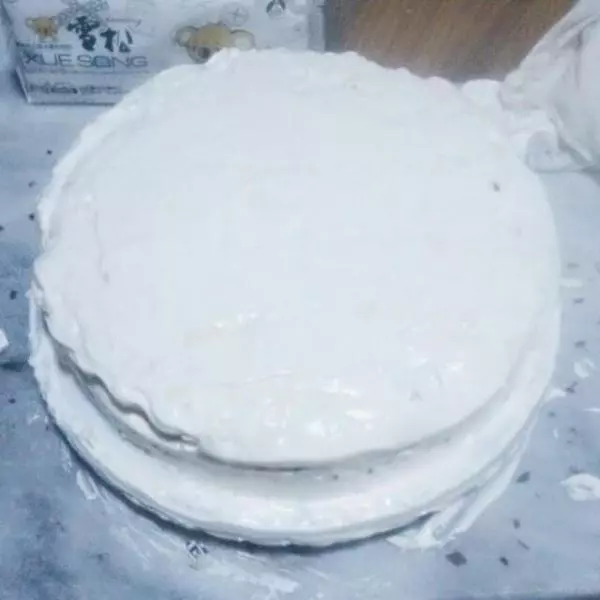
19放入中间层蛋糕片,用奶油抹匀
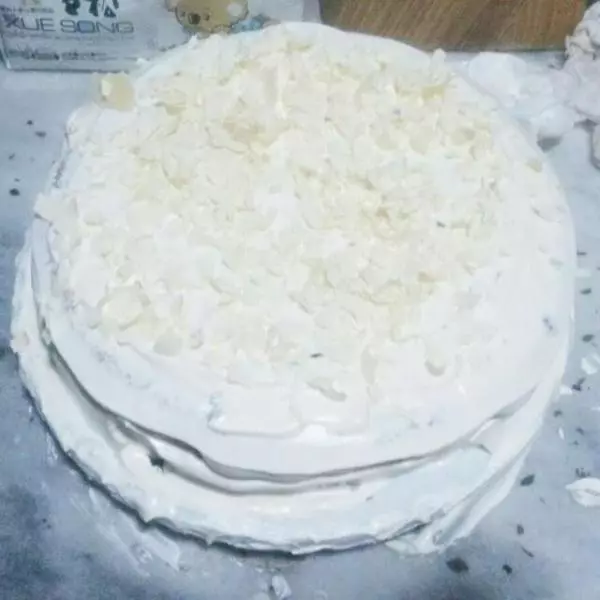
20均匀洒上一层白巧克力屑
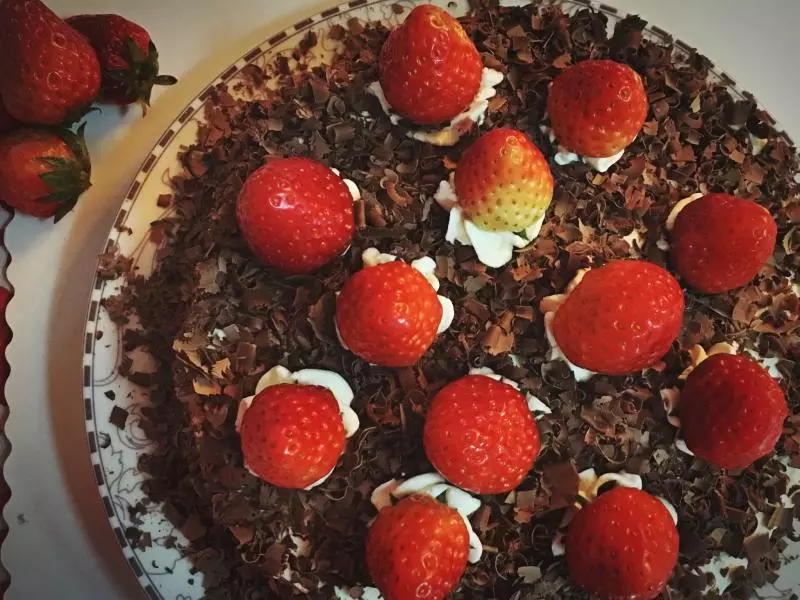
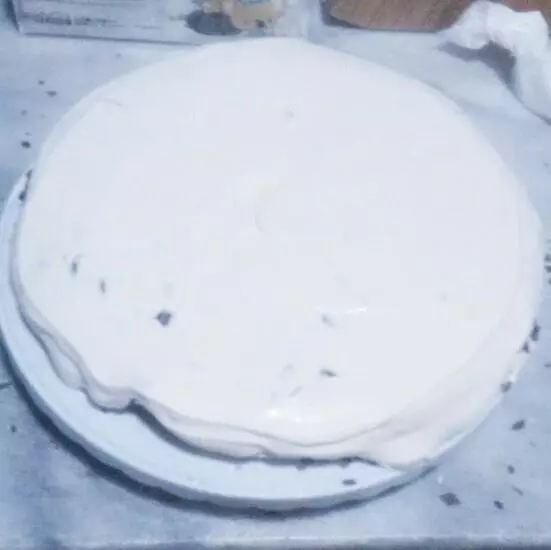
21把原底部的蛋糕片放在最上面,抹匀奶油
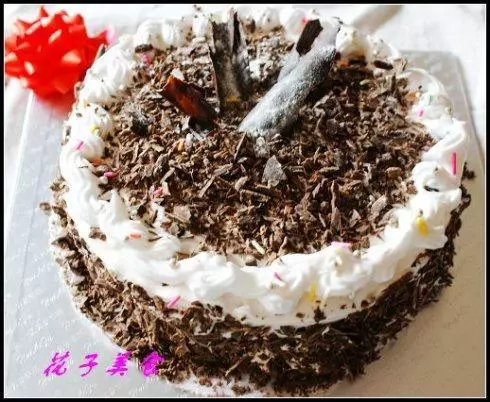
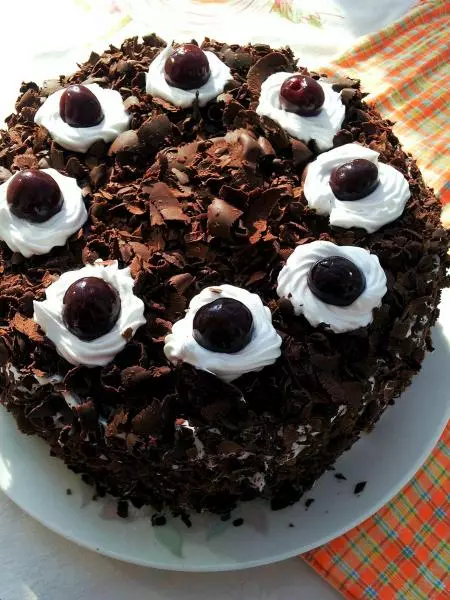
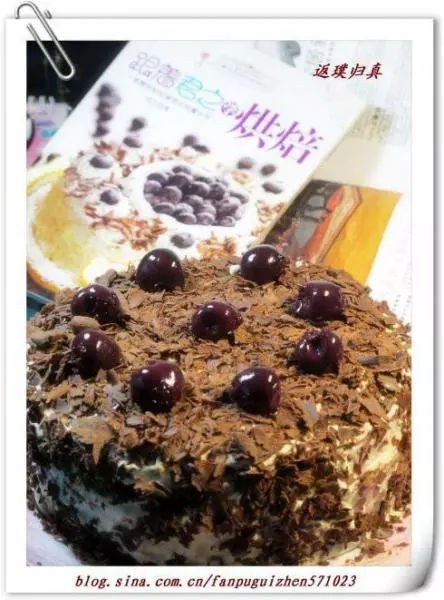
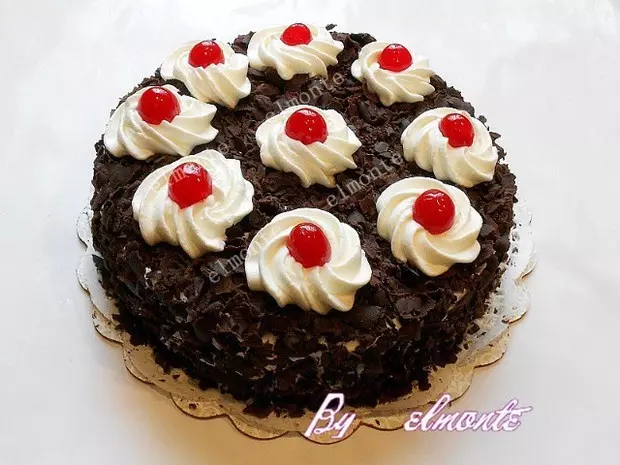
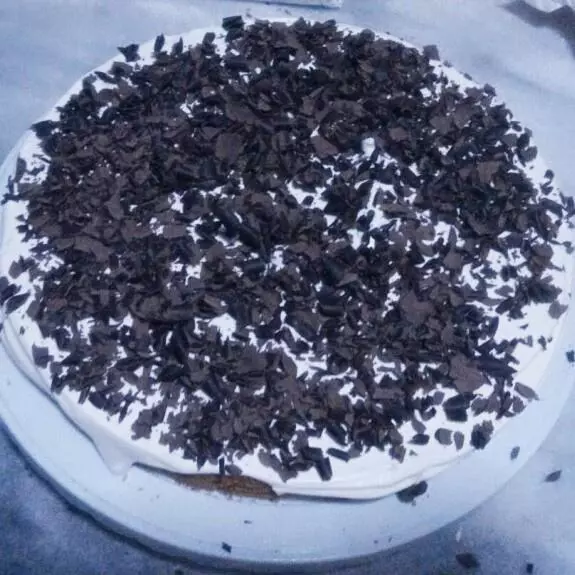
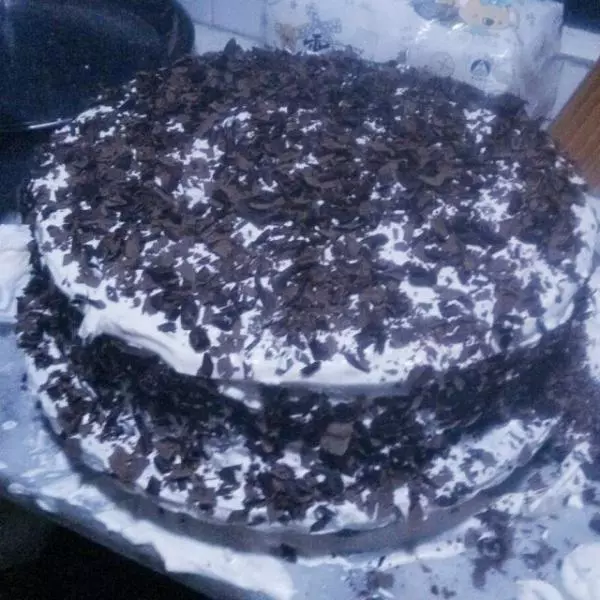
22整个蛋糕均匀洒上黑巧克力屑,基本完成雏形。看这一片狼藉,见证姐的“贤惠”
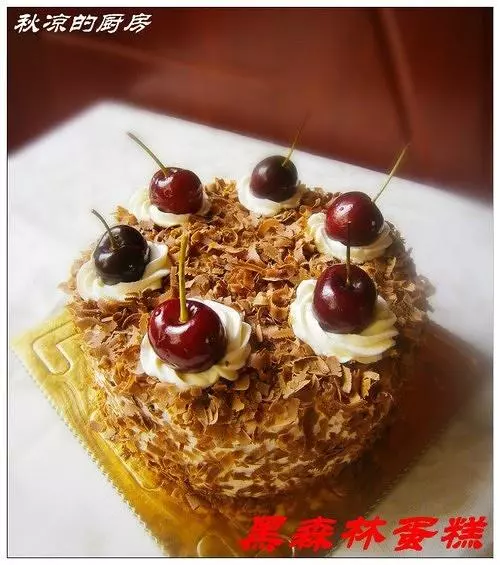
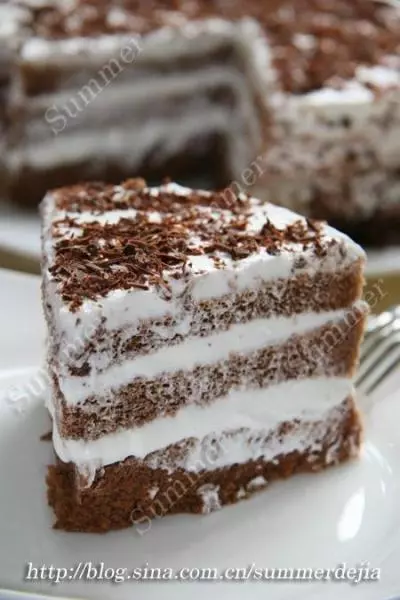
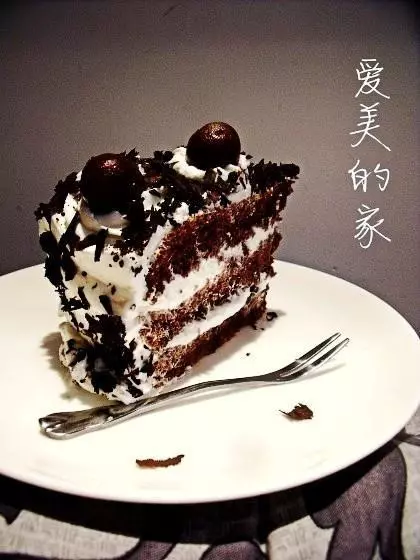
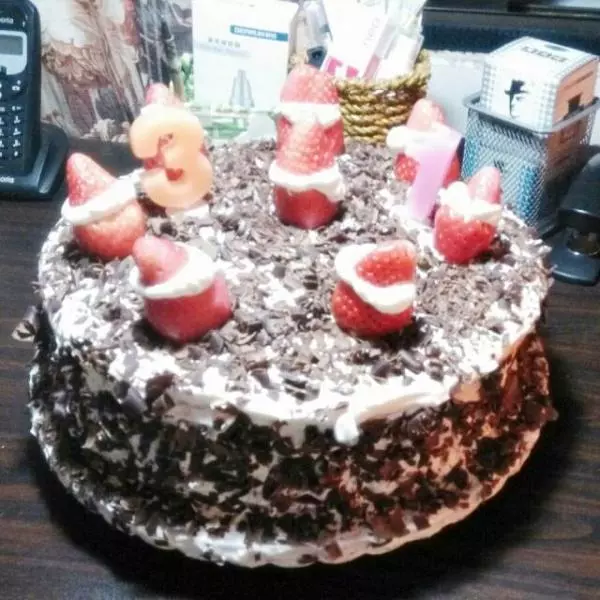
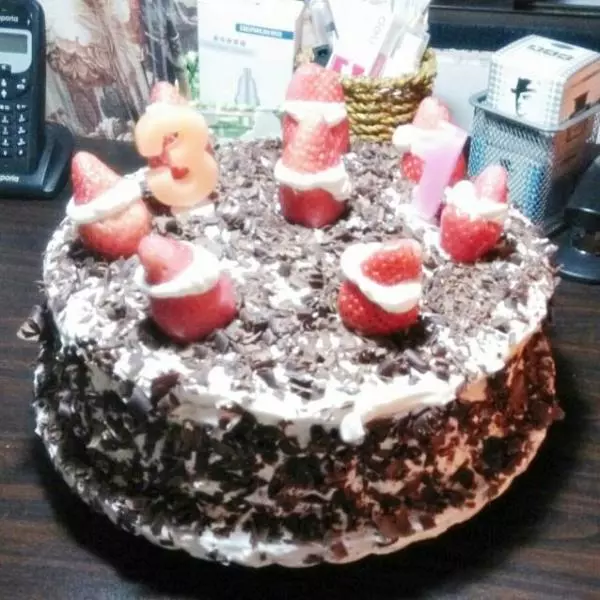
23最后将草莓从三分之一处横切断,中间点上奶油,再盖上,做成圣诞雪人造型。插上生日蜡烛,一个10寸的黑森林戚风蛋糕诞生啦啦啦啦啦啦
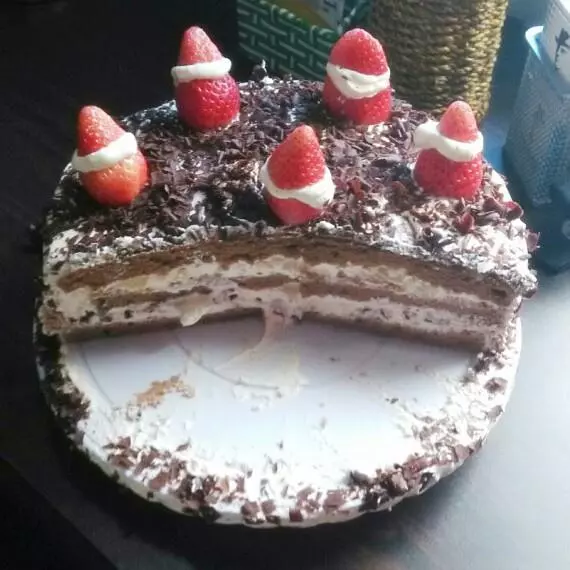
24动物奶油比植物奶油健康,不过也不易保存,看,一早的太阳已经快把蛋糕融化了
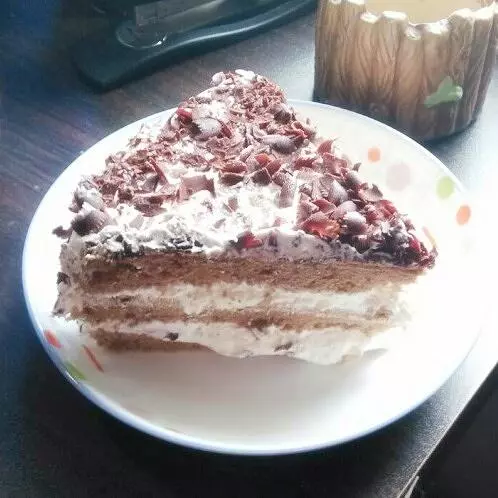
25赶紧吃吧
小技巧
虽然第一次做的,总是显得那么不完美,却永远是最美好的记忆。之后做过许多各种造型的奶油蛋糕,却还是对第一次的场景记忆犹新。 PS:可可戚风按戚风蛋糕的配方,将戚风蛋糕中的30%的面粉替换成可可粉,就可以制作巧克力口味蛋糕;将8%的面粉替换成抹茶粉,则可以制作抹茶口味蛋糕