原料
鹹鴨蛋: 一個, 黃油: 少許, 芝士: 兩片, 吐司: 四片, 蘋果: 少許
步驟
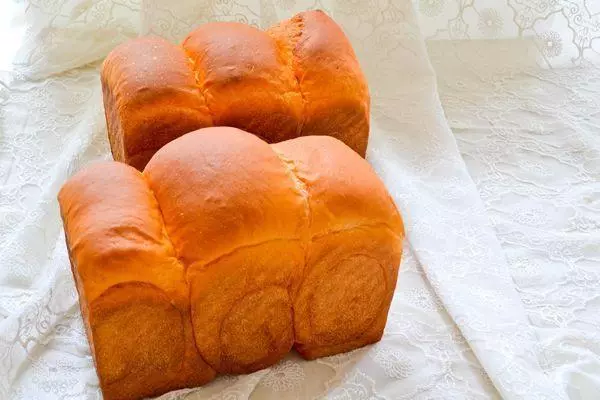
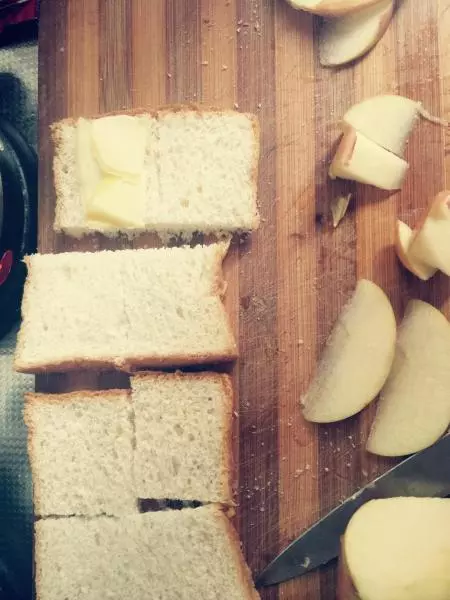
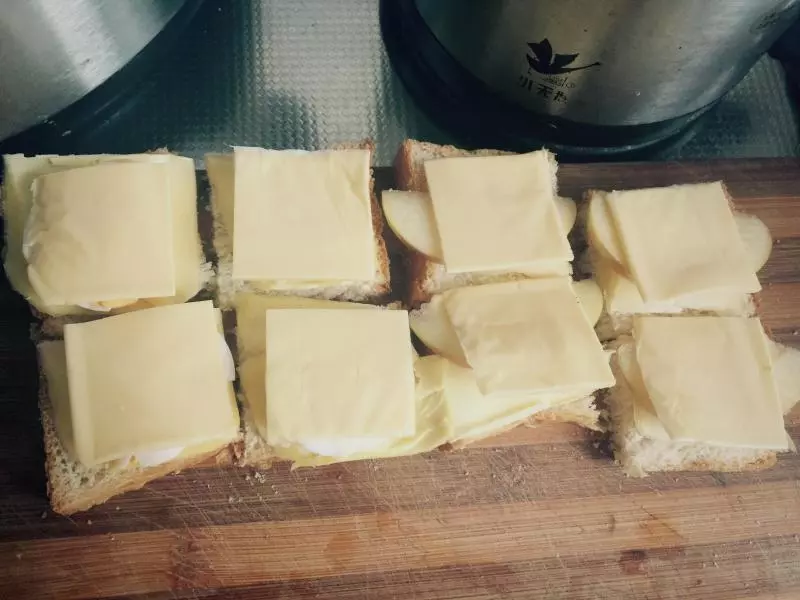
1把吐司平均分成四等快。
2太陽出來了,清新的新生活,洗蘋果啦!

3切薄薄一層黃油,能蓋住吐司就好。

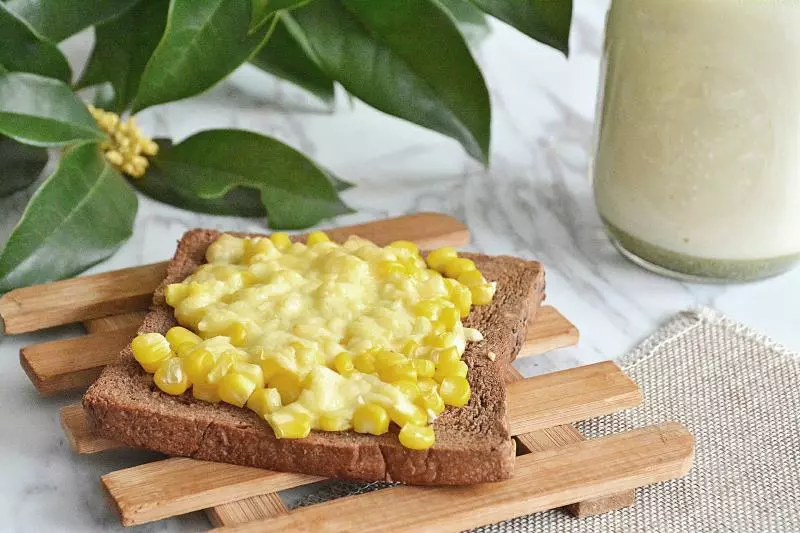
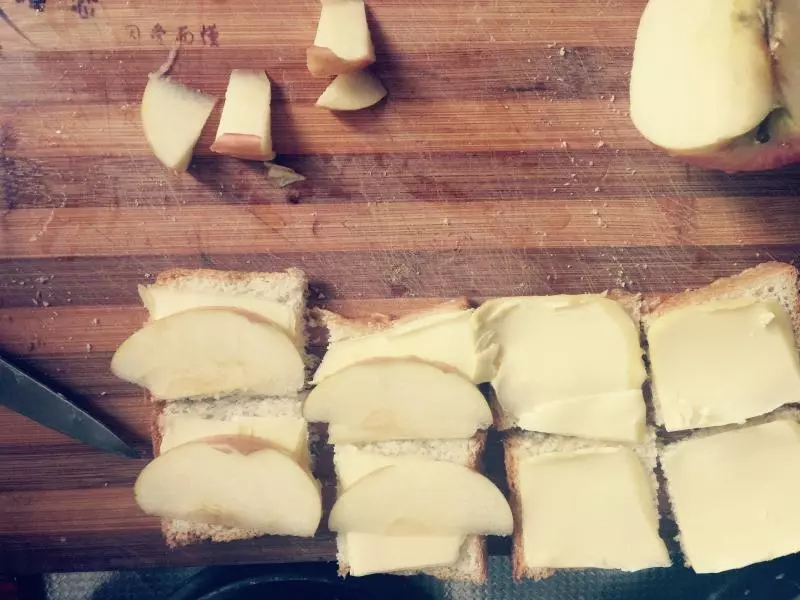
4加上蘋果片
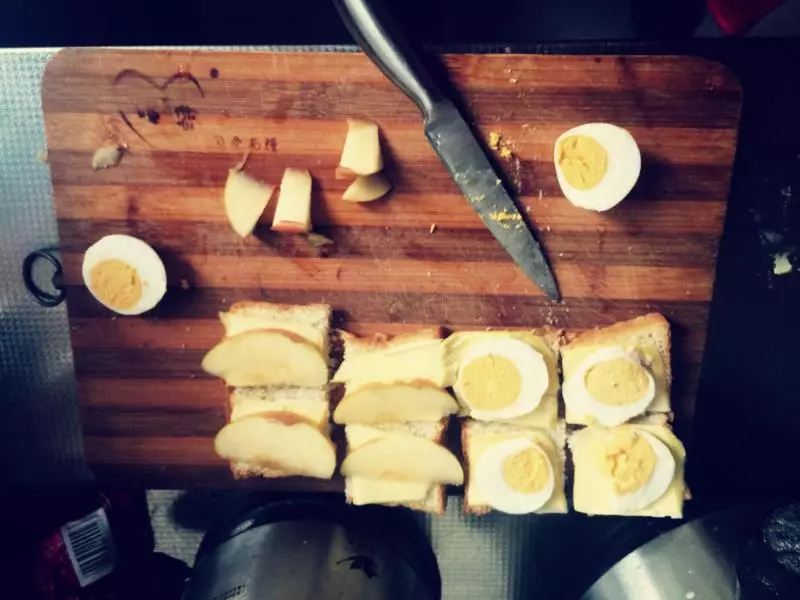
5還有鴨蛋,話說,圖怎麼都是反的?
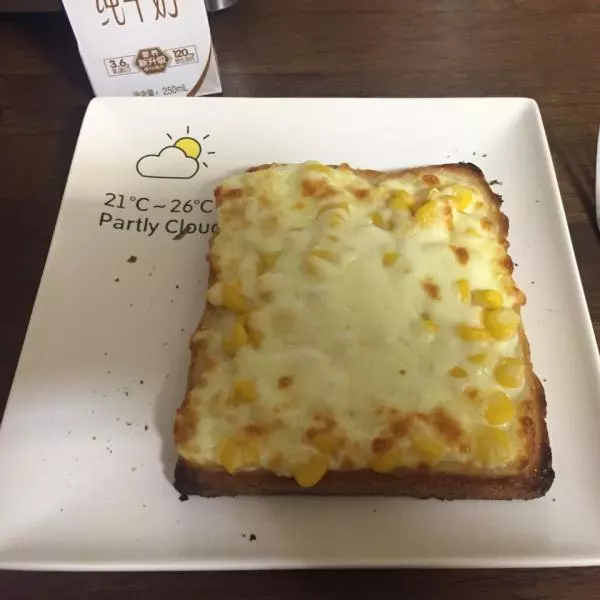
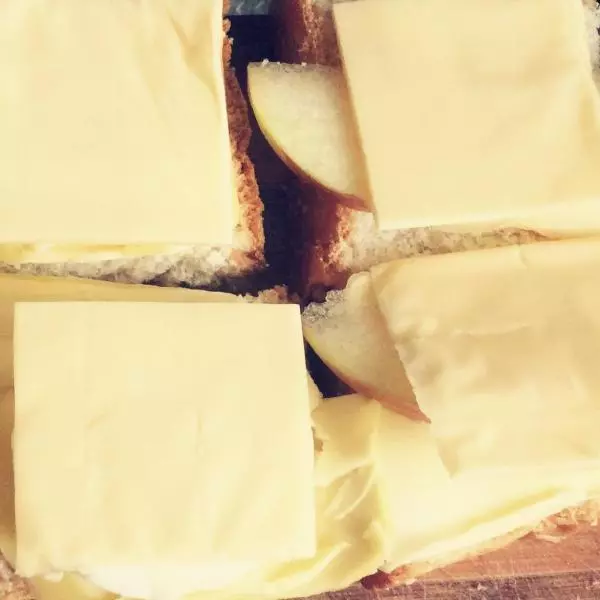
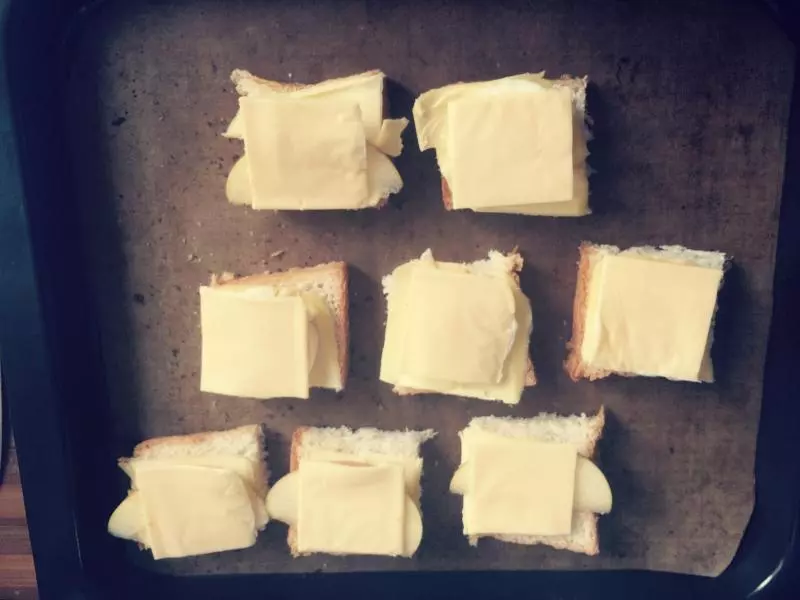
6蓋上芝士片,ps:我買的是超市那種單片芝士,如果是別的淡芝士應該好吃,但是這廝太奇怪了,味道接受不了。
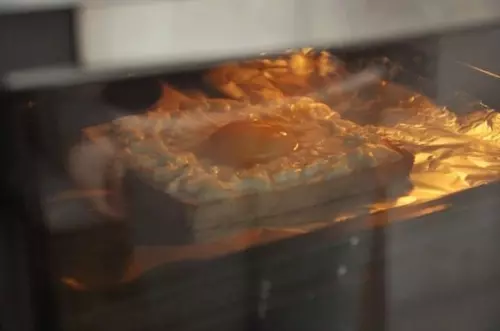
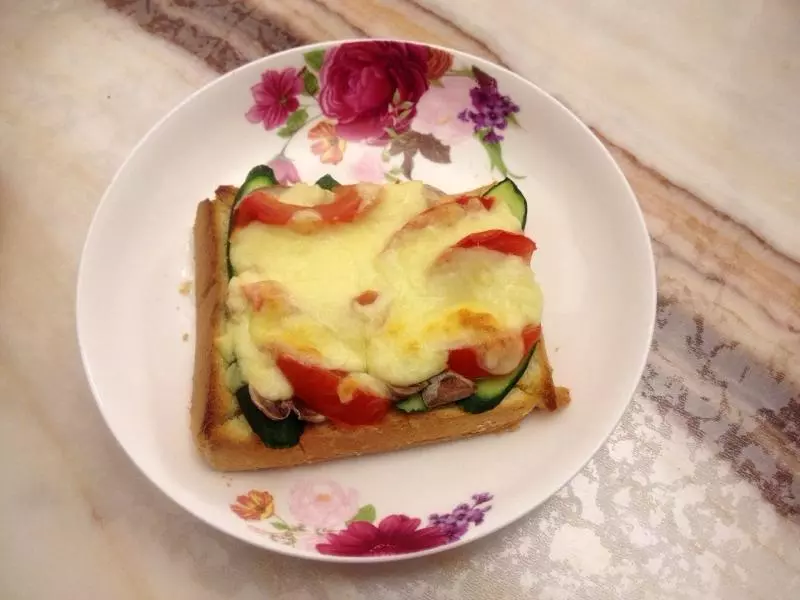
7放入烤盤,烘烤至吐司邊緣焦脆,大約也就3-5分鐘,守著吧,不然會糊。
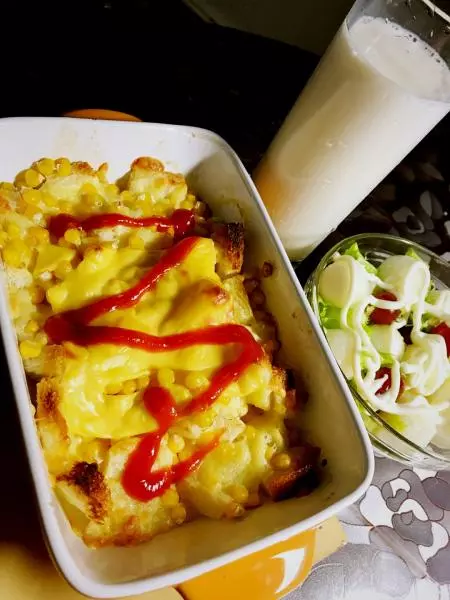
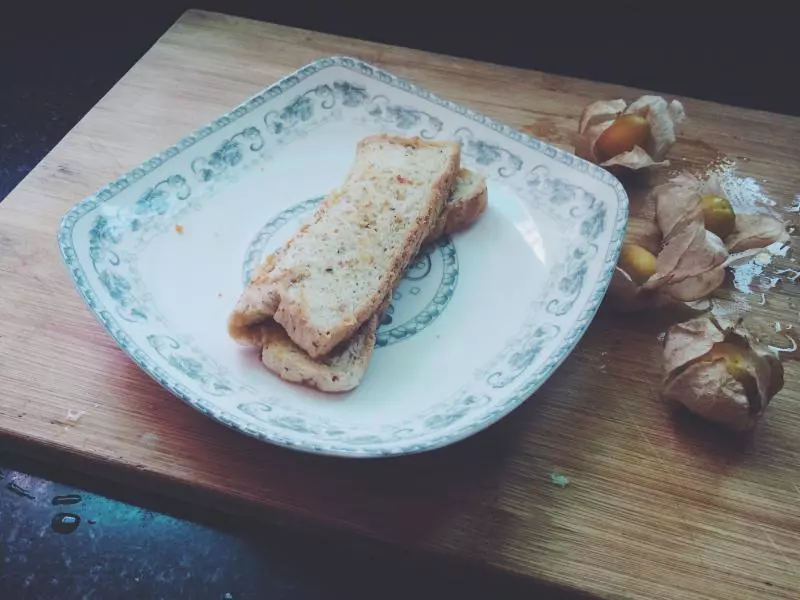
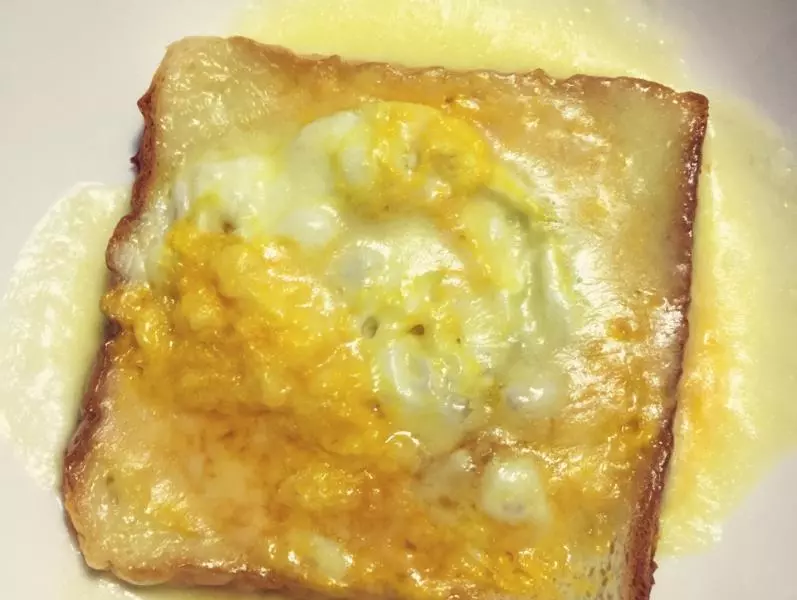
8出盤,我出得有點早,芝士沒有完全化開。
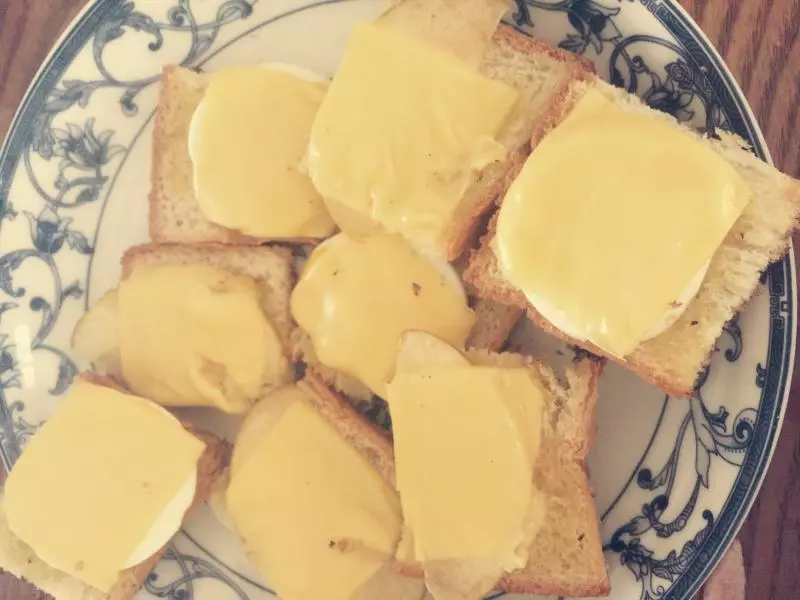
9鴨蛋味道的,還是可以接受的

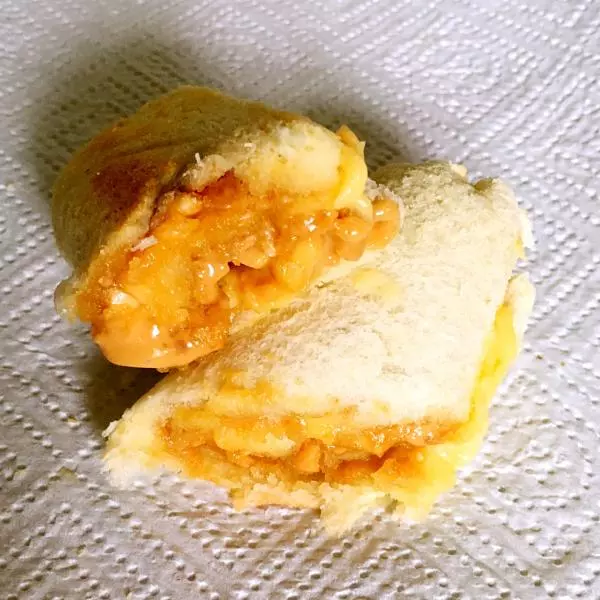
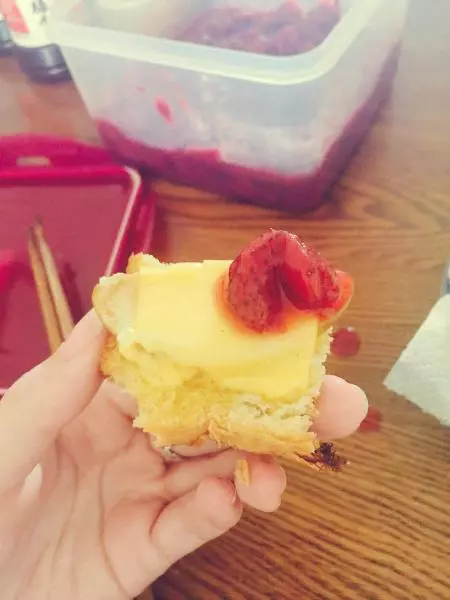
10蘋果配上草莓醬,還不錯~
小技巧
我覺得起司黃油會比芝士好吃