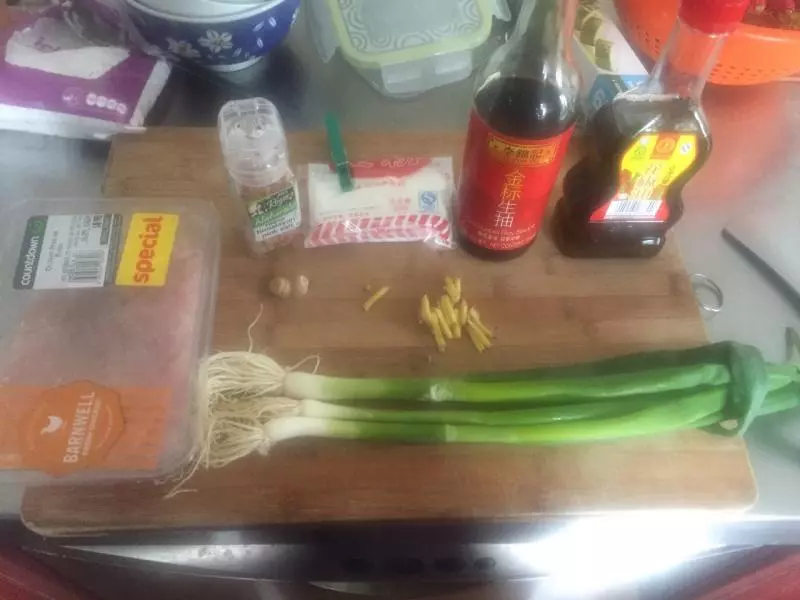
原料
雞蛋: , 雞肉碎: , 鹽,雞精,生抽,香油,花椒油: , 生粉: , 蔥姜: , BBQ 醬+番茄醬:
步驟
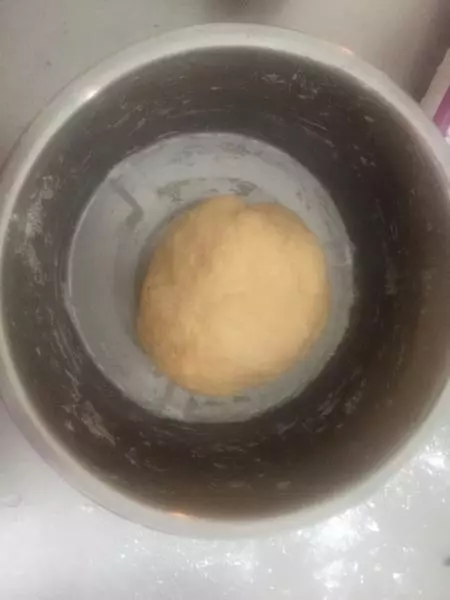
1麵粉揉成團,我加了一個雞蛋,半勺酵母,然後蓋保鮮膜,烤箱裡醒麵糰。
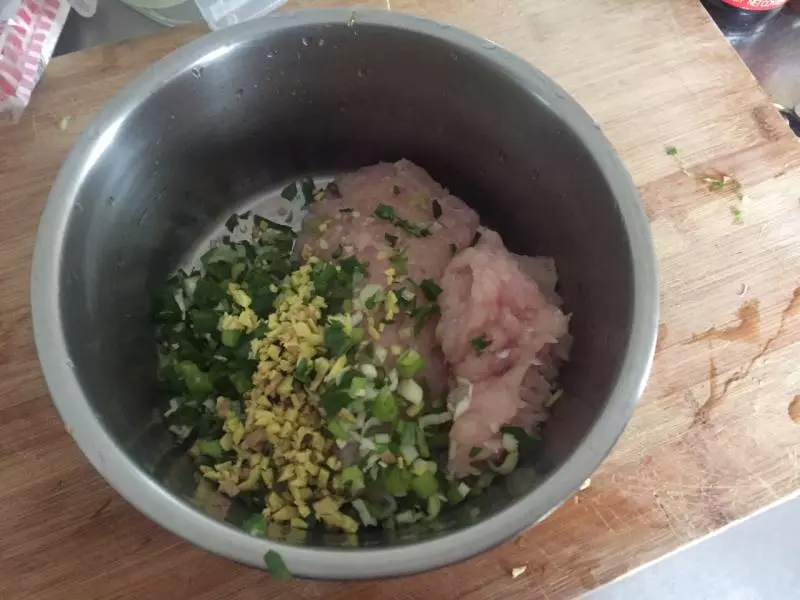
2要用到調餡料的東西。我很喜歡花椒油,但是香油花椒油最後放,因為油包住了,醬料不入味。 蔥和姜要切的碎碎的。
3蔥姜放進去,調教加進去,開始拌餡料。
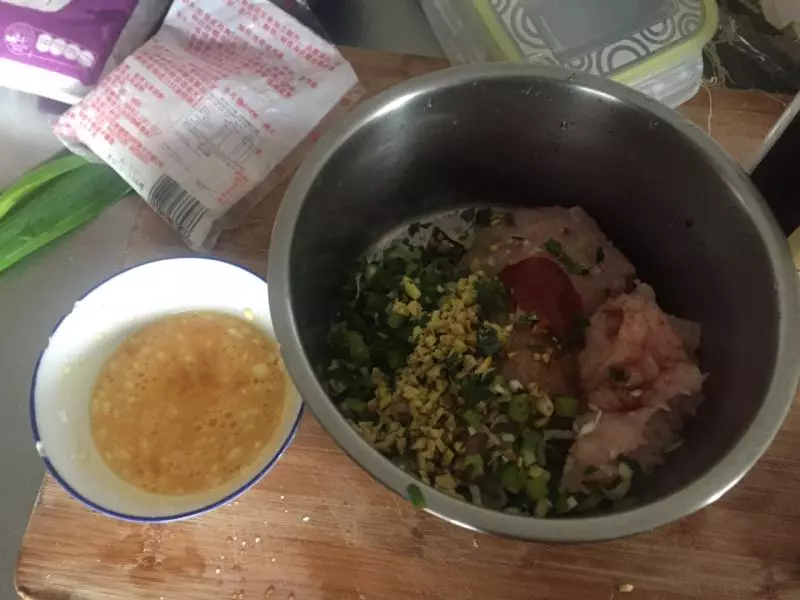
4為了讓餡料吃起來口感更好,我加了蛋讓吃起來更嫩。
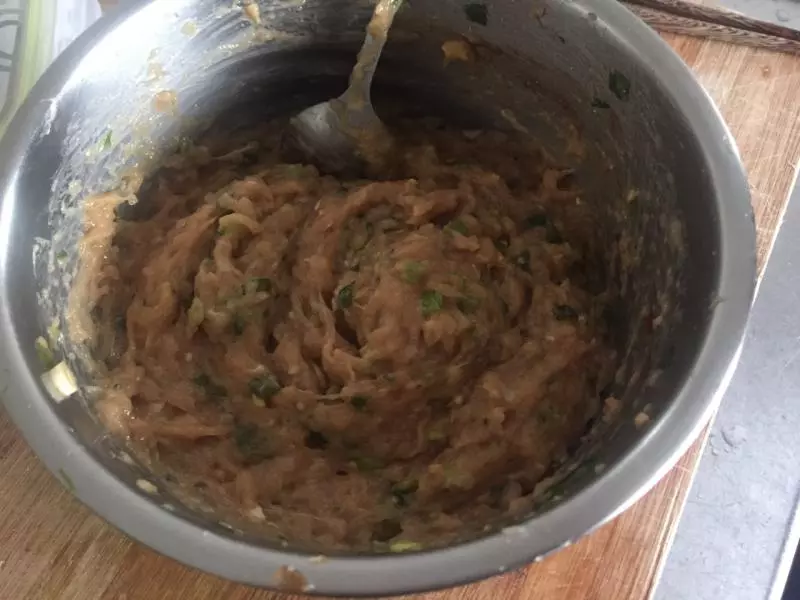
5完成了餡料部分。
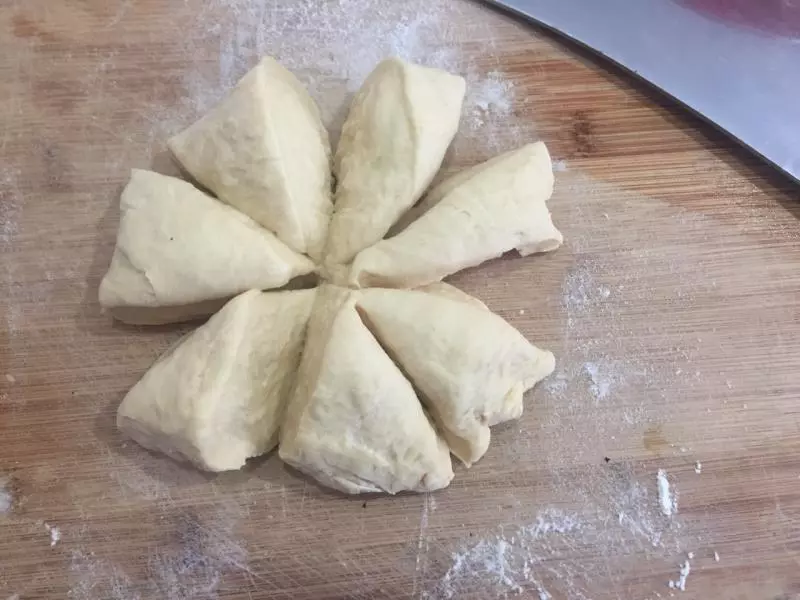
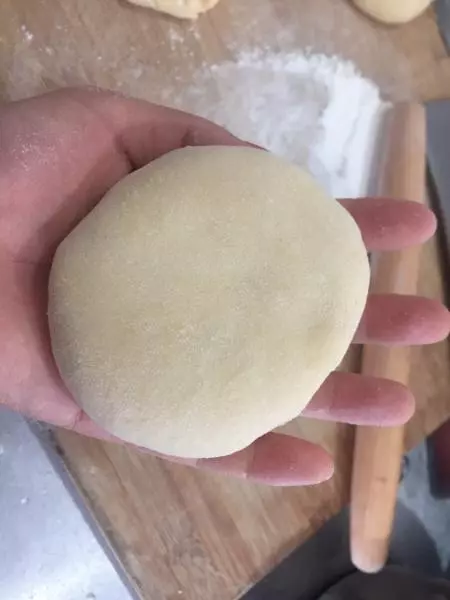
6麵糰切成均勻等分。
7擀麵中間厚兩邊薄的麵皮。

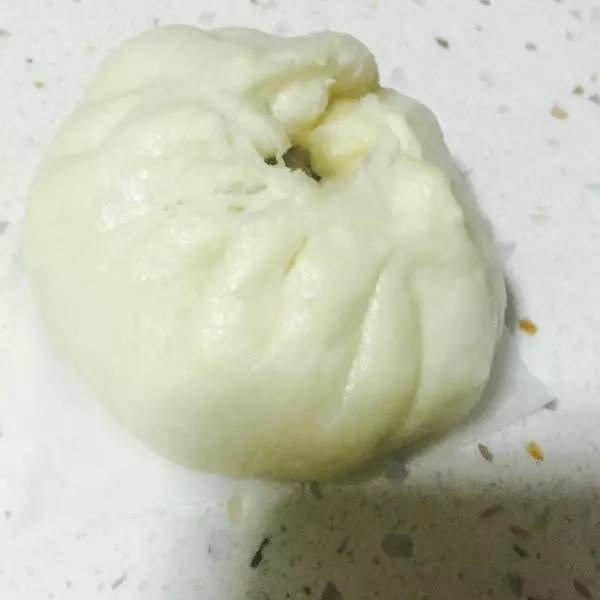
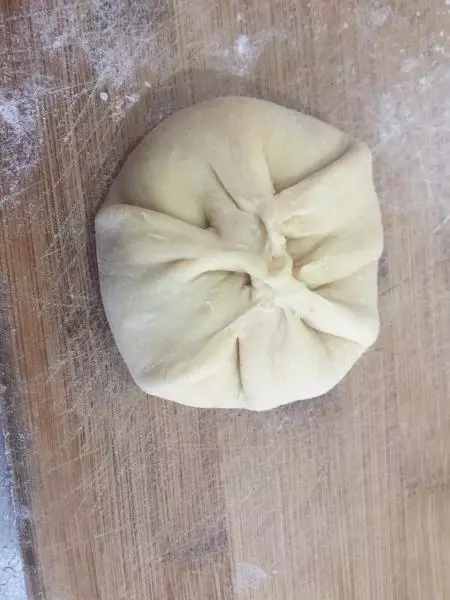
8好啦~
9扭的好醜
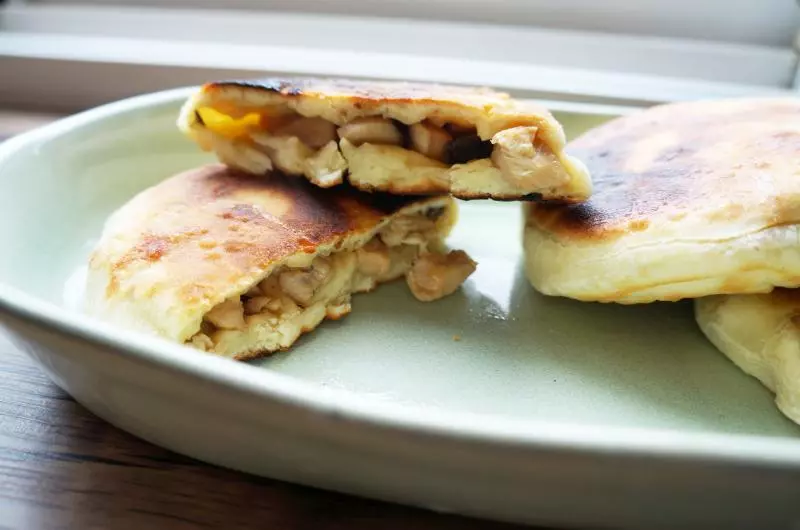
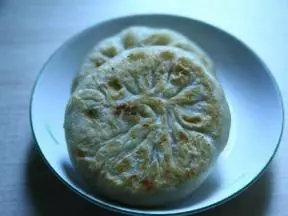
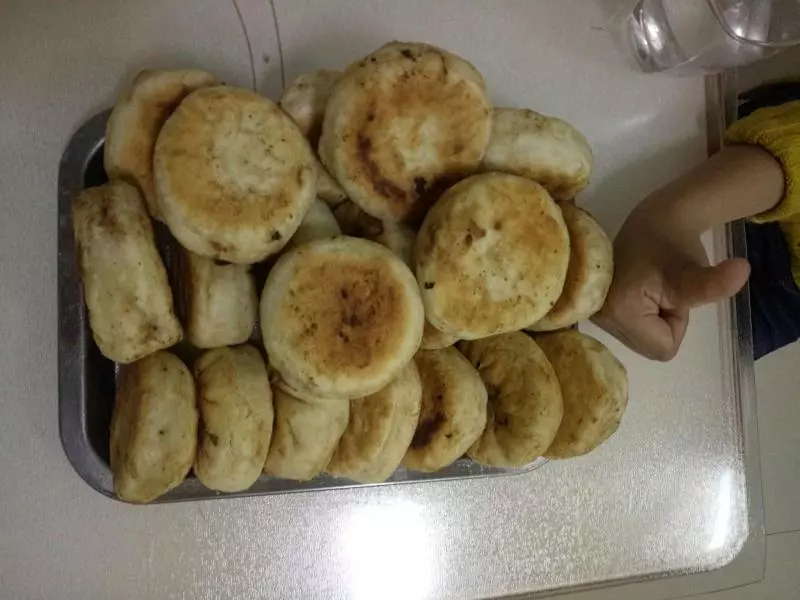
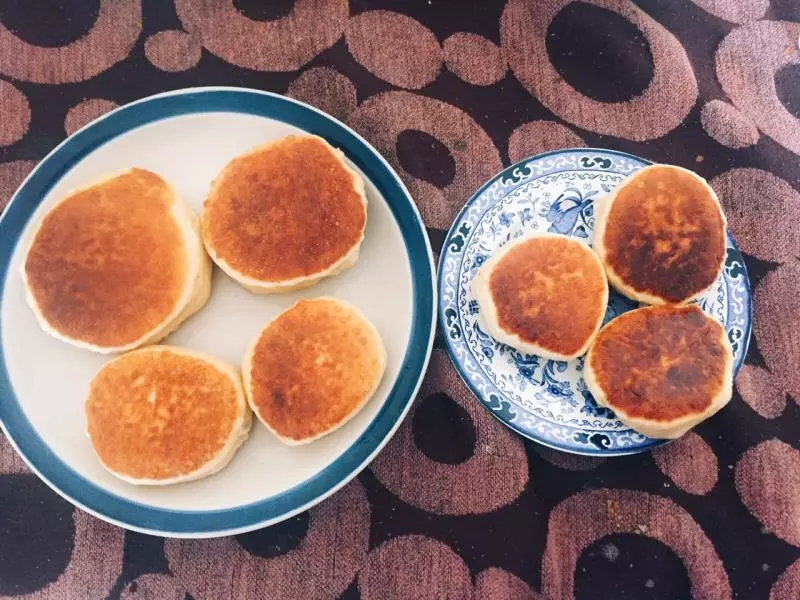
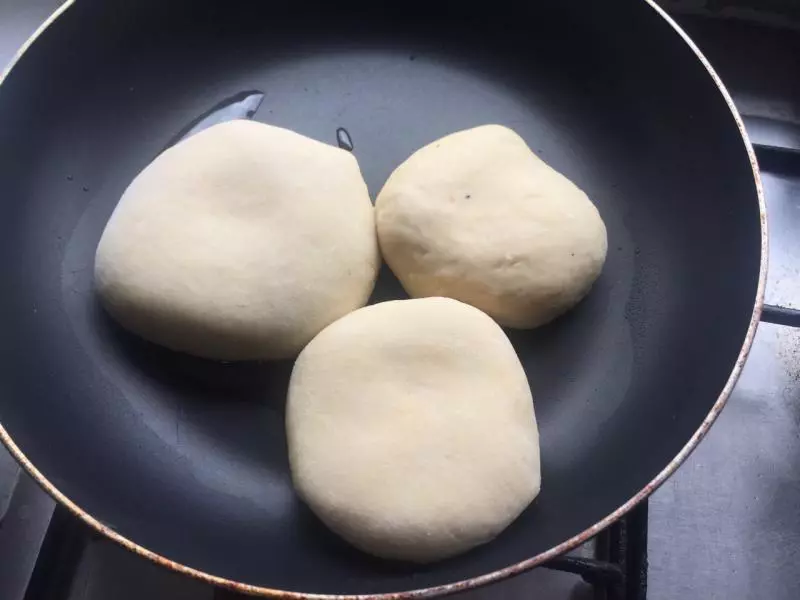
10平底鍋油燒熱,小火煎至兩面金黃。
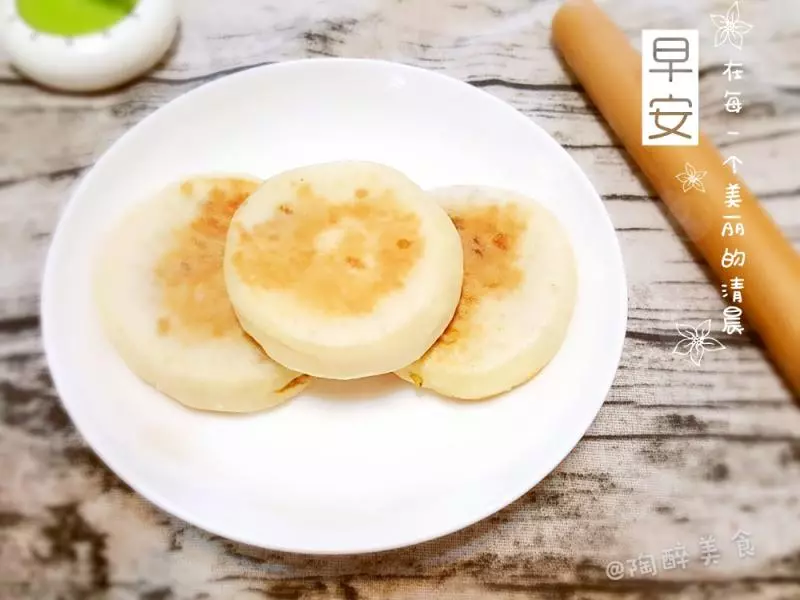
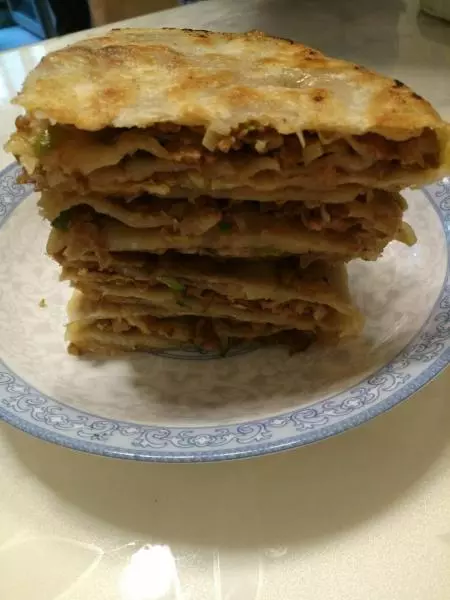
11看起來是不是很誘人
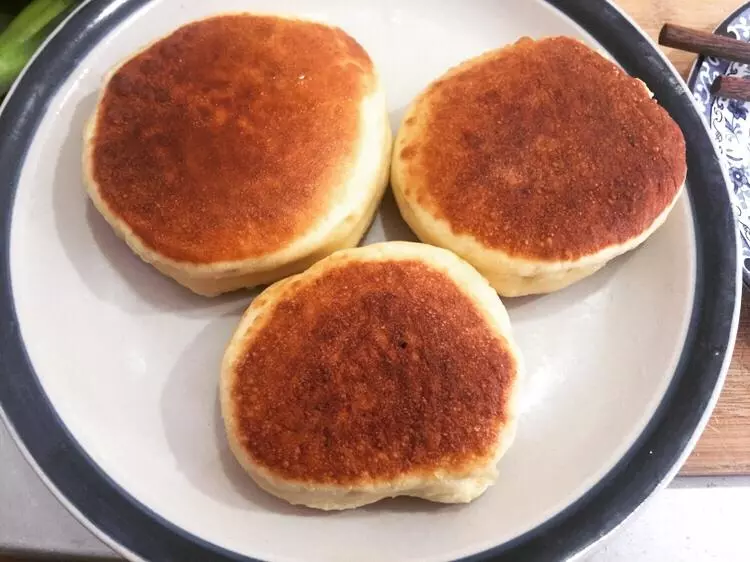
12完成啦~

13香噴噴

小技巧
麵糰醒面以後很鬆軟 一定要小火煎,要不然會糊。 然後根據喜好調味,我用的喜馬拉雅鹽很清淡不咸。 餡餅薄一些,煎的時候蓋鍋蓋,容易熟。 我怕沒有熟,後來用烤箱150度,烤了5分鐘。 自己做很放心,低卡路里,營養美味。