原料
黃油 120克, 低面 200克, 白砂糖 30克, 糖粉 50克, 草莓醬 若干, 雞蛋 1個
步驟
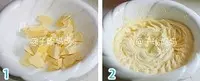
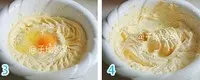
1將黃油切小塊,室溫軟花,加入白砂糖和糖粉,低速打發至顏色變淺體,積略蓬鬆
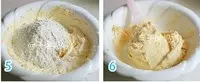
2打入一個蛋,繼續低速打發至細膩光滑蓬鬆狀
3篩入低粉,用刮刀切拌均勻
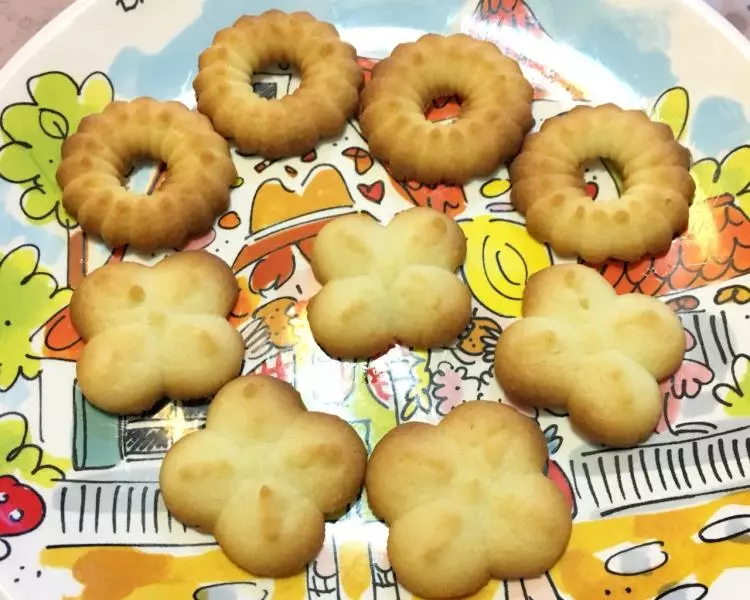
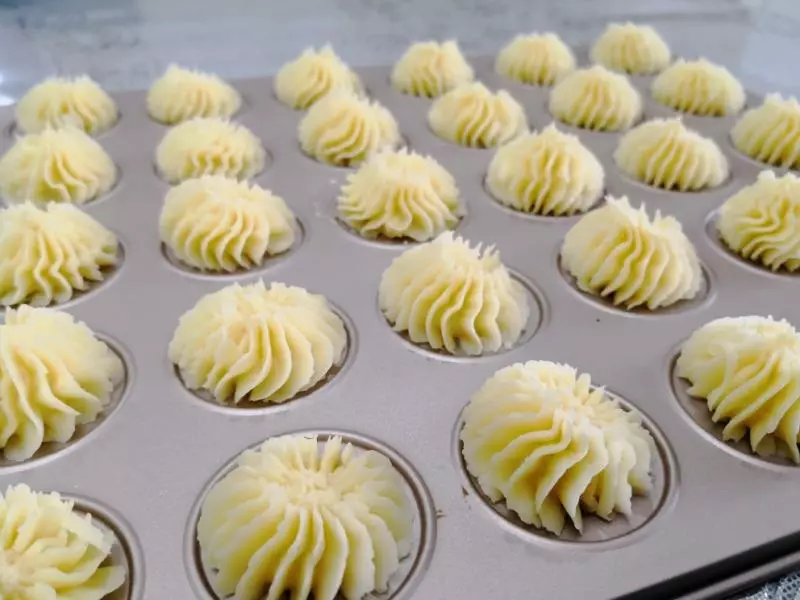
4裝入布裱花袋,這裡用的裱花嘴是12齒,大號菊花型裱花嘴

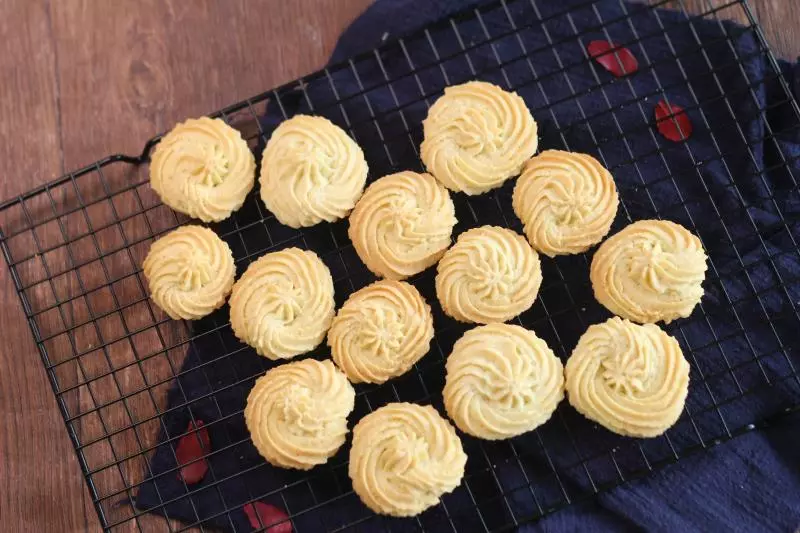
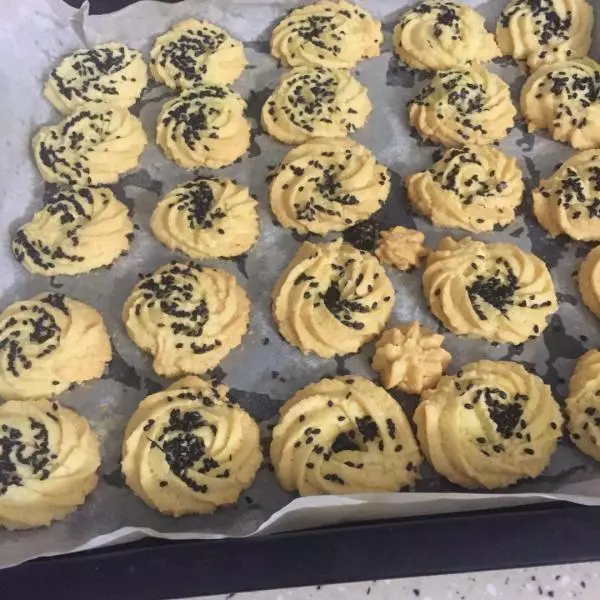
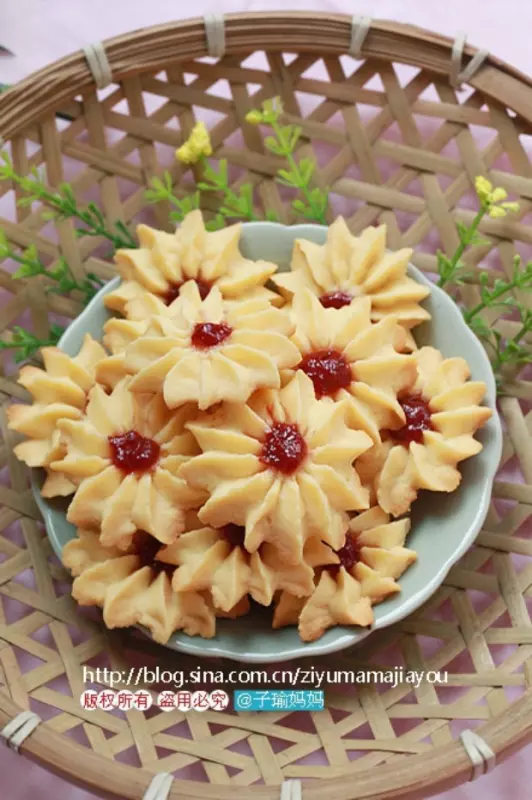
5烤盤墊烤盤紙,擠上菊花型餅乾胚,中心點上點草莓醬
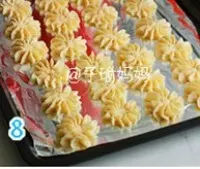
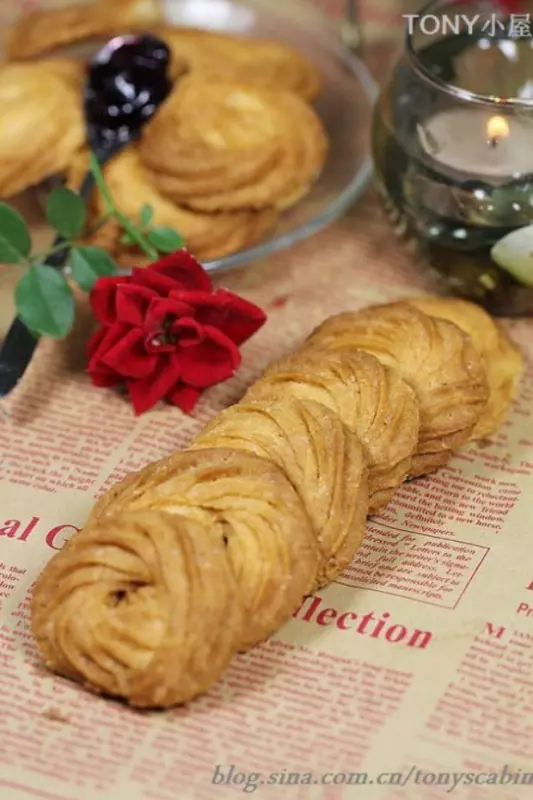
6送入預熱好的烤箱中層上下火165度15-20分鐘

小技巧
1、這裡用的裱花嘴是12齒大號菊花型裱花嘴; 2、烤箱的溫度和時間僅供參考,每家的火力可能都不一樣; 3、因為點了草莓醬,所以最好是在兩二天內吃完。建議一次不要做多了, 做多少吃多少比較合適。